I was on local TV show, Studio 5 this week sharing a fun how-to with Elmer’s glue: Raised lettering. It’s really quite addicting and something you can rope your kids into (perfect for a Father’s Day craft). It doesn’t have to be lettering you include on the card, either. Abstract designs really add a lot of depth, too. So any age and skill level could do this craft. But be careful, it could get messy. ;) Here’s the link to the segment if you’d like to take a look!

So here’s what you need:
- Elmer’s glue
- Sturdy paper (watercolor paper is ideal)
- Watercolor paints
- Large watercolor brush
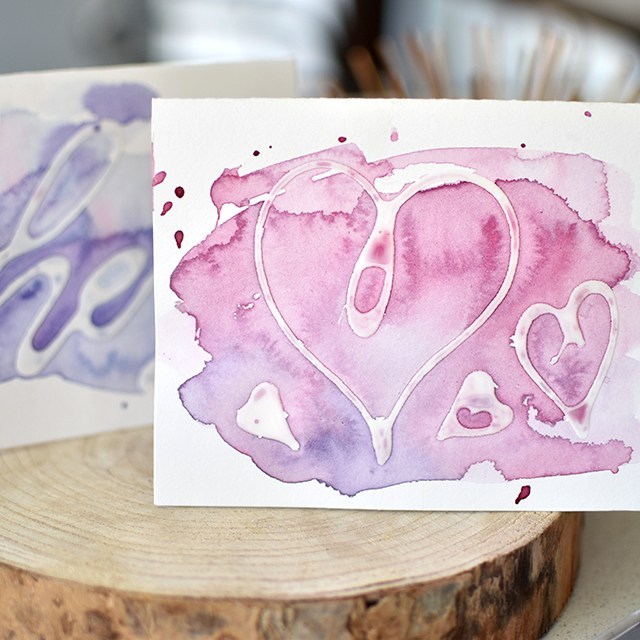
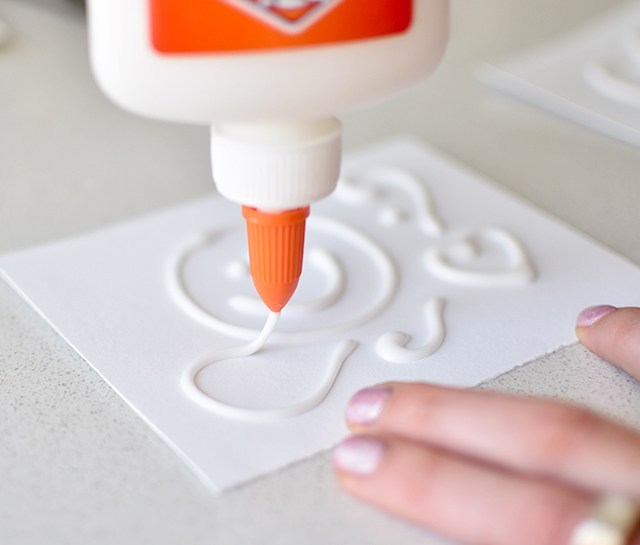
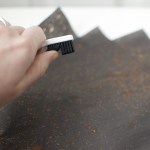
Figure out your design. I found the simpler the better. The largest word I was successfully able to write without bleeding and readability issues was “love”. “Hi”, “Hey”, “thx” totally worked.
Keep your glue bottle about an inch to two inches away. Allowing the steady stream of glue to create smooth curves. Set out in the sun for a couple of hours to dry. I use little porcelain dominoes to keep them from flying away.
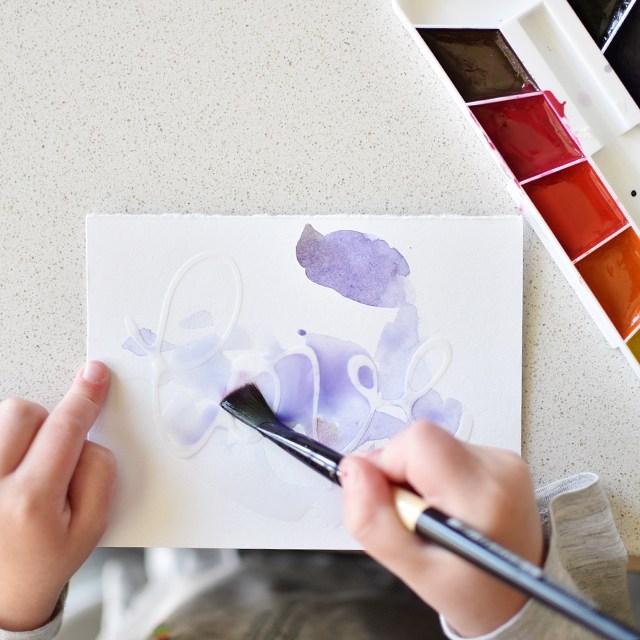
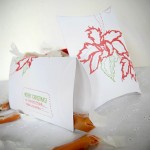
Once the cards are dry, paint overtop! This is super fun because the paint job can be whatever. So include your little ones and do something fun. This is a great way to get them involved in hand-written ‘Thank You’s and perfect for Father’s Day this upcoming weekend.
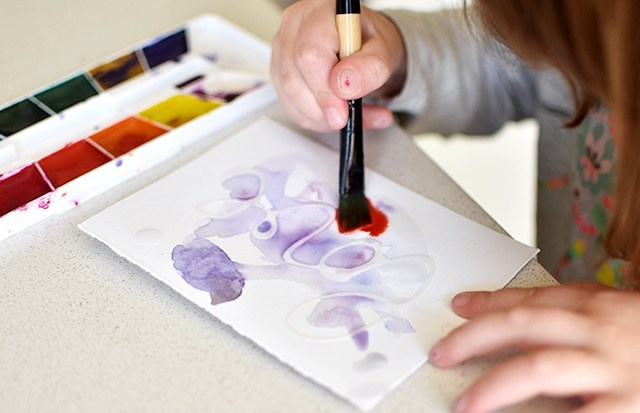
Junie got really excited about this project, too. We had a great time disconnecting from screens and making some fun artwork.
Hope you get around to doing some fun raised cards soon! Feel free to comment below if you did the project. I’d love to see how they turned out.
This tutorial is free for personal use. Link with love. Thanks! Affiliate links are used.