After publishing the tutorial here, I figured a video would be helpful. I hope you enjoy painting poppies this spring!
Let me know if you end up painting some. I’d love to see how yours turn out!

 |
 |


After publishing the tutorial here, I figured a video would be helpful. I hope you enjoy painting poppies this spring!
Let me know if you end up painting some. I’d love to see how yours turn out!
You new here? WELCOME!! Pop over to Instagram and give me a follow or check out my online calligraphy class!
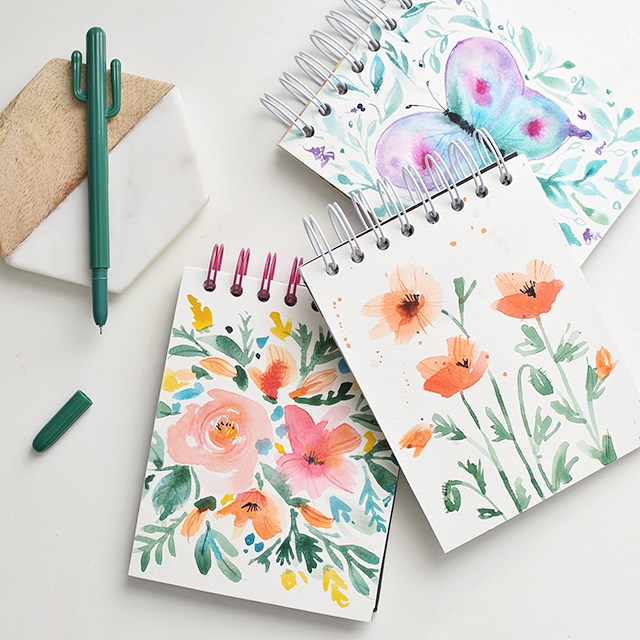
Over the last few weeks, I’ve made about a dozen or so of these notebooks. I’ve made them for neighbors, family, friends and even a couple for myself. I’ve really enjoyed the freeform aspect of painting the covers as I go. I’ve gotten a few requests for the step-by-step, so here you go!
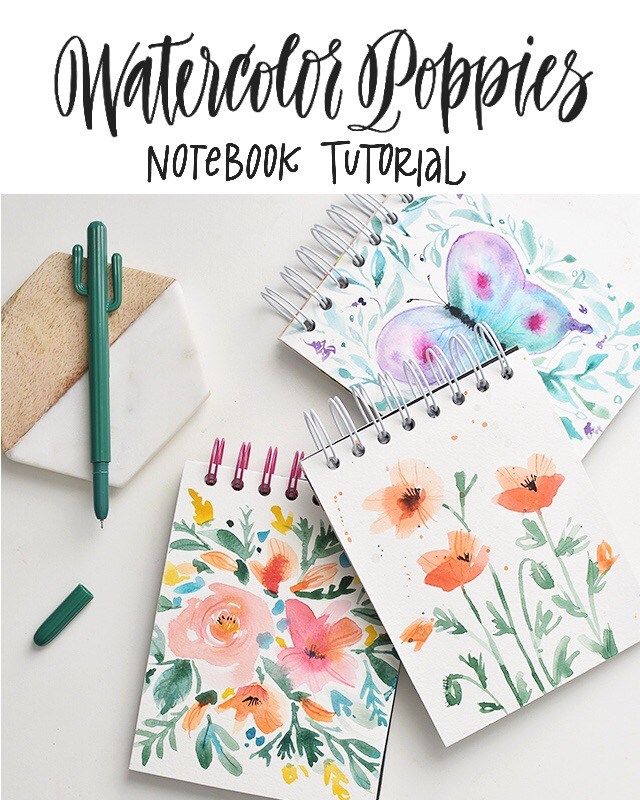
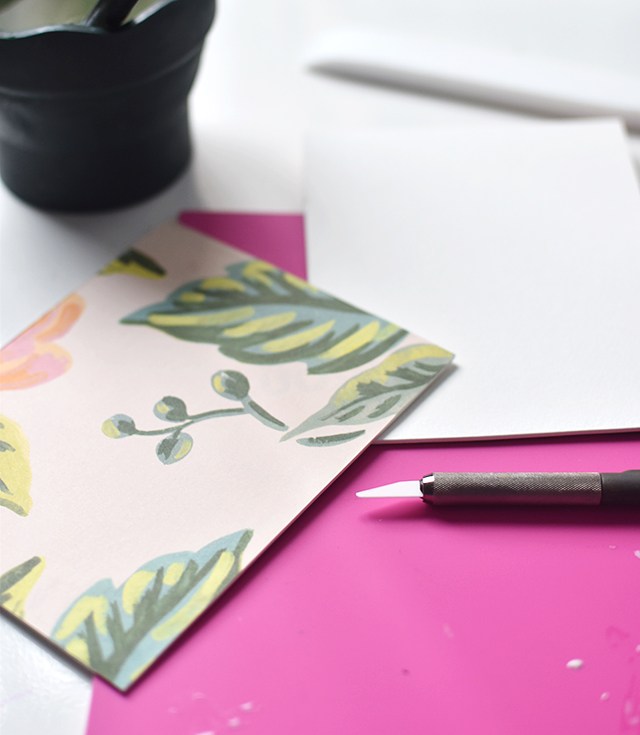
The cover material is Canson Watercolor Artboard. I was given a pad of this artboard and truly have enjoyed the thickness of this paper. It’s actually coldpress watercolor paper that’s mounted on museum board. So you can soak the paper with as much soupy water as you want, it won’t buckle. You may get a slight bow to the board, but it all goes back to its original flat shape once the paint has dried. It’s perfect for book covers!
Shall we make a notebook (or 10) together? Let’s get it going! Affiliate links are used to link to actual materials I own and use. Your support feeds my craft addiction, which feeds more tutorials. So thank you!!

For supplies, you will need:
* CLICK HERE TO DOWNLOAD FILLER PAPER FOR GENERAL CONFERENCE FOR THE CHURCH OF JESUS CHRIST OF LATTER-DAY SAINTS (you’ll want to print 5-10 copies of this PDF for one book)
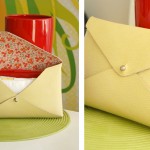
If you’d like to just paint poppies, skip to the bottom. If you’d like to bind a notebook, you’ll want to line the underside of the boards with a decorative paper. You can use wrapping paper (I used Rifle Paper Co wrapping paper) or any kind of scrapbooking paper you choose.
You can get your favorite paper and cut it into fourths (4.25″x5.5″), or you can download my lined filler paper and have it printed at your nearest print shop. for a .75″ coil bind, you’ll want at least 60 sheets of paper (15 copies, cut in fourths). If you don’t have a good cutter at home, your local print shop can do the cutting for you!
First, we need to cut down the boards down to size. For a notebook that fills quarter sheets (see here for filler paper download), 4.25″x5.5″, you’ll cut your boards down to 4.5″ x 5.75″.
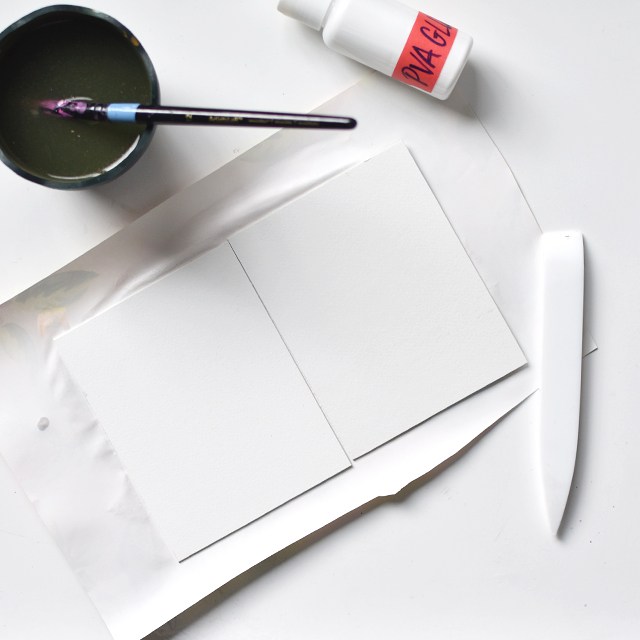
On a larger sheet of decorative paper, apply glue to the backside of the paper. Spread with a watered brush. Press the paper down, be careful to avoid getting glue on the top of your watercolor board or you will have a terrible time painting it.
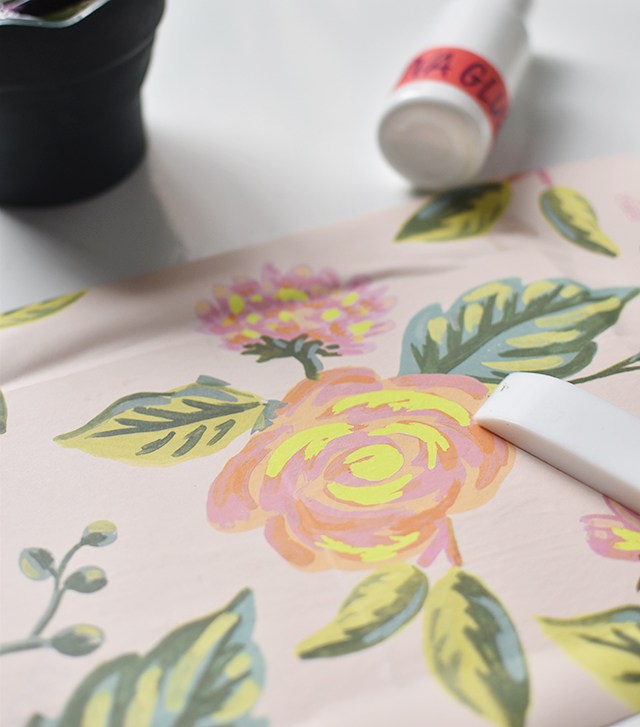
Turn the boards over and with your bone folder, work the bubbles out.
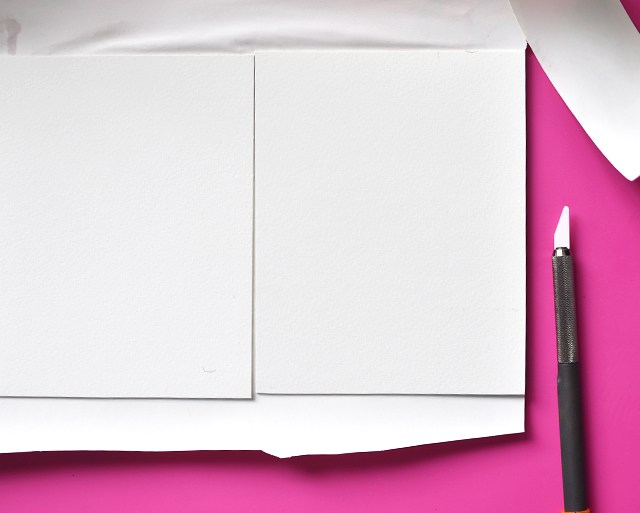
On a protected surface, cut the boards free of the excess paper with a craft knife. I LOVE this craft knife from Slice. It won’t cut skin! See my review of it here.
Allow to rest so the glue has time to dry. NOW on to the painting!!
For this portion, I’m using 2 different brushes. I’m using a red sable brush (a soft, natural bristle brush), size 5 round and a synthetic size 0 round for the little details. You can use whatever brushes you have on hand, but I like the flexibility of the sable brush and how it gives me more organic lines. You can get amazing results from just about any brush, but if you’re investing in watercolor, consider purchasing a sable brush. They’re just so fantastic to paint with.
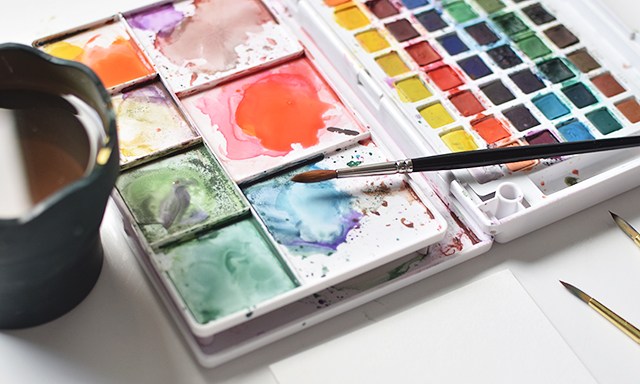
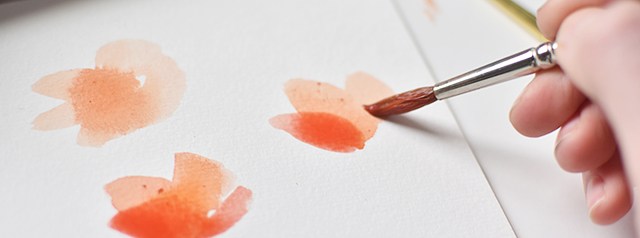
Start by mixing 2 types of oranges. A true orange and a reddish orange. Make them soupy. You want lots of water in there to work with.
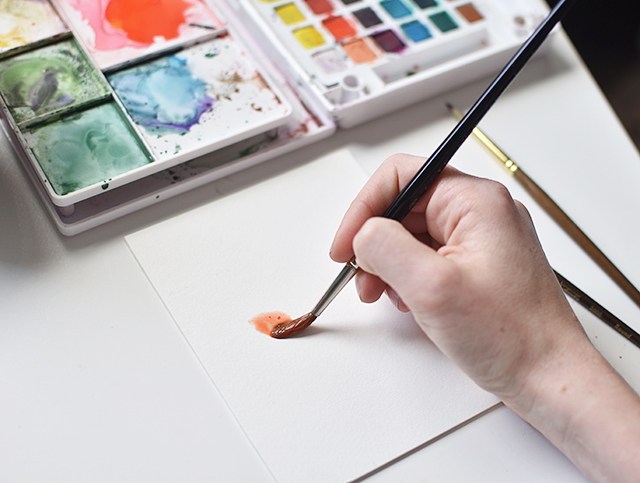
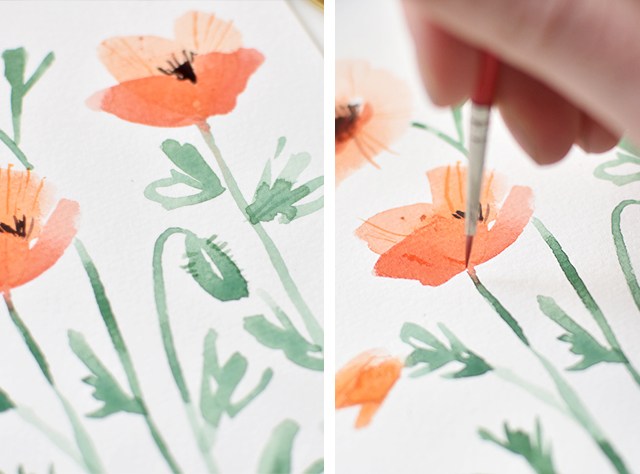
Start by picking up the lighter orange and fill your brush with that pigment. On the middle to top third of the board, I make organic ‘V’ strokes. Start heavy and thick at the top and release pressure so you have a point towards the bottom. It doesn’t matter where you put them. Make about 3. Allow the watercolor to dry.
If you want an open poppy, scribble a couple of ‘v’s and a rounded bottom. Drop the darker, reddish orange in the wet middle of the open poppy.
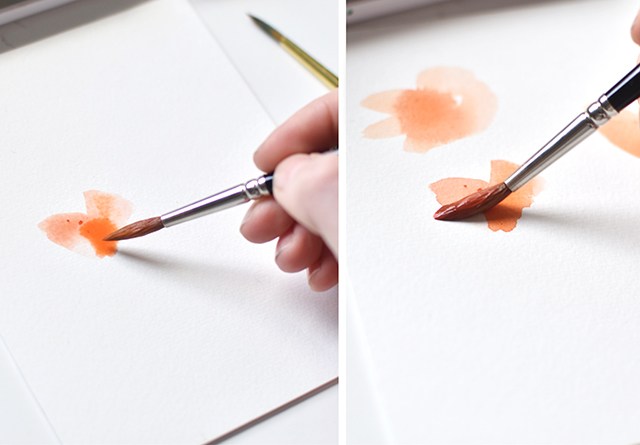
Once the first set of marks have dried, add another ‘V’ stroke, align the bottom of the ‘v’ in the same spot as the lighter pigment, but offset the tops of the ‘v’.
The one on the lower left wasn’t quite dry when I added the darker color, so there isn’t as much of a separation of pigment. That’s totally okay! You can see on the right ‘V’, that there’s more a separation of color. Making them slightly different gives each flower a more organic touch.
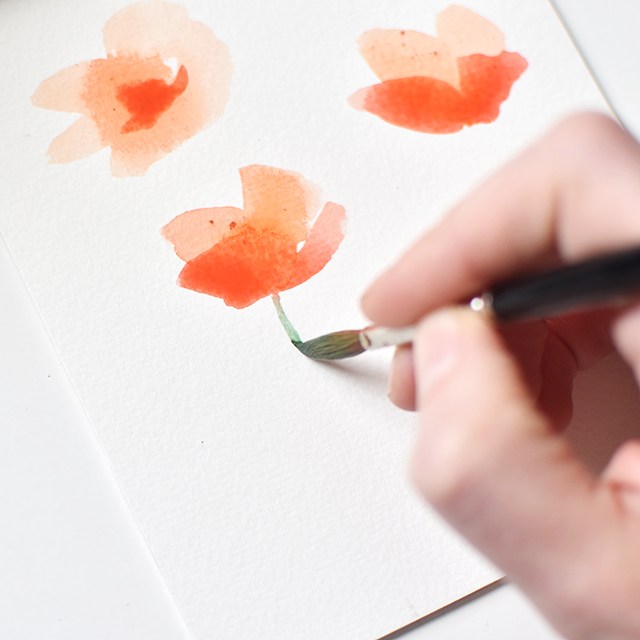
While the bottoms are still a little wet, draw in the stems. I like to create a varied, organic, almost awkward stem. Drop some darker bits of green color in there for some variation. When it comes to mixing the green stems for poppies, I go for a mid-toned, warm green. No jewel-toned greens here, otherwise the orange won’t pop.
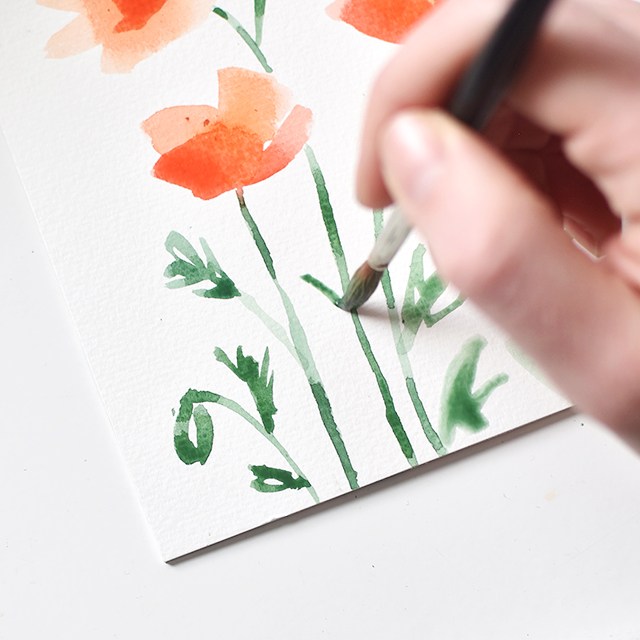
You can leave your painting simple without any leaves and just do the stems, but I love how easy these leaves are. With the tip of your brush, draw little scribbles. Little zig-zags that go into each other for the leaves. I also like including pods, the stems tend to arc downwards and have a cupped ‘c’ shape on either side. You can be quite abstract with those shapes.
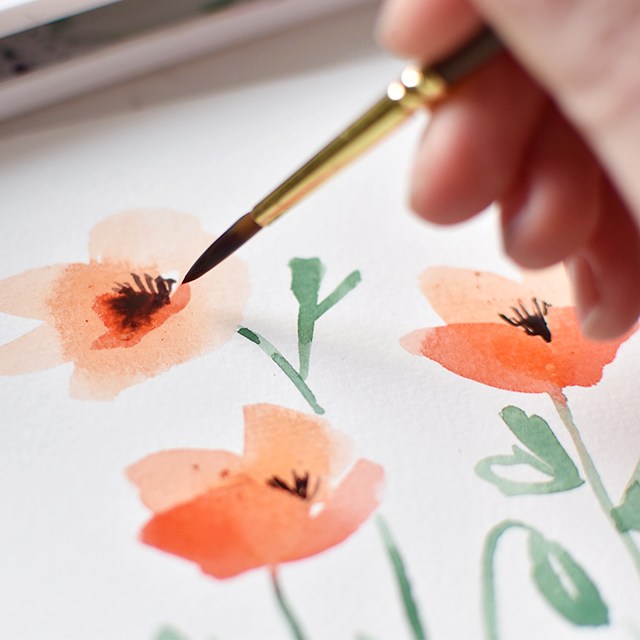
Now that the greenery is done, the poppies are dry enough for the middles. The centers of poppies are black with little bits of yellow pollen. I like getting a muddy blue-ish black to paint the middles. On the open flower, you’ll draw a circular-ish (again, don’t be perfect) shape with black stamens coming out of the black. You can add yellow to the tips. That’s where the pollen lies. For the profile flower, have the stamens coming out between the front ‘V’ shape.
With your #0 brush, grab a yellower orange and make little lines coming out of the ‘V’ shapes. Make them squiggly and imperfect. Then add fuzz in green to the pods.
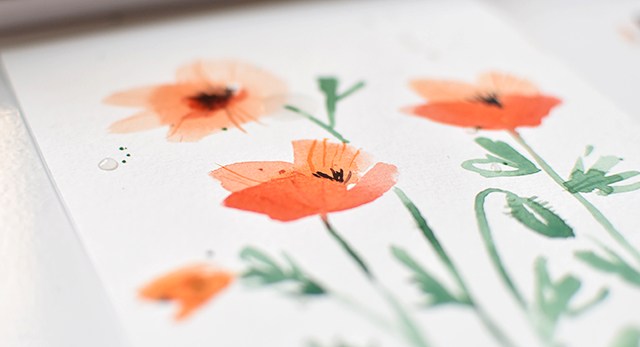
Boom! DONE! So easy, right? I like to add little splatters afterwards. Because it’s fun.
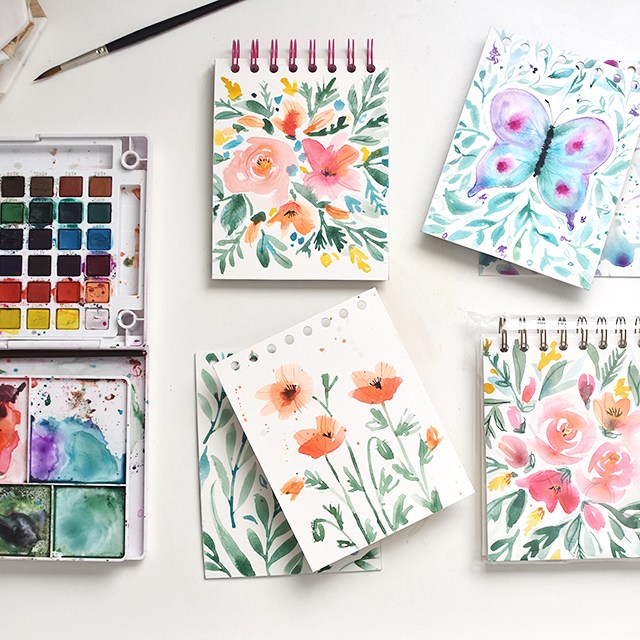
For the back covers, I used complimentary colors and something simple like just leaves or a splatter pattern. Easy, peasy.
I used this tutorial from Ink Struck Studio for the butterfly cover and I learned the roses from Natalie Malan.
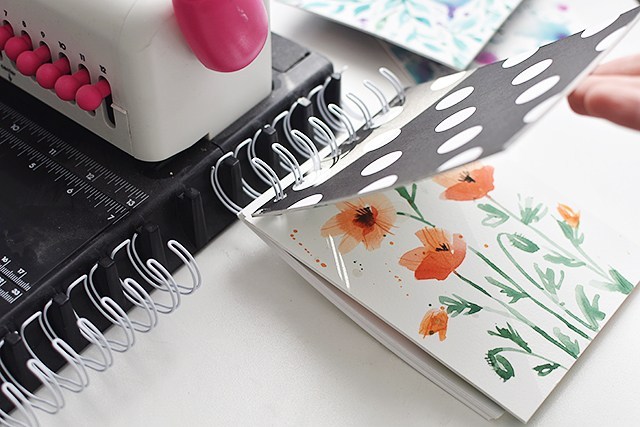
Now for the binding part. You can take the un-bound journals to your local print shop and they’ll do it for you. OR, if you have a tool like the Cinch, punch holes in the covers and filler paper separate. But make sure that the holes are centered. Put the filler paper on the coils, then the front cover, then the back cover (facing the front cover). This will allow the coil edge to be unseen on the inside back cover. Crimp down with your binder tool.
Now they’re ready to gift! Or keep. I like to hoard the things I’m most proud of making. ;)
This tutorial and accompanying printable is free for personal use.
I’m still working on fleshing out the rest of the year, but I’m excited to announce upcoming teaching gigs!! I’m so excited for this year, it’s going to be great. More workshops to come, be sure to come back and check out the updates. 
Visit me at The Write Image on April 20th from 6-9 for an intermediate workshop on flourishing. We’ll spend the night working on oval drills, flourish essentials and how to apply that to your own individual style. Limited to 10 spots. CLICK HERE TO REGISTER.

This will be my second workshop hosted by Salt & Honey Market. I’m excited to be presenting watercolor techniques as applied to calligraphy and creative lettering! Workshop includes breakfast, treats, all class materials, handouts and 2 hours of instruction. CLICK HERE TO REGISTER.
I’m pleased as punch to be presenting at the 36th International Lettering Arts Conference, LetterWorks. I’m teaching alongside my calligraphy IDOLS! The conference is geared towards all skill levels. I’m teaching a 2.5 day workshop on digitizing calligraphy. We will be using both Photoshop and Illustrator. Geared towards beginning/intermediate computer users. CLICK HERE TO REGISTER.
Stay tuned by signing up for the newsletter! Fill out info below:
And hey, if you can’t make any of my in-person classes, there’s always online at calligraphy.org.
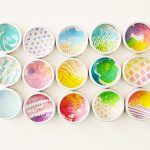
I’ve spent about 3 weeks with Sakura’s newest product, the 48 pan watercolor set (it’s currently sold out on Amazon). It’s fabulous. I’m loving the color and texture quality. LOVING.

See my review below and enter to win a 36 pan set on Instagram RIGHT HERE.
If you want to learn more about how to watercolor, check out the work of Natalie Malan.
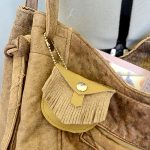
This post is in partnership with Therm O Web’s Deco Foil™ line. I’ve been using this stuff for a couple of months now and I figured it was high time I shared with you how I use it! It’s incredibly easy and adds SO MUCH SPARKLE to your work (calligraphy or otherwise).

In the above image I’ve applied the metallic foil (I don’t dare say gold, because it’s not real gold) in 3 different ways; (from top) laminator, bone folder and die cut machine. My favorite is probably the die cut machine, second is the bone folder because of the application. But I’ll talk about that a little later.
The foils come in a zillion different colors. I’m excited to try the watercolor foils soon because of the subtle color variation from one spot to another. Here I’ve used Pink Melon (top), Rose Gold (middle) and Copper (bottom). I use the copper one the most, it photographs better than the lighter golds do, so I prefer that. Let’s go through the materials needed for this technique and just get going, shall we?

SUPPLIES:
The supplies list feels kind of long to me; but I bet if you’re anything like me, you’ll have most of these things. For the instructions, click the read more button below!