Archive for the ‘tutorials’ Category

Post-Holiday Thank Yous for Kids

3 Comments

Finally coming up to the surface after a very wonderful, but very busy holiday season. OH wow. It was great. My kids were spoiled, too. So, how do I include them in giving thanks for their massive haul of presents? They make the backgrounds and I make the cards out of them. It’s really quite easy. I made a video about it, but I’m sure you can figure it out on your own, though, too. ;)
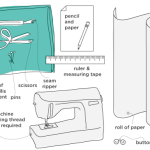
SUPPLIES:

  • paper (I love this stuff, you can find it at Walmart usually for $5)
  • watercolors 
  • brushes
  • Sakura brush markers (they’re waterproof)
  • -or- a Thank You stamp/sticker (I made my stamp with the Mint)

No need to cut the papers down, give them to your kids and let them have fun! But not so much fun that they totally saturate the page with water and pigment. We need the paper to still have some integrity. So try (sometimes easier said than done) to pull the paper away and give them a new one to color once they have markings in all four quadrants of the page. Teach them how to splatter their paint (only if you have washable colors like crayola watercolors!).

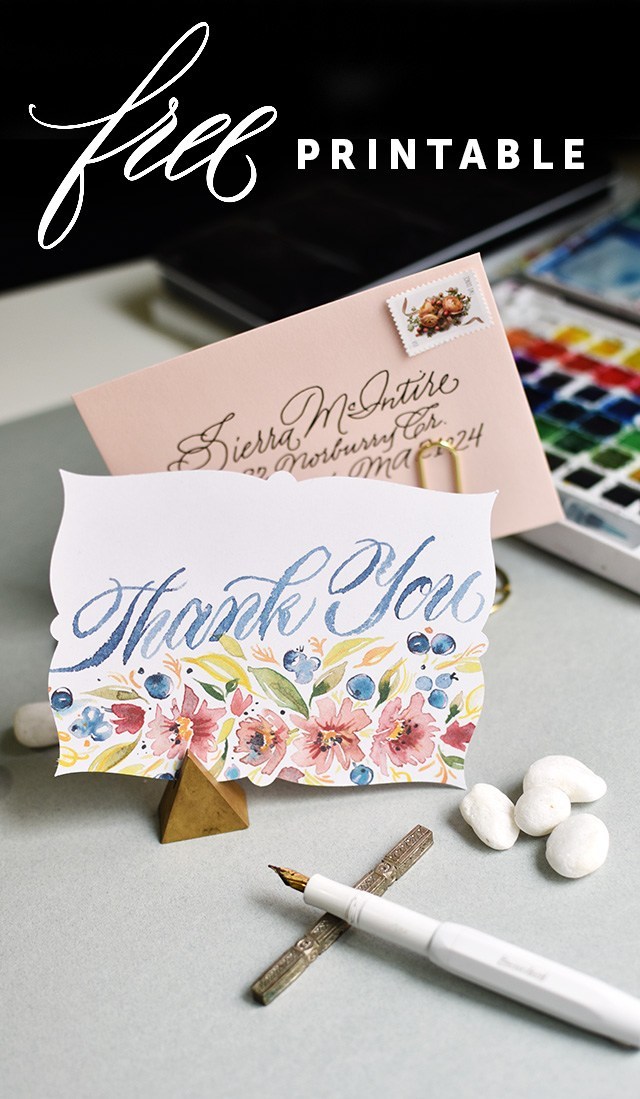
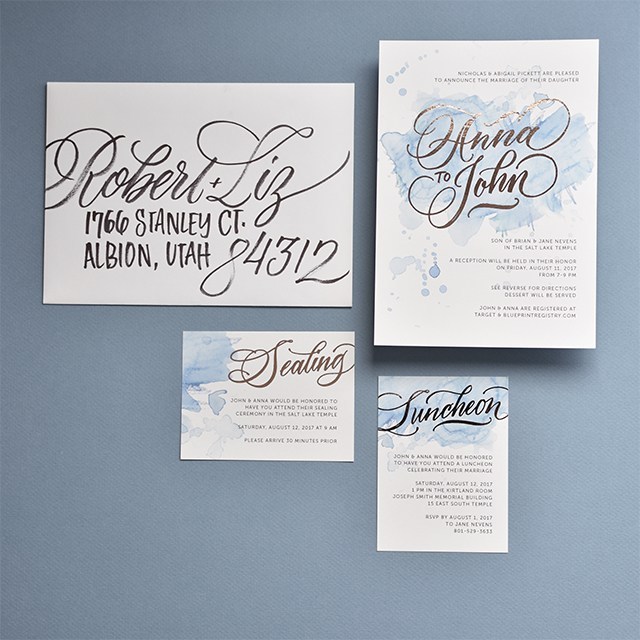
Once you have a collection of pages from your kid(s), let the papers dry and cut the paper in fourths (5.5×4.25). Now add your Thank You phrase! You can write it by hand with marker or use a Thank You stamp (like this or this).

Now on the back, write your Thank You on the back on the left half of the paper. Be sure to leave room for your kid to make a mark, whether it’s a scribble or part of their name. Write the recipients address on the right half and stick a stamp in the top right corner. BOOM. DONE. Postcard postage is 34 cents now, so keep that in mind. :) 

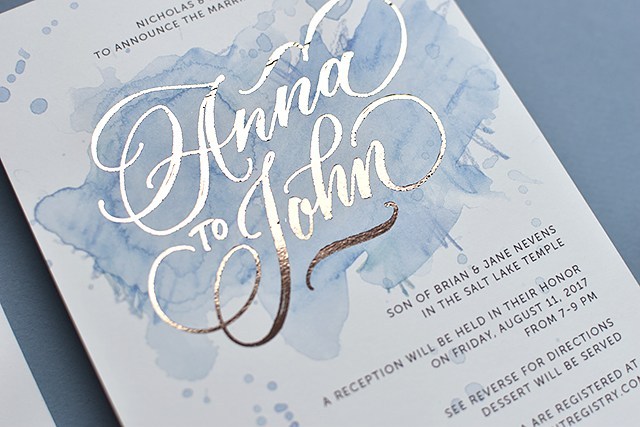
I hope you get your kids involved in expressing gratitude with us! Let me know how it goes by tagging me on Instagram @melissapher. And if you’re looking to learn how to do that fancy-pants calligraphy on the front of the card, look no further. I teach brush lettering with personal coaching (one-on-one feedback that’s actually helpful) over at calligraphy.org. Hope to see you over there! 

*Affiliate links used for products I use and love.

10 Awesome Markers for Addressing Dark Envelopes

0 Comments

Welcome if you’re here from Studio 5! I hope you stick around! I’ve got free printables, tutorials and more. :) Check me out on Instagram and give me a follow if you’re interested in more creative living. 

If you missed the segment, click here to watch.

One of the tricky things about addressing envelopes, if you’re not a calligrapher, is finding the right pen to do the trick! It’s especially tricky if you have dark envelopes and you want to make an impact in the mailbox. Which, if you know me at all, I like to bring out a smile when I send friends & loved ones snail mail. There are so many markers out there, this certainly is a very small cross-section of the ones you can find. This small collection of markers will serve you well as you work on darker papers. 

Let me emphasize the following: YOU DON’T HAVE TO BE A CALLIGRAPHER OR EVEN HAVE GOOD HANDWRITING TO ENJOY THESE TOOLS. But if you are a calligrapher or if you have awesome penmanship, you’ll find they’re also fun. 

And if your penmanship sucks? Check out my free penmanship tutorial and download right here. Want to learn brush lettering? Check out my online class right here!! Use code BRUSHLETTERING for a special discount! 

WHITES

Looking for this black paper? Get it right here.

Let’s talk about pretty white pens. They’re tricky because you want those whites to be as opaque as possible. You need that pop! My favorites, in order of largest marker size to smallest are: 

METALLICS

When it comes to metallics AND opacity on dark papers, we venture into super tricky territory. There are really only a couple of markers I’ve used and can recommend here. But I’ve found that for the most part, each of the ones I’ve used includes a gold, copper and silver. Silver often times looks a lot like white (BONUS!). The golds usually take on a more green tone, so I personally like to stick to the copper if I’m going for a gold/black kind of look. So here we go with the second list, again, going from largest to finest. 

And don’t feel intimidated if your penmanship isn’t incredible. These markers will take your writing to the next level. IF you’re worried about writing in a straight line, I would highly recommend getting a LetterMate right here. They’re little plastic life-savers. ;) 

STAY TUNED!! Next week I’m sharing a tutorial on how to address those little envelopes of yours quickly and effortlessly. Thanks so much for popping by! 

Affiliate links are used. By purchasing through my affiliate links, your pricing doesn’t change, but it supports this blog and new content here. Thank you!

2017 Thank You Printable

9 Comments

The time of year has come where it’s time for the annual Thank You freebie! I love doing this because it gives me a chance to work on styles and techniques I don’t always get to do on a regular basis. For this year, it meant I got to put the watercolor floral classes I’ve taken from Natalie Malan to use. I wanted to go for a slightly muted palette, but it only worked slightly. It’s like a bright, muted palette. ;)

Also, I feel like I must mention that this month completes the 10th year I’ve been blogging! I can’t believe it’s been that long. So much has changed: 6 moves, 3 children and a few career changes to say the least. I didn’t know I would be blogging this long. But here we are! ‘Tis the season for gratitude, so I may as well express that I’m so grateful for the opportunities that blogging and social media has given me. I’ve made dear friends, I’ve traveled, I’ve learned so much and I’ve felt the creative inspiration through the connections that I’ve made. It’s been pretty awesome. Will I still be here, writing in another 10? We shall see! 

Check out the a video of my process here:

This year’s Thank you takes on two forms. One is a plain, 5.5×4.25 rectangle with cut lines for you to follow, the above is a suggestion. You can download the JPG and use Silhouette’s print & cut feature to make a gorgeous full-bleed card with a scalloped edge. See below for the tutorial! 


You certainly don’t have to have a Silhouette in order to take advantage of this printable. Just click The download link below with the description “hand cut”. :) Just giving you some fun options.

DOWNLOAD SILHOUETTE FILES HERE


But I’ve got TONS MORE ‘Thank You’s. Check out the whole list of past years’ printables below!

Want to learn calligraphy? Like the brush lettering I use here? Check out my class on Calligraphy.org. I’ll give you one-on-one instruction to help you get there. We start from the very basics, but because of the personal nature of the instruction we offer off-script learning for the more advanced letterer. Use code BRUSHLETTERING for a 10% discount on the class. :)

Materials used for this DIY: 

This printable is free for personal use only. Any redistribution or commercial use of this printable without written consent is prohibited. © Melissa Esplin 2017. Affiliate links used, by purchasing through an affiliate link, you support MelissaEsplin.com and the free content provided here. Thank you for your support! 


Random DIY: Gigantic Yard Googly Eyes

4 Comments

If you’re here from KSL Studio 5, WELCOME!! I’m excited to have you here! If you’d like to join my next calligraphy workshop in Salt Lake City, click here to register. If you’d like to learn calligraphy online, click here instead. ;)

Here’s the link to the Studio 5 segment, in case you missed it. ;)

This DIY is too simple and hilarious not to share. Last year I bought some 7″ googly eyes from amazon and hung them on my willow tree in the front yard. It rained. The googly eyes fell apart. $7 down the drain. I think those googly eyes would have been great if I had used them inside, or if I lived in a climate that never rained or snowed during the month of October. :/ BUT this year I decided I needed to keep with the googly eye tradition and just make my own. 

And honestly, I don’t know why I didn’t make a million of these bad boys before. They’re easy and cost basically nothing. I had everything on-hand because, well… I’m a craft supplies hoarder. I didn’t have black cardstock, but I did have black lined writing paper, so I used that. You can cut out your own by hand or on a craft cutter like the Silhouette (which is what I did) OR you can print out the eyeballs from the template I’ve designed by clicking the download link below: 

(more…)

John & Anna Wedding | Watercolor Wash DIY

0 Comments

I had the joy to design and letter the wedding invitations for one of my cousins this last August. They were dream clients, too. Both have amazing taste and trusted my expertise and let me play with some fun, new techniques. 


I’ve really enjoyed playing around with watercolor pencils and the playfulness and depth they provide to a simple watercolor wash, so I mixed a few colors to get their wedding colors in the wash and went to town. See the below video for an in-depth explanation of how to get that wash. I love the energy that explodes from the background with those washes. 

Check out the tutorial below and subscribe to my YouTube channel for more tutorials like this in the future! 

We went with copper foil printing for the names on the invitation. Part of me wanted to do copper foil for all of the text, but I didn’t want readability to be an issue. We did digital printing with digital foil through a wholesale printer I have an account with, so it was quite affordable, too!

Man, foil is so hard to capture with a camera! It has a lovely rosy, rusty tone to it, it’s hard to see that in the images. But it popped nicely against the watercolor background. 

For the design, I used my go-to font Museo Sans and my own hand-lettering. I lettered the names and titles of cards with my iPad Pro using Procreate and Brush #4 from Fabian Fischer’s ultimate calligraphy brush set. I really liked the texture and functionality of that brush more than any other brush I’ve found around. If you’ve found other good ones, let me know!  

I ended up addressing all of the envelopes for the invitations as well. The couple gave me 100% creative freedom to pen them however worked best. I ended up doing a large-scale script for the names with an all caps for the address. I used the Cocoiro Brush Type marker (if you’re purchasing one for the first time, don’t forget to get a pen body to go with it). The markers lasted me about 75 invitations before it ran out of ink. I ended up doing between 500-600 envelopes. It was a project for sure, but I was THRILLED with the end result. 

I’ve recreated the invitations using my ink-jet printer and laser printer and foil laminator so you can see some of the spots where the foil didn’t adhere. All details have been changed for privacy purposes.

mobile site