Posts Tagged ‘guest post’

Proudest DIY Moment by Kami Bigler

7 Comments

Hi IS•LY Readers!

I’m Kami and I blog at no biggie. I’m so happy to be here today! I have loved getting to know Melissa. We both share a love for thrift store finds. Melissa invited me to share my proudest DIY Moment. Over the past year, of all the great thrifty finds I have found, I would have to say that this Mirror would have to be my favorite and proudest moment, indeed.

I was just getting into thrifting, and I had decided to spend a full day going from thrift store to thrift store. On that day, I found this beauty. This big Old mirror was priced at just $10. I know! Just $10! If you saw it in real life you could see how big it is. Luckily it fit in my car.

Here is what it looks like now, you gotta love spray paint:

Below are some pics of the transformation process.

A good friend was over recently and commented, “That mirror looks like it came from Anthropologie.” It was so fun to tell her that I bought it for $10 at the D.I.

You can find Kami at no biggie sharing all of her favorites: great recipes, upcycled thrifty finds and paper crafts. You can also find her blogging on Baby Center’s Momformation blog.

Proudest DIY Moment by Guest Jessica

7 Comments

Jessica here of Allora Handmade where I blog about my crazy happy (mostly) life as a mom and handmade business owner trying to keep it all together. (I’ll let you in on a little secret. I don’t have it all together. Promise.) Moving on…

When Melissa asked me to post about my favorite DIY moment I completely drew a blank. Between working on my shop and making sure my kids have something to eat three times a day, there is little time for DIY around here. Unless you count Mac N’ Cheese. But I’m pretty sure that doesn’t count. Besides that, I happen to be married to one of the best DIY-ers I’ve ever met. Naturally, any project I dream up or even begin is more often than not made bigger and better by the Mr. I think I’m pretty lucky to be married to the handyman/graphic designer/interior designer pro, but when I look around at all the projects in my house there are very few (as in zero, ahem.) that I can call my own.  BUT, I think we make a pretty awesome team.

Since we have moved 7 times in the 5 years we’ve been married (can you imagine?), one of the most important DIY projects we do together is making sure our house feels like a home. Though it’s tempting to never settle in, we have put a lot of effort into every place we’ve ever lived, regardless of how long we were staying. Our taste and our skills have evolved with each new home, and I must say, our current home is definitely my favorite.

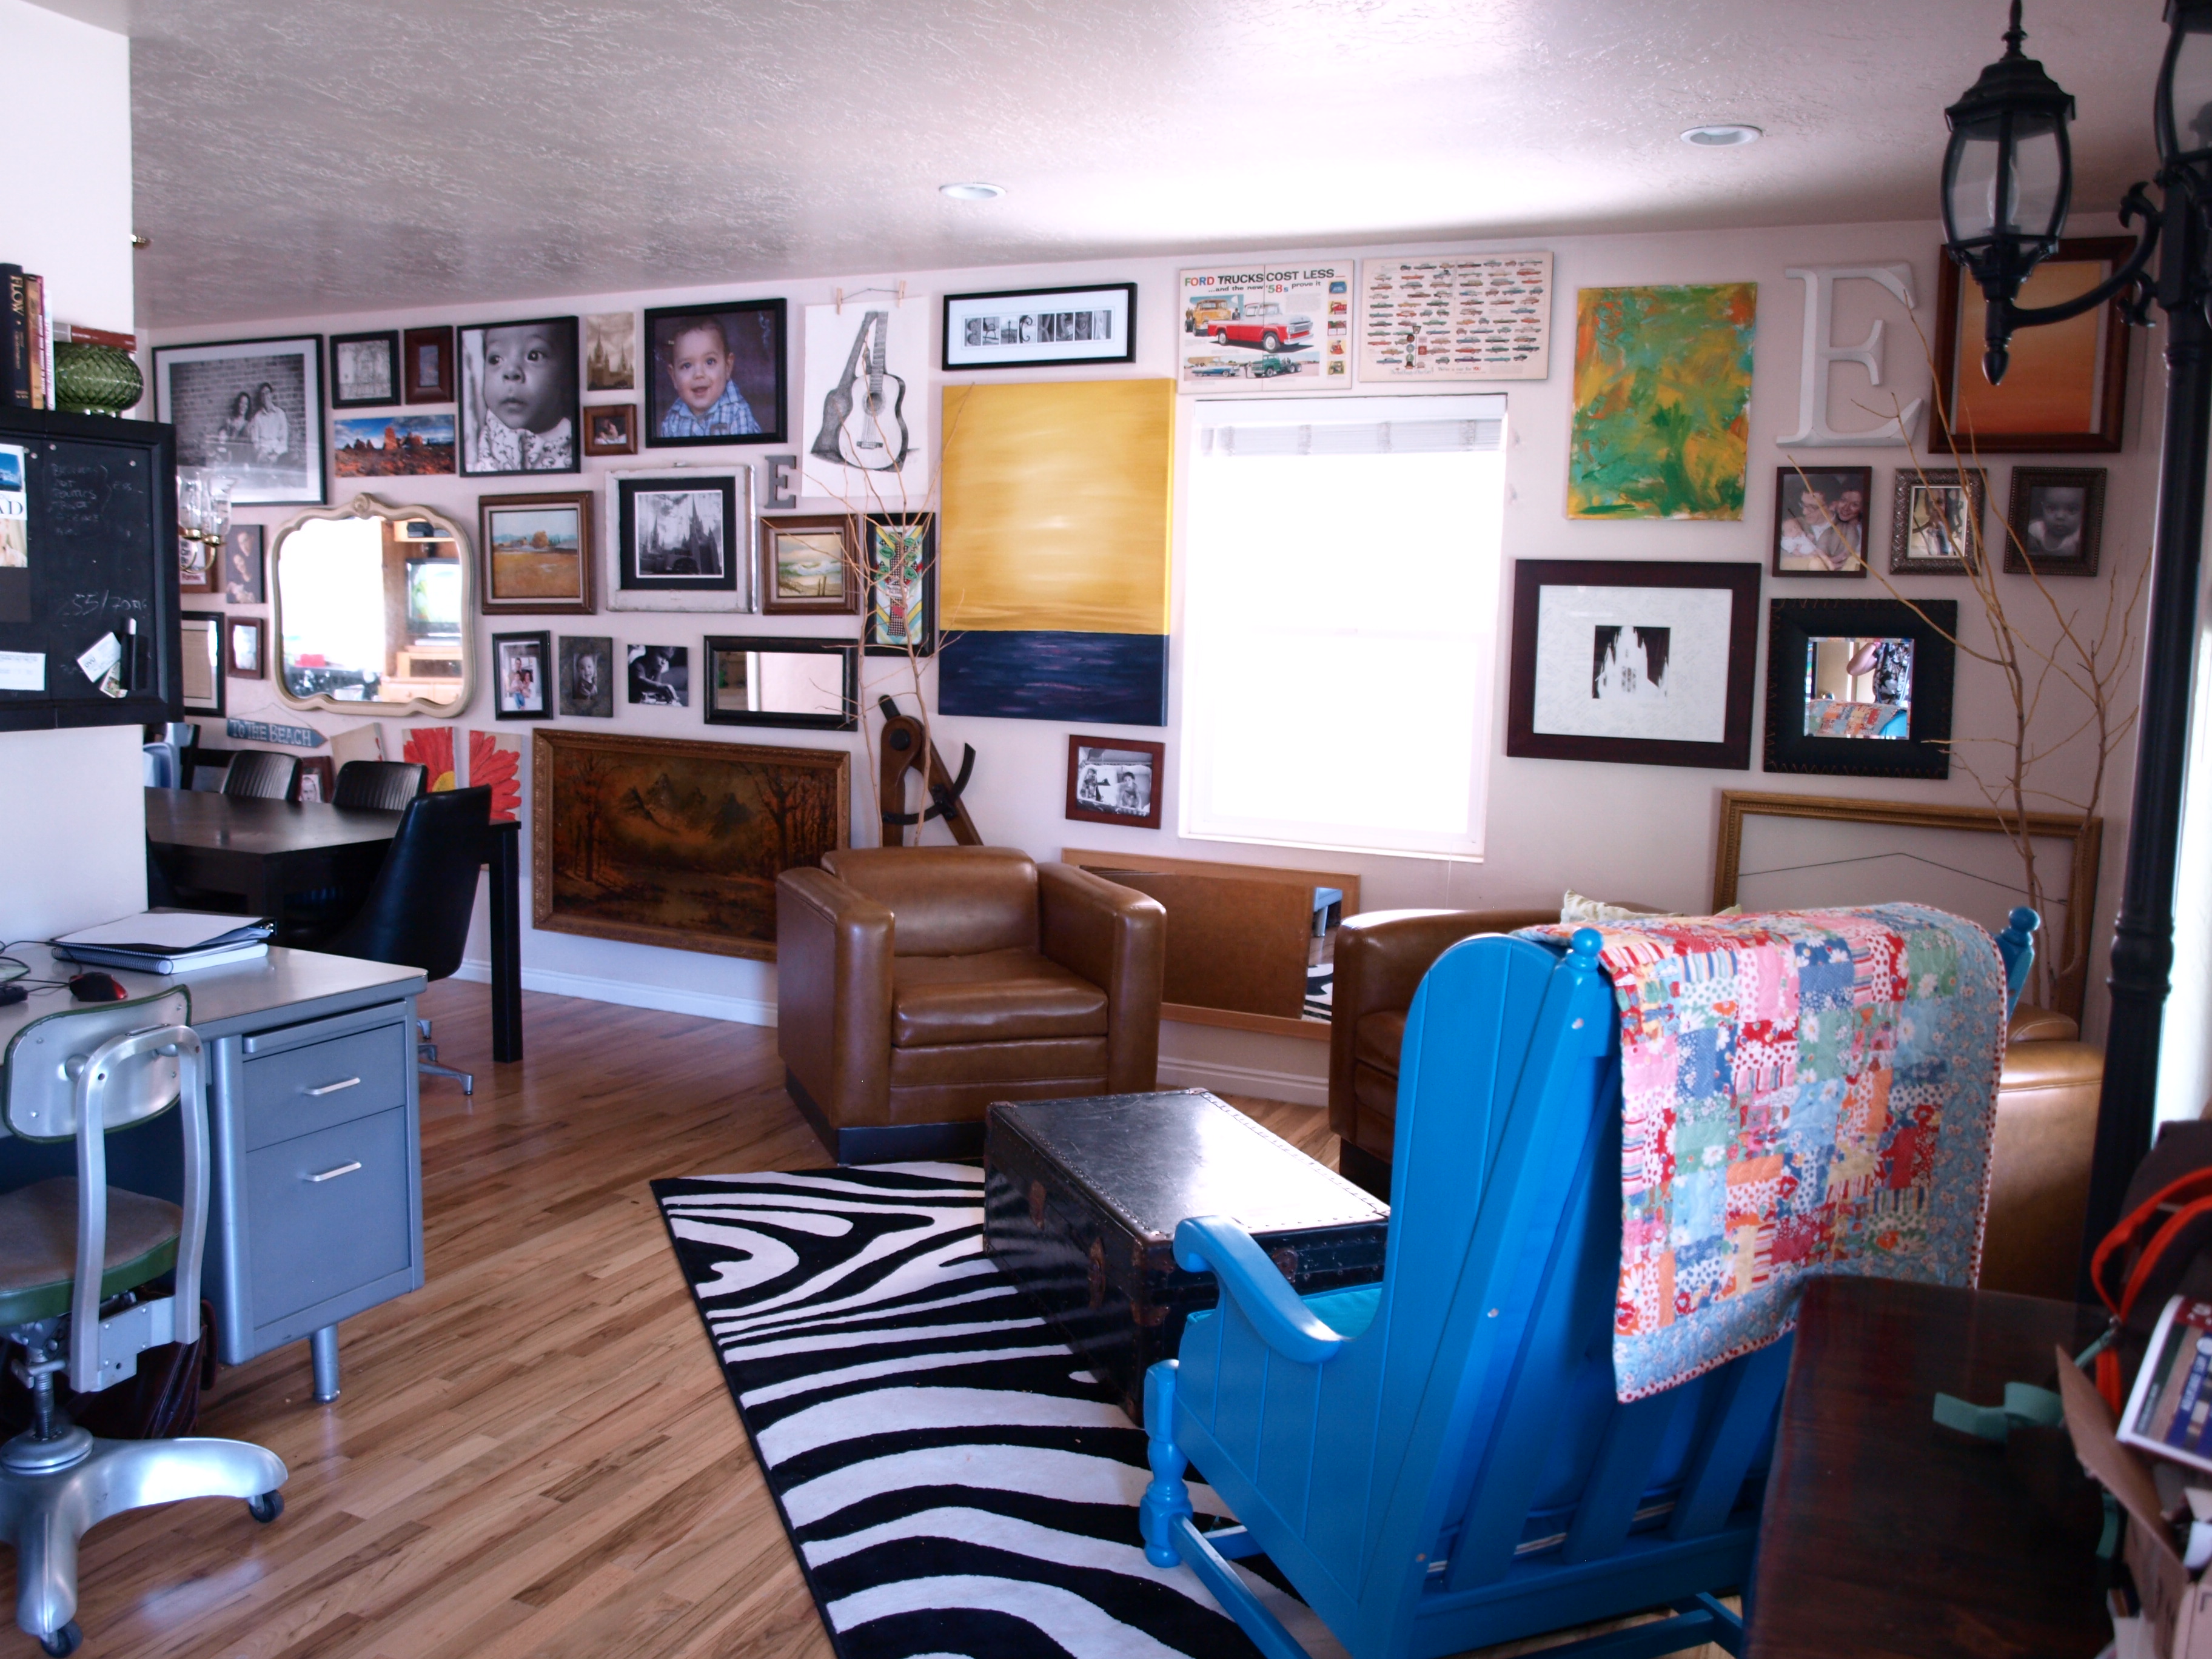
the view from our front door

Our style is pretty eclectic, but has to be 1 and 2 year old friendly. We love bright colors and pictures (obviously) as well as thrifted and vintage items. The Zebra rug is quite a statement, but I love it. Totally unexpected when you walk in the front door. The bright blue chair is my husband’s most recent project. It’s crazy wild, but my boys can’t get enough of it. Really, everyone who comes to our door feels compelled to step in and take a look around.

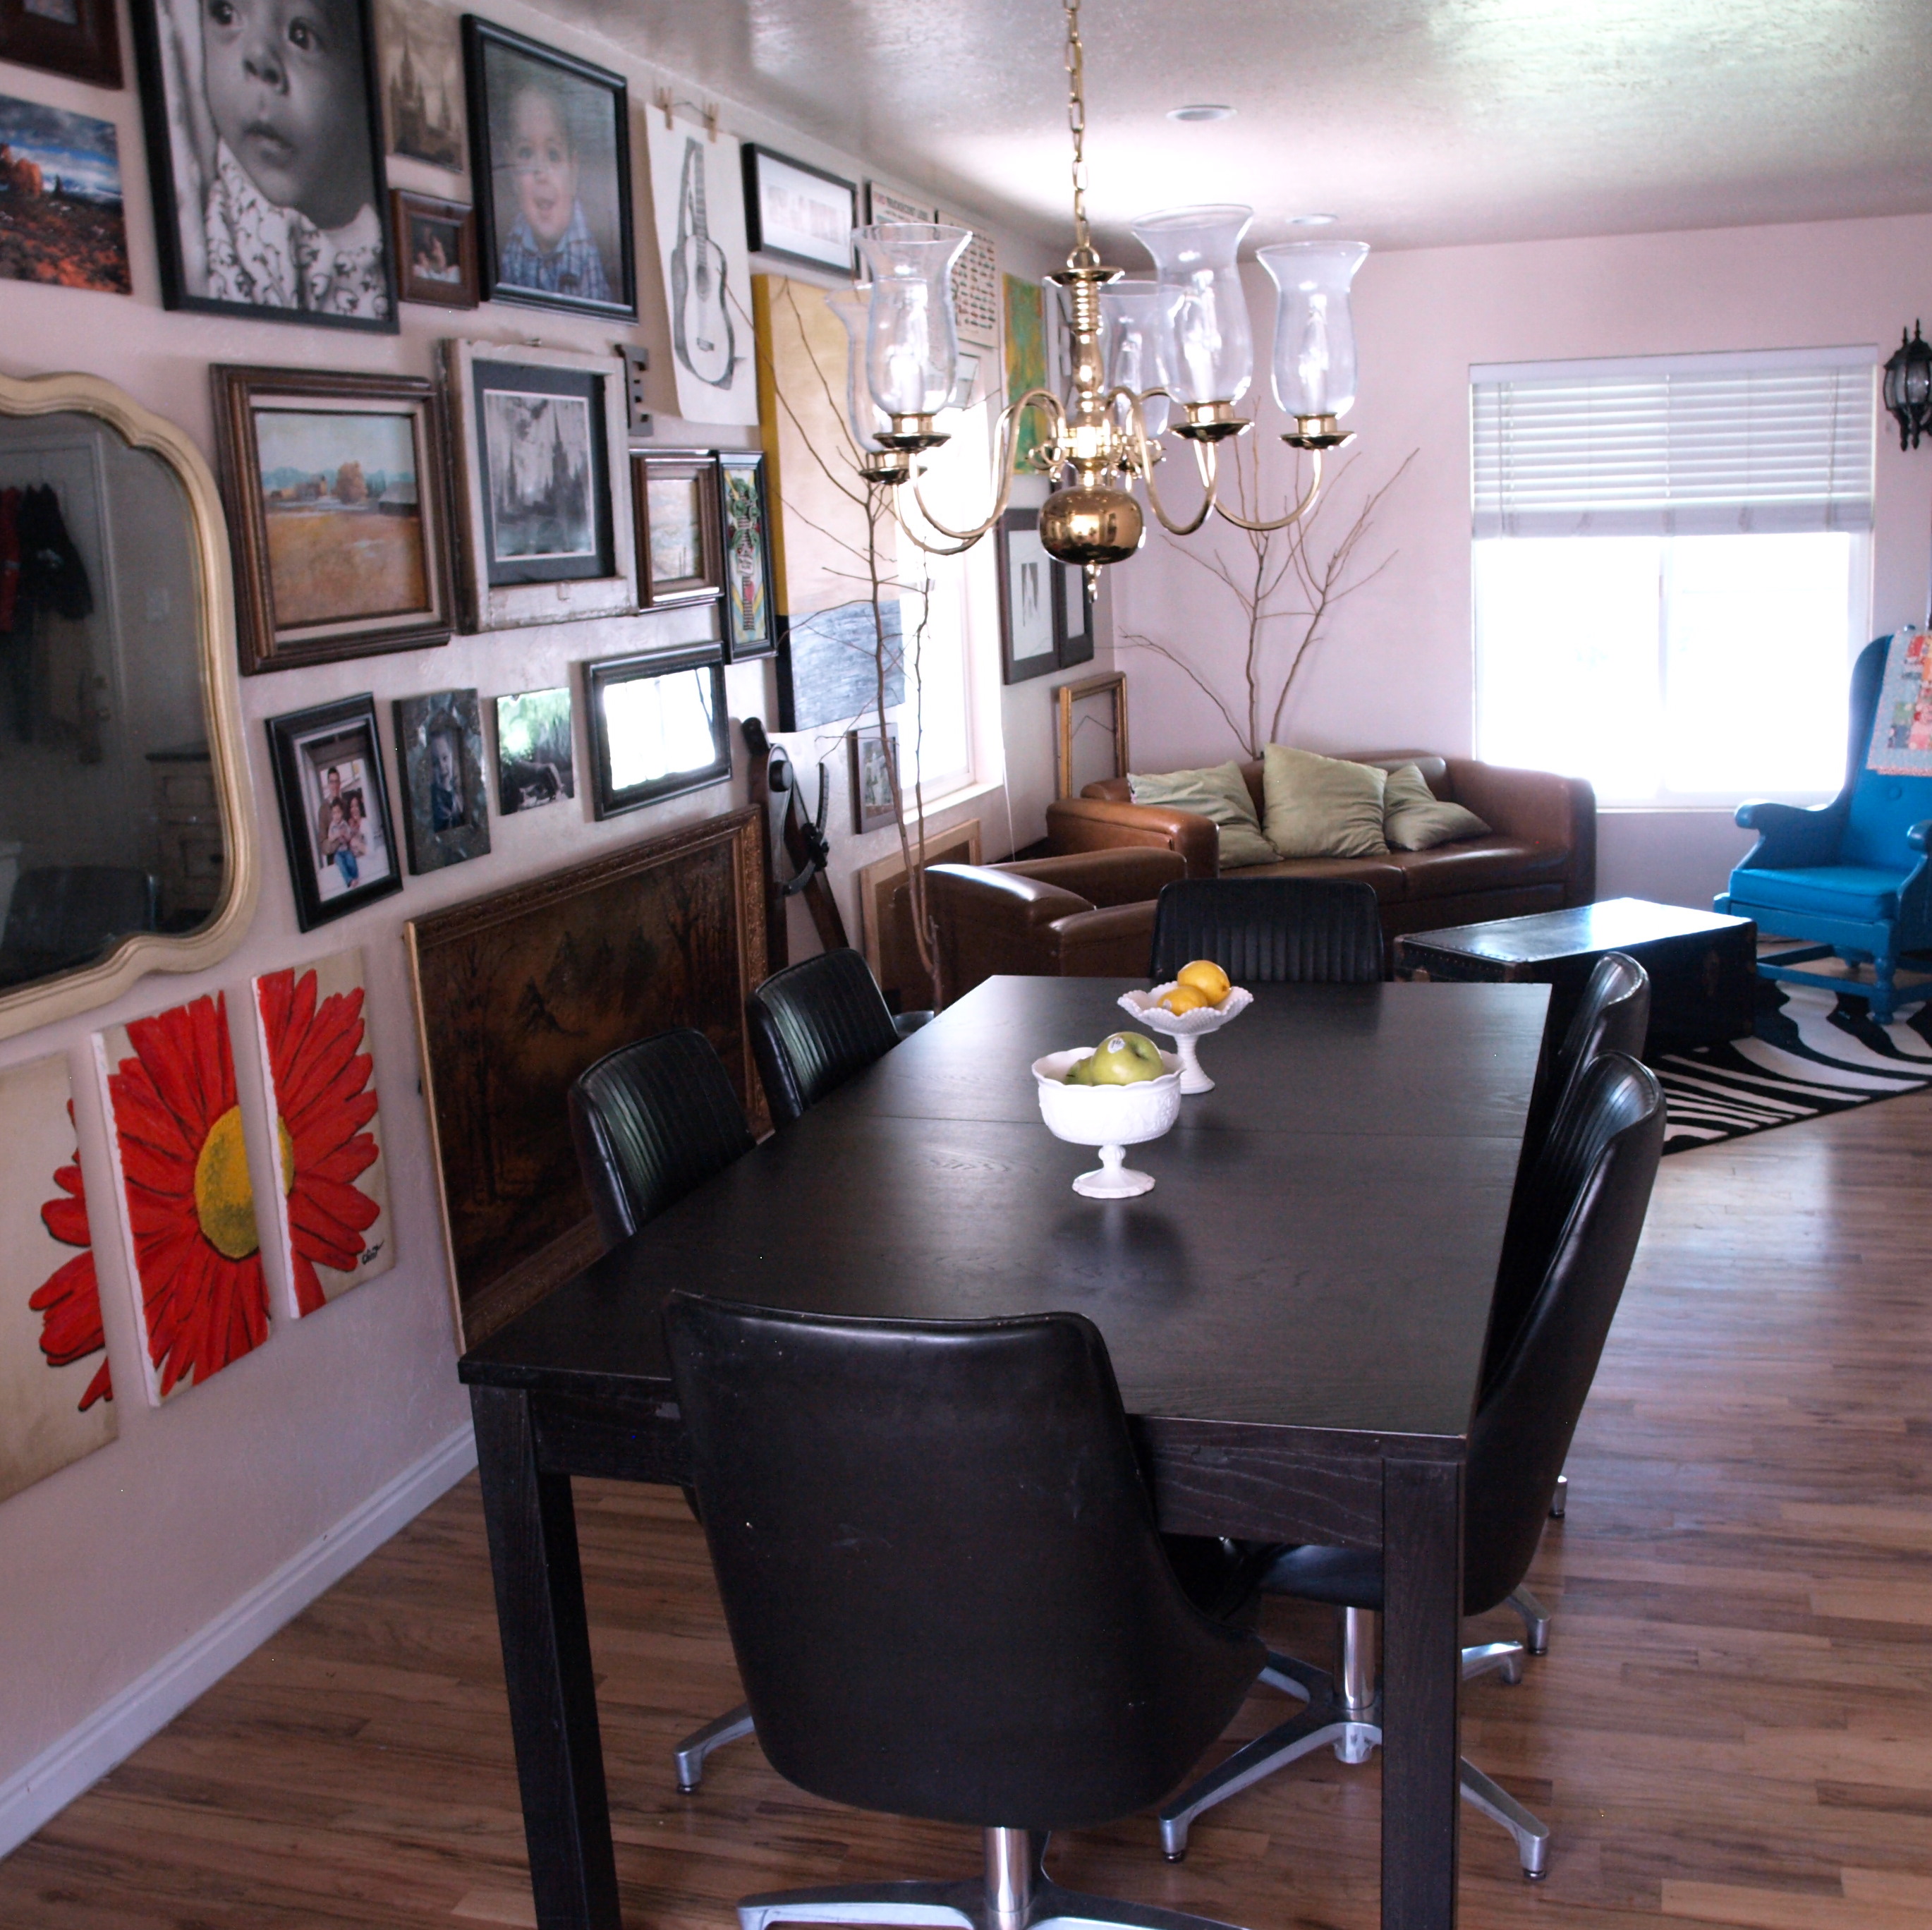
yes, i know the chandelier needs replacing...

In almost every home we’ve lived in, we’ve incorporated some sort of picture wall, but this one is different from the rest and has a little more flair to it. Instead of just pictures, we’ve added in some thrifted art, some personal art (even a few done by the boys!), vintage mirrors, etc. We love the way all of the frames look together – all mis-matched and gallery like. To recreate this look, start hunting around for some cool art with colors you like, some thrifted frames, and blow up some of your favorite photos. If you’re obsessive like us, measure all of your frames and draw out a map of where everything will go before trying to hang anything up. Keep in mind, it doesn’t have to be perfect! At our house most of the time the frames are a little cockeyed and full of little boy fingerprints.

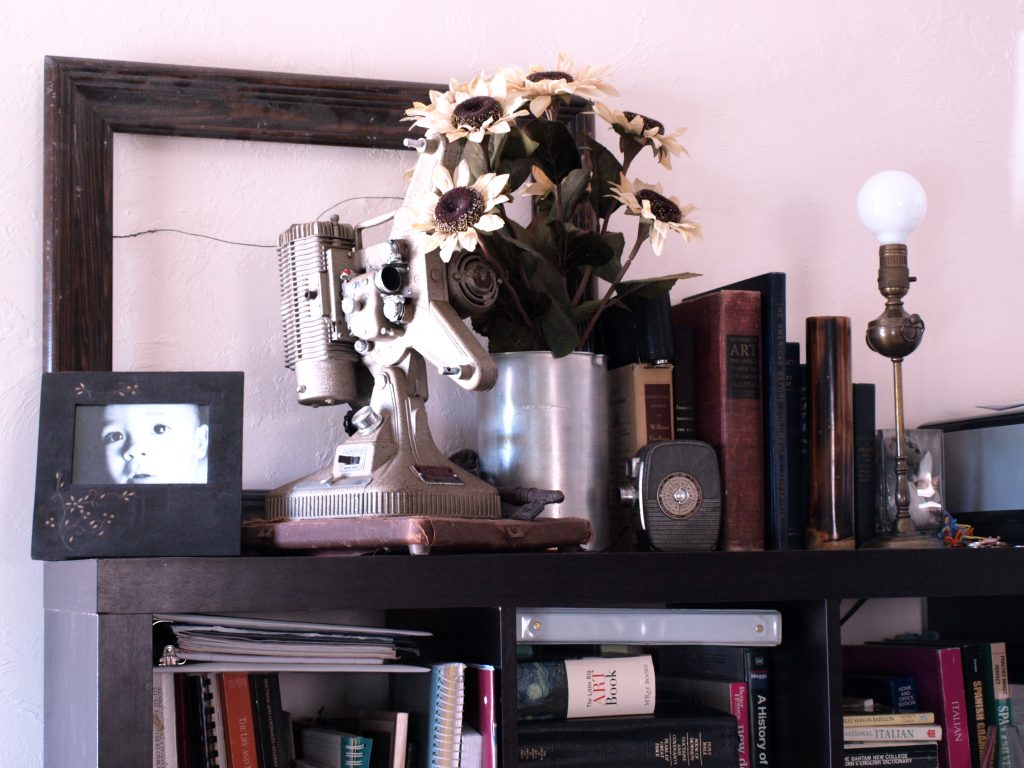
treasures are kept high and out of reach

The greatest part about all of this? Most of it was free or super cheap. Not kidding. Those awesome swivel dining chairs? Free. The blue chair? Maybe $20 including paint and fabric. The vintage metal desk? Free. The leather sofa and chair? $50. The big vintage mirror? $10. Most of the frames were from a thrift store and all of the found items as well.
Believe me, if we can create a home out of a house and a few bucks, anyone can! And while I never look forward to moving, I am excited to share many more DIY moments with my Mr.

Proudest DIY Moment by Guest Mique

2 Comments


Hi! I’m Mique from 30days.  My little online spot  has craft tutorials, giveaways, guest posts and whatever else I feel in the mood for.   I also co-host a craft show in the San Diego area with my sister called the Queen Bee Market.

I was  flattered that Melissa asked me to guest post.   I absolutely love and admire her style in everything she does….and then she asked me to share my favorite DIY moment. Hmmmm.   Most DIY moments in my life are given away. I’m a DIY gift giver. So I thought about it and thought about it some more and realized that my favorite DIY gifts have been to my nephew.  I am sorry about the poor image quality- I took pictures and gave the presents away (no retakes!).

When Owen was born I made him this little embroidered cowboy. I found a coloring book page online and traced it, added his info, crayon tinted it and stitched it.  I added a few buttons for a little pop.  The best thing about embroidery?  You can take any image you want and embroider it.  There is inspiration everywhere.  Plus anyone can do it.  I’ve sketched a few ideas myself but most often I search Google for coloring book images.   I then print them directly onto fabric and then stitch over them.

And for O’s first birthday I gave him a fabric book of his first year.   It was my labor of love to my only nephew (at the time) on my side of the family.  This was my inspiration and I tailored it to my nephew’s first year.

I gave these presents away awhile ago. And unfortunately I learned the hard way that although the first year book seemed sturdy when I gave it away, I didn’t think about how a toddler would be chewing on it. AND it wasn’t water proof. Yep, you guessed it, it didn’t last. If you want to make a project similar to the first year book, I would suggest sewing vinyl over the top of each page or waterproofing the pages.

I think what I’ve learned most about DIY projects over the years is that they can mean a lot while costing a little.  Yes there was a time commitment involved, but the end products were completely worth the effort.

mobile site