Archive for the ‘diy’ Category

3 Rookie Mistakes with Brush Lettering

2 Comments

I came out with a book! This Penmanship book takes you through the progression from all-caps print, to cursive, to developing your style to brush lettering. It’s a modern penmanship approach that uses foundations of Romans, Italic, Business Penmanship and Engrosser’s Script. Sounds like a hodgepodge, but it totally makes sense. Click here to snag a copy! 
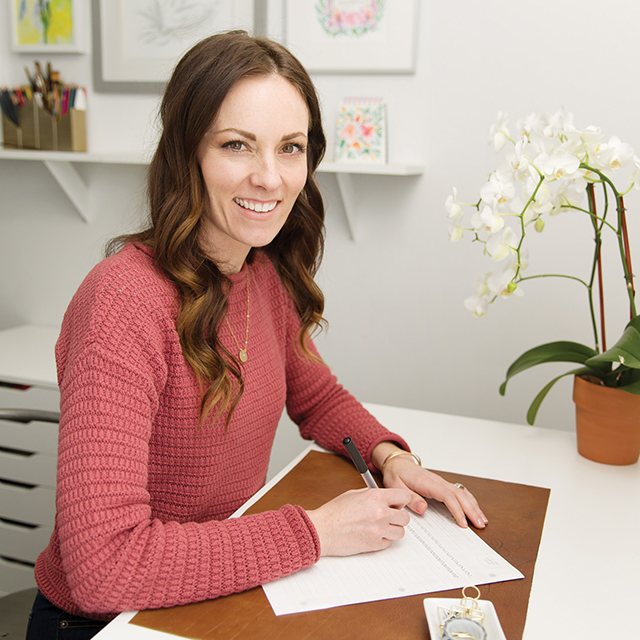
Hello new friends from Studio 5! Check me out on Instagram to peek at all the fun stuff going on…

You can progress through the book in chronological order, or skip around as you see fit. The book is loose-leaf pages with a 3-hole punch so you can put it in any 3-ring binder and pull out pages for practice with tracing paper. We opted for this as opposed to a spiral bound book, because we wanted this to be approachable for both right-handed and left-handed beginners! The book is geared towards any beginner ages 10+. Ages 6-10 can work on it with grown up guidance.

So let’s talk about the 3 common mistakes that I see in beginners approaching penmanship AND brush lettering and how to fix it…
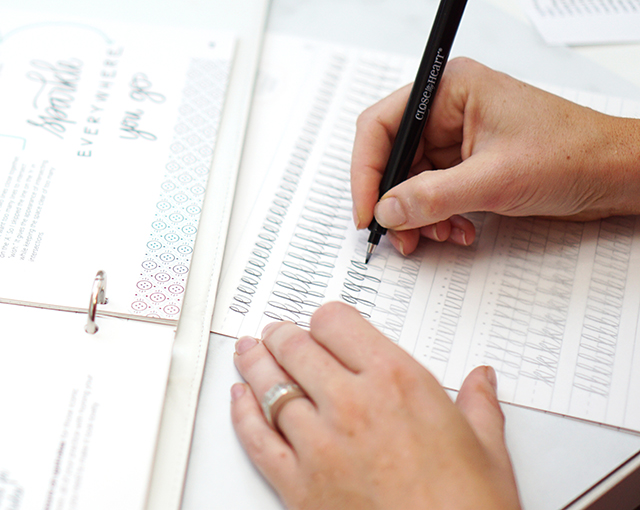
Mistake 1: Holding the pen wrong and too tightly

Hold the pen or marker (check out my line of brush markers right here!) in a traditional tripod grasp. Don’t let your thumb take over! And if you’re having a hard time with holding the pen too tightly, hold a pen or object in your non-writing hand as tightly as you can. Your grip in your writing hand will naturally ease up.
Mistake 2:  Going too fast

99% of my beginner students write too quickly. I’m constantly saying slow down. Slowing down will give you better structural precision until muscle memory takes over, and it allows for better and more controlled transitions from thick to thin when doing brush lettering. GO SLOW. Then, GO SLOWER. Slow, purposeful practice is going to get you better, faster. 


Mistake 3: Practicing willy nilly

Use those guide sheets!! I have multiple blank guide sheets and practice worksheets for each letter I teach in my book. Practicing with guides makes all the difference in bringing muscle memory into learning. With all 3 of these tips combined, you’ll be unstoppable! 
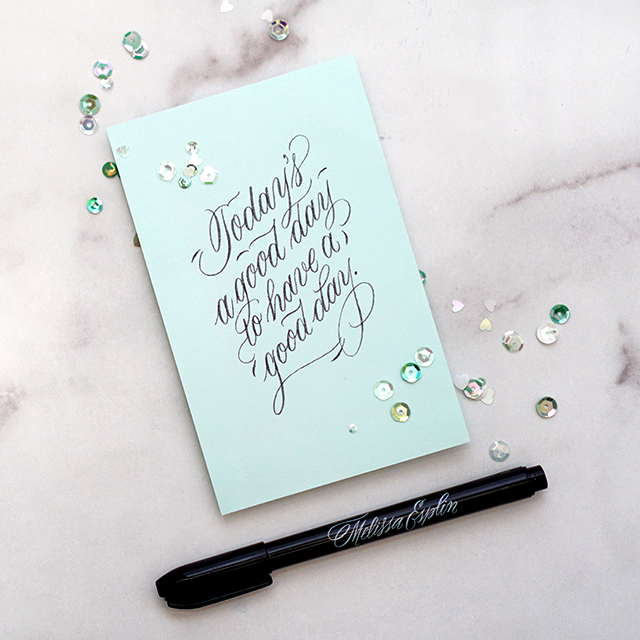
Hope you enjoyed my segment on Studio5! Let me know if you have questions about my book. And if you’re the kinda person that needs to learn face-to-face… I’m teaching a beginning brush lettering workshop next week, September 19th. Click here to register. And as always, my online class is always open.

Alternative Valentines: Cutie Tag Freebie

2 Comments

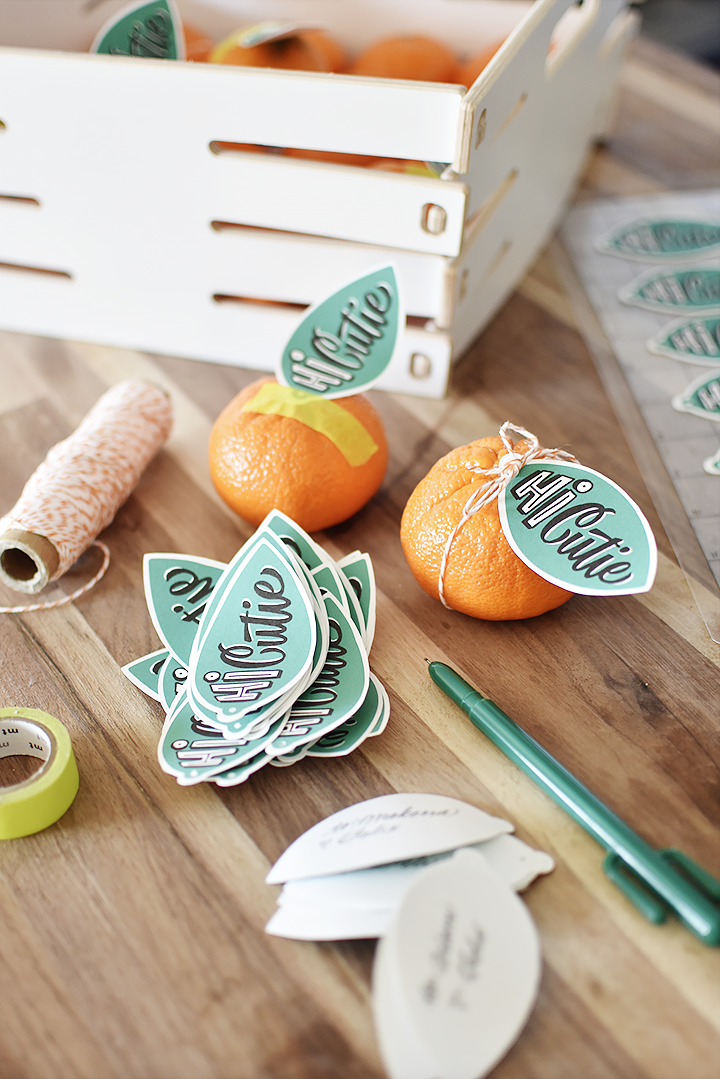
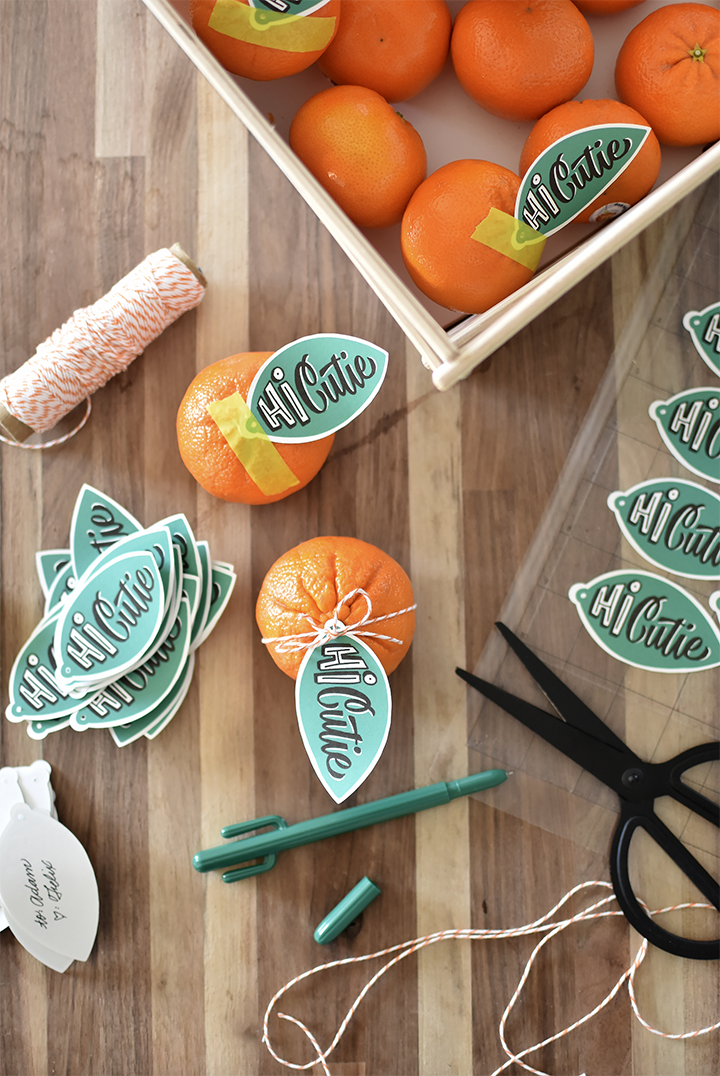
Last year I had this darling idea (I’ll share next week), ordered a bunch of things 3 months in advance and they never came. So, day before Valentine’s I was scrambling to do something a little out-of-the-box that didn’t involve candy. 

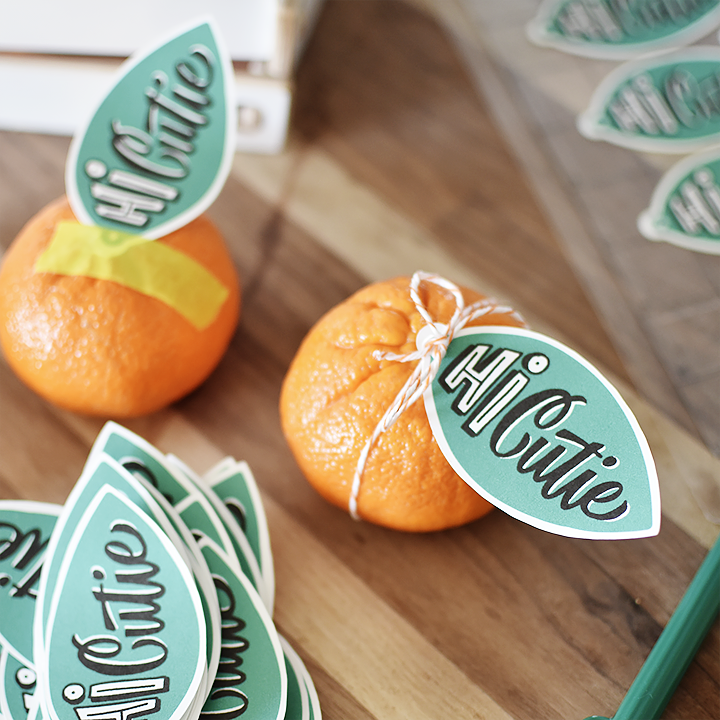
I drew the design in Procreate on my iPad Pro and then exported it to Silhouette where I printed and cut all of the tags. I had Penelope put her name on all of hers, but Felix needed a little bit of help. It was easy, and the kids absolutely LOVED it! I didn’t know if fruit would be an acceptable offering for grade school kids, but apparently it was just perfect. PHEW!! 

I didn’t realize I forgot to share the printable here until a few weeks ago, so here you go. And hopefully this year’s 2019 printable won’t take me a year to post. ;)

I kept the shape simple enough that if you don’t have a Silhouette cutter at home, you can easily just cut around the outside with scissors. You don’t have to get a perfect cut in order for them to look darling, either. 

CLICK HERE TO DOWNLOAD THE PRINTABLE (SANS SILHOUETTE MACHINE)

Now if you’d like to use a Silhouette machine to cut them out for you (because why would you not) see the link below to download. 

SILHOUETTE STUDIO FREE PRINTABLE

MATERIALS USED

Did you print it out? What did you think? Tag me @melissapher if you do! I’d love to see how they turned out. 

This freebie and the artwork associated with this freebie are yours to use for personal use only. Any alteration, redistribution or selling this work without my permission is prohibited. Thank you! Affiliate links used help support this website. Thank you for your support. If you have any questions, feel free to comment below or email me directly melissaATmelissaesplinDOTcom

Art Supply Organizers + Process Video

2 Comments

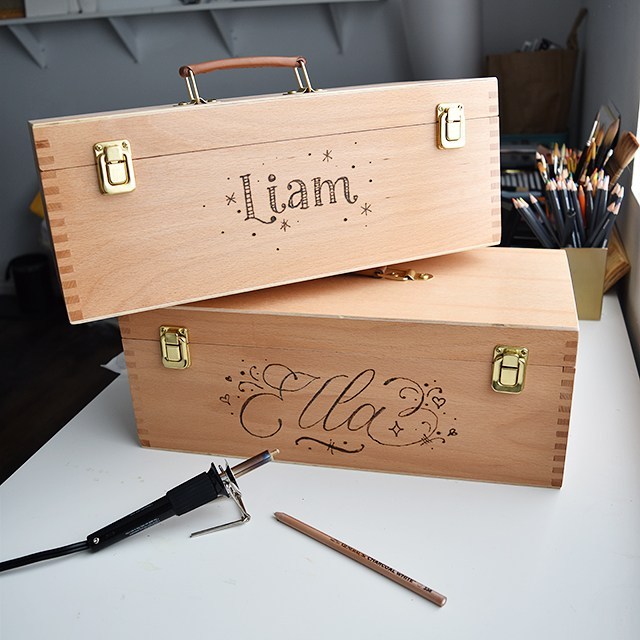
A few weeks ago, a neighbor of mine dropped these art supply boxes off and asked me to personalize them with her grandchildren’s names on them. Easy, right? 

They’re un-finished, which gave me a world of options for how to personalize them. Do I paint and lacquer them? Do I make vinyl decals? Ultimately I knew I wanted these boxes to be heirlooms; treasures for these kids to have forever to remind them of their awesome grandma. After all, I’m a huge sucker for sentimentality. My grandparents supported my artistic side when I was a child, so this really struck the right chord. 

I did a little bit of brainstorming and my assistant Hayley (she’s the best), suggested I get the wood burning tools out! Of course! It’s permanent, doesn’t need to be lacquered and relatively quick to do. I love when I get a win like that. Here’s what I used: 

Watch the video above to see the process from beginning to end for both of them, but let me walk you through it here, too. 

I lightly sketched out my design using the white charcoal pencil (erased any stray lines as needed) and allowed my wood burning tool to warm up. I put it on just shy of the hottest setting. I originally started it out at a low setting, but it just wasn’t getting uniform lines. The uniformity in the lines was an issue throughout this project, and I think it’s a limitation of the burning tool in general. It’s a very entry-level tool, so it’s bound to have it’s drawbacks. 

From the videos I’ve watched on pyrography (they’re quite dry, wow) and my own personal experience; I found that the screw-on “nibs” don’t heat up as uniformly as the nibs that are built in to the pyrography tool. FYI: pyrography is a fancy word for wood-burning. ;) That said, this tool is priced in the mid $30s. Whereas the next level in pyrography tools jumps up to the $170s+. It’s a pretty big financial commitment to get the next level up, so there’s that. I won’t likely be upgrading my set up any time soon as I’m only ever getting it out every 6 months or so. 

I followed along my drawn lines, but the nib kept cooling down considerably because of the debris it would pick up in the burning process. I ended up getting a scratch piece of wood to help clean it off every once in a while. That helped me achieve cleaner lines once I figured that one out. 

As far as style inspiration goes, Ella is quite a girly-girl. I added girly flourishes and embellishments to the already traditional style for an elegant “princess” look. Liam is a fun-loving boy, so I made his more of a whimsical foundational style. 

I feel like I do some of the same things day in day out, so this was a nice little challenge and switch up from the norm! Have you ever tried pyrography before?

Affiliate links are used, your support by purchasing through these links allows for more great content. Thank you!!

Best Tooth Fairy Ever

0 Comment

We have a killer Tooth Fairy. Not in the creepy horror film way, but in the OMG-she-totally-knocks-it-out-of-the-park sort of way. She’s amazing. Not to toot her horn too much, but she’s a darling little 6″ sprite that writes the sweetest little love notes to Penelope. They even have occasional back-and-forth correspondence that’s total cuteness overload. 

We don’t have many ridiculous or time-intensive traditions at our house. Really, we don’t have many traditions at all. But this is one that really jives with our family core values. It’s creative. It’s cheap. It makes my children’s childhood magical. 95% of the time the Tooth Fairy has her act together, but some times she’s busy. And she gets the tooth the next night. But she usually includes a very heart-felt apology in her little love note the next night. 

Cute dress from the ever darling My Sister’s Closet

I age restricted the video in case little eyes come across the video. Let me know if that’s an issue. I’m still pretty new to this whole YouTube publishing thing. Click on over to YouTube if you’d like to subscribe to my weekly videos. Content includes creative art-related DIYs, art material reviews and lettering/calligraphy time-lapse videos. I’d love it if you subscribed, but you do you. ;)

So here’s what you need: 

Knowing calligraphy isn’t an absolute must*, but it certainly helps. ;) I can teach you how. 

Since I have a Silhouette machine, I downloaded an envelope template from the Silhouette design store and resized to my liking. The final envelope size is somewhere between 1″-1.25″ wide. The letter is about 3/4″ wide and 1 1/2″ tall. So these letters are TINY! It’s what makes them so fun. If you’ve got a Silhouette, resizing an envelope template and cutting out on your machine is easy-peasy. I have cut out envelopes by hand before. Not the most fun thing in the world, but also not the most time consuming thing ever, either. 

The paper listed above handles ink really well. If you’re using a very fine point pen (Sakura has .003 micron pens that will give you a ridiculously small point), then any kind of smooth paper will do. 

If you’re using pen & ink, the Modern nib alternative to the one in the video (the Leonardt Principal) will get you a nice fine hairline. Make sure you use a fine ink as well. I prefer walnut as it’s easy to use and it doesn’t corrode your nib like iron gall inks do. 

Once you’re done with writing your note, fold up the note to fit inside the envelope. Wrap the envelope flaps around the note and seal with a wax seal. You don’t have to glue the flaps closed because the wax will do the work for you. I use wax seal wax and a drill bit to make a fun imprint. 

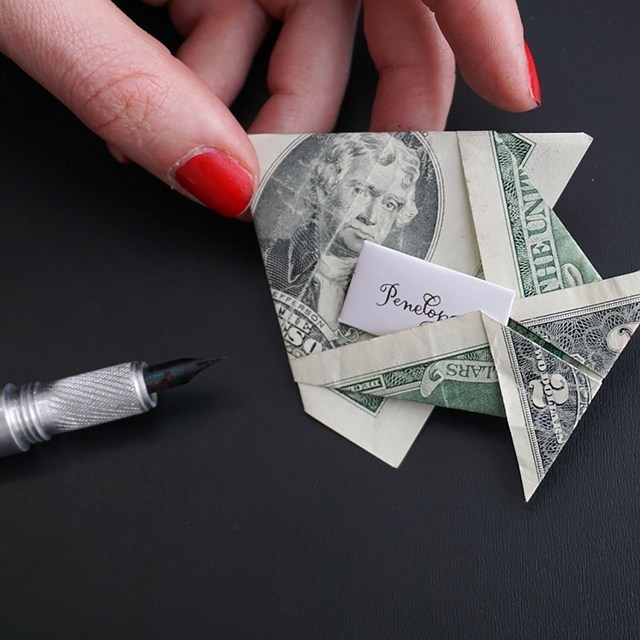
Then grab your dollar bill and fold it into something exciting. These are my favorites out of the ones I’ve tried:

Then tuck the envelope in one of the folds of the animals and you’re done! I’m sure it’s easier for the Tooth Fairy to slip a buck under the pillow and be done with it, but this is just straight up magical. Let me know if you end up doing this with your kid(s)!


Affiliate links are used. Your price doesn’t change, I get a small percentage of each sale from these links. All proceeds from affiliate sales goes towards making new videos like these. Your support is greatly appreciated!

2017 Thank You Printable

9 Comments

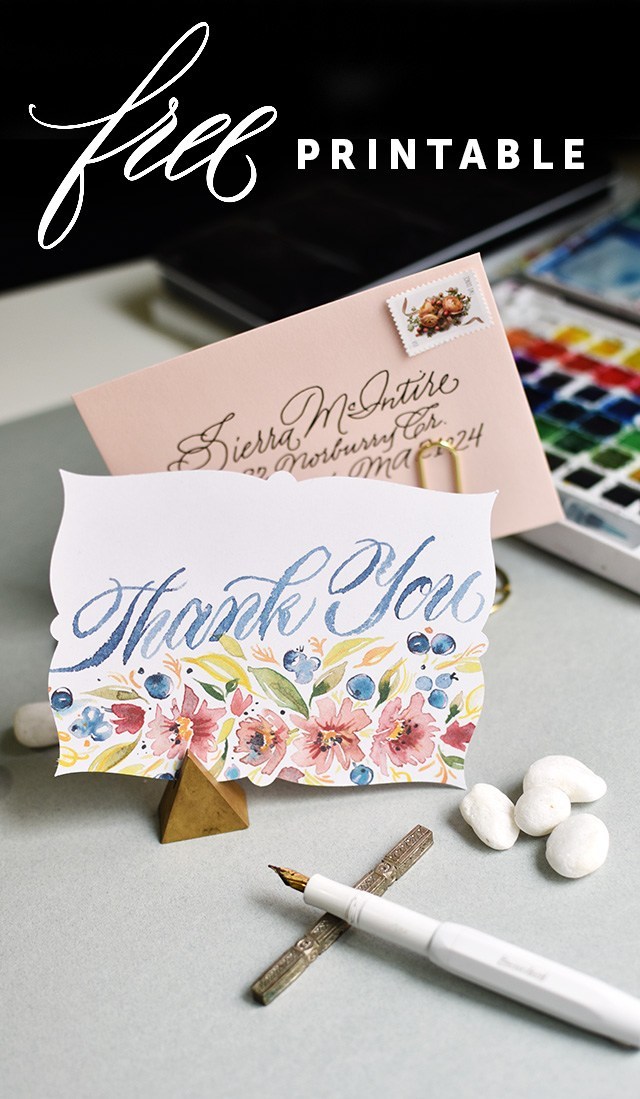
The time of year has come where it’s time for the annual Thank You freebie! I love doing this because it gives me a chance to work on styles and techniques I don’t always get to do on a regular basis. For this year, it meant I got to put the watercolor floral classes I’ve taken from Natalie Malan to use. I wanted to go for a slightly muted palette, but it only worked slightly. It’s like a bright, muted palette. ;)

Also, I feel like I must mention that this month completes the 10th year I’ve been blogging! I can’t believe it’s been that long. So much has changed: 6 moves, 3 children and a few career changes to say the least. I didn’t know I would be blogging this long. But here we are! ‘Tis the season for gratitude, so I may as well express that I’m so grateful for the opportunities that blogging and social media has given me. I’ve made dear friends, I’ve traveled, I’ve learned so much and I’ve felt the creative inspiration through the connections that I’ve made. It’s been pretty awesome. Will I still be here, writing in another 10? We shall see! 

Check out the a video of my process here:

This year’s Thank you takes on two forms. One is a plain, 5.5×4.25 rectangle with cut lines for you to follow, the above is a suggestion. You can download the JPG and use Silhouette’s print & cut feature to make a gorgeous full-bleed card with a scalloped edge. See below for the tutorial! 


You certainly don’t have to have a Silhouette in order to take advantage of this printable. Just click The download link below with the description “hand cut”. :) Just giving you some fun options.

DOWNLOAD SILHOUETTE FILES HERE


But I’ve got TONS MORE ‘Thank You’s. Check out the whole list of past years’ printables below!

Want to learn calligraphy? Like the brush lettering I use here? Check out my class on Calligraphy.org. I’ll give you one-on-one instruction to help you get there. We start from the very basics, but because of the personal nature of the instruction we offer off-script learning for the more advanced letterer. Use code BRUSHLETTERING for a 10% discount on the class. :)

Materials used for this DIY: 

This printable is free for personal use only. Any redistribution or commercial use of this printable without written consent is prohibited. © Melissa Esplin 2017. Affiliate links used, by purchasing through an affiliate link, you support MelissaEsplin.com and the free content provided here. Thank you for your support! 


mobile site