Blogging has been a struggle for the last year. But more so in the last few months. All of my images were deleted and we’re in the painful process of migrating to something that is simpler and works better. I don’t know what that means for my work that’s here, but for now, if you can’t see it, I’m sorry it’s unavailable.
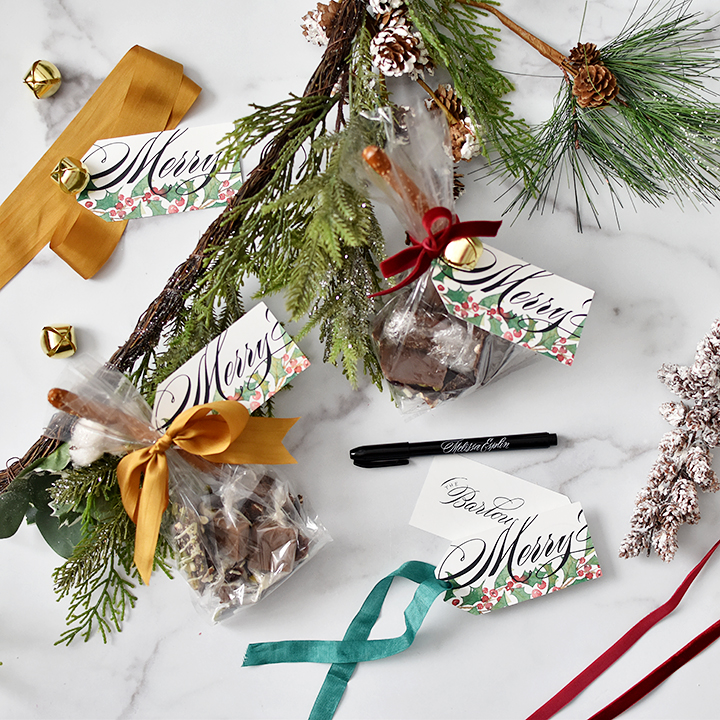
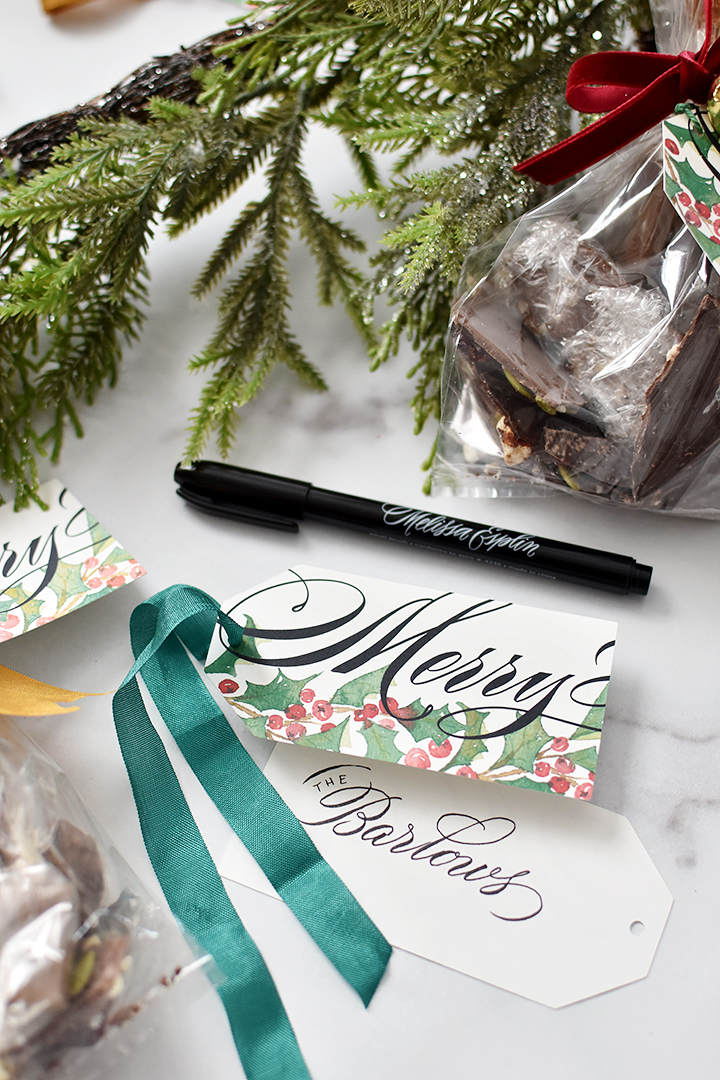
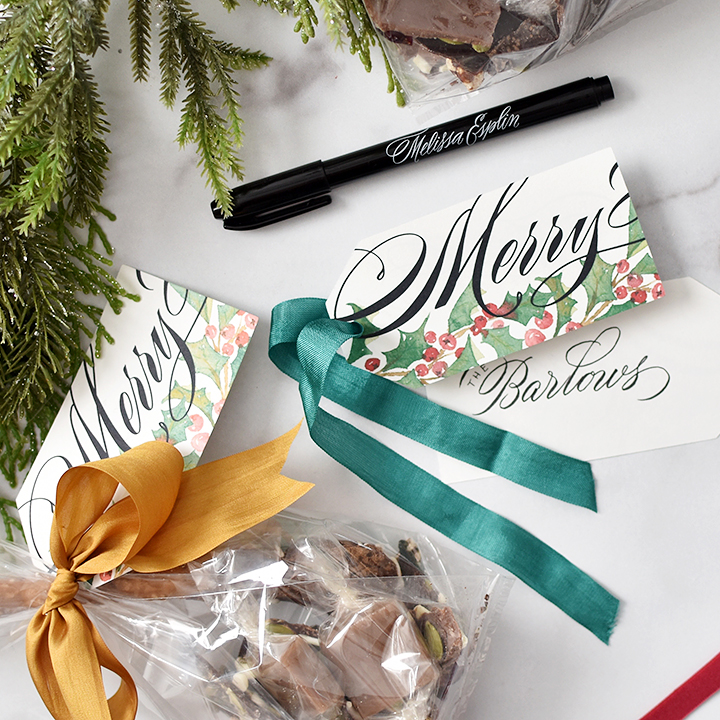
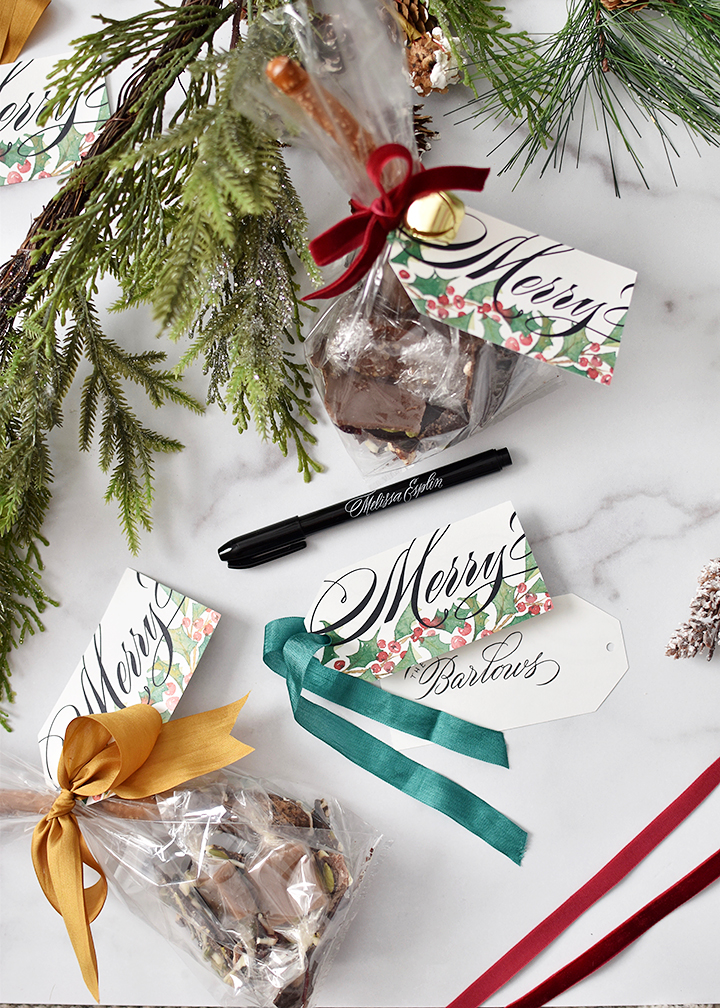
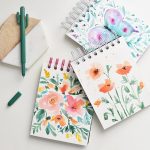
Christmas is a time of stress, but also lots of excitement! I love myself some pretty packaging so I made these tags with a scan of one of my 100 florals paintings and then vectorized my calligraphy and put it all together with a tag shape.
The inspiration was vintage packaging. I don’t know if you can tell or not, but I love those cookie tins from forever ago and wanted to embody that in the design.
With that said, I hope you have a Merry Christmas. Here are the tags I made this year for neighbors and friends. Feel free to download and use them! For personal use only. The download page is a google docs folder with a printable and a silhouette print and cut file for your convenience.
Hope this year is a wonderful one for you and yours!
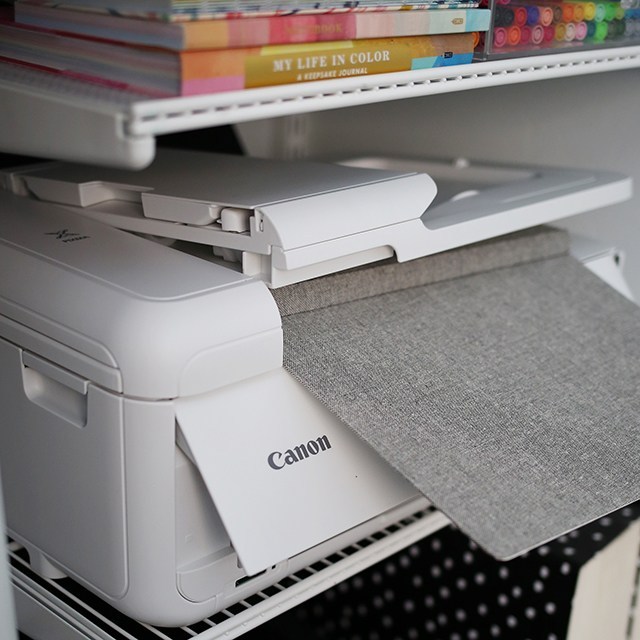
I’ve been a long-time Canon printer fan. I previously had, and LOVED, the Canon MG5620 for 5 years and loved it (here’s the newer version at $75). When I got the opportunity to try their TS9521C Craft Printer, I jumped at the chance! I set it up successfully all by myself. In an afternoon.
The craft printer boasts printing 12×12 borderless, I’ve ALSO successfully been able to print borderless 11×17 as well. So score, right? A larger printer that can handle bigger print and cut projects that doesn’t cost an arm and a leg?? I’m sold.
See the bottom of the post for the download, but if you want the low-down for this printer, check out my pros and cons list.
PROS:
Easy set up
Pre-loaded templates
Wireless Printing
12×12 borderless printing*
Scanner
Duplexing Scanner
Front and Rear feeds for different media types
CONS:
Scans legal sized paper, not 12×12
It’s not compact
Front tray doesn’t work well with thicker paper
These cons by all means aren’t deal breakers at all. It would be amazing to have a larger-format scanner, but it does do 9×12, so that’s pretty darn great. The size of the TS9521C is a fair amount larger than my older Pixma MG5320, but that’s to be expected of a larger-format printer. Just don’t expect it to fit in to super tight spaces. ;) And the front tray doesn’t work well with all of my card stocks. It works with Neenah card stock, but not letterpress. HOWEVER, that’s what the rear tray is for! It’s great to have that option so I can work with thicker card stocks no sweat.
The cons list aren’t really cons because I’m so excited about this printer.
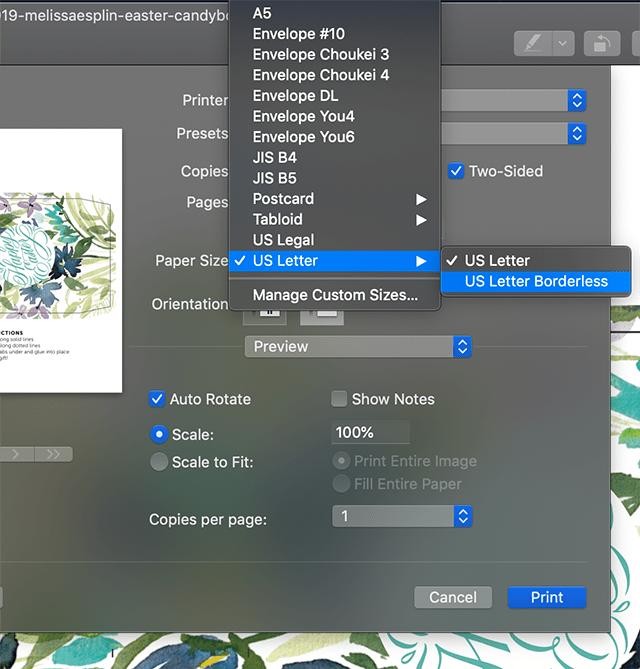
*It doesn’t print borderless as a default setting. When you select print, you’ll see the option in print settings where you can select a borderless option in the paper size selection area. See image below.
I painted up this floral and made a print and cut, and didn’t have to worry about borders. I’d call that a win.
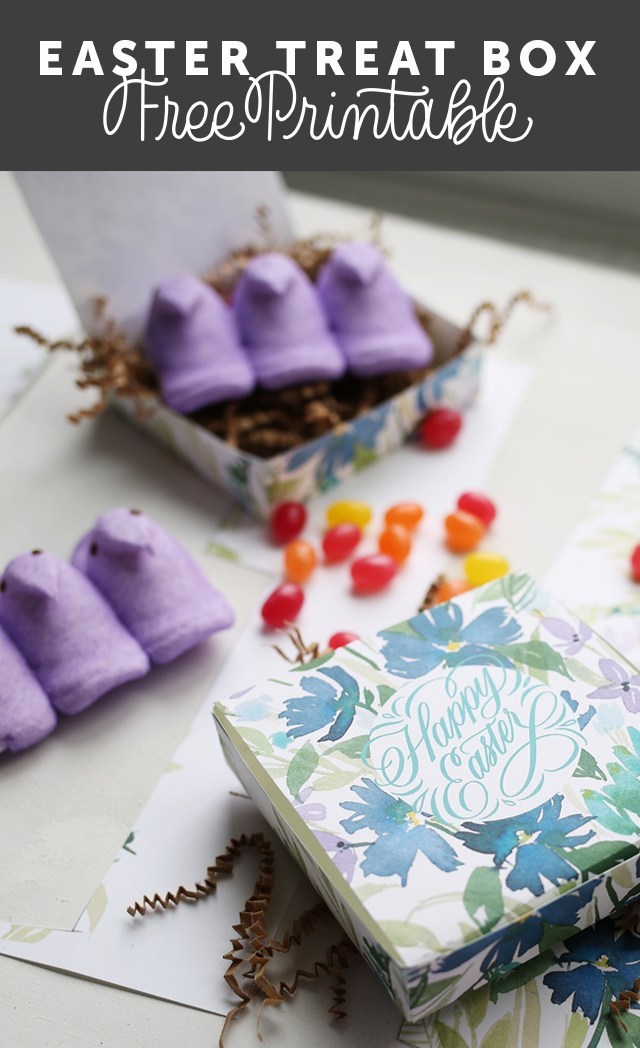
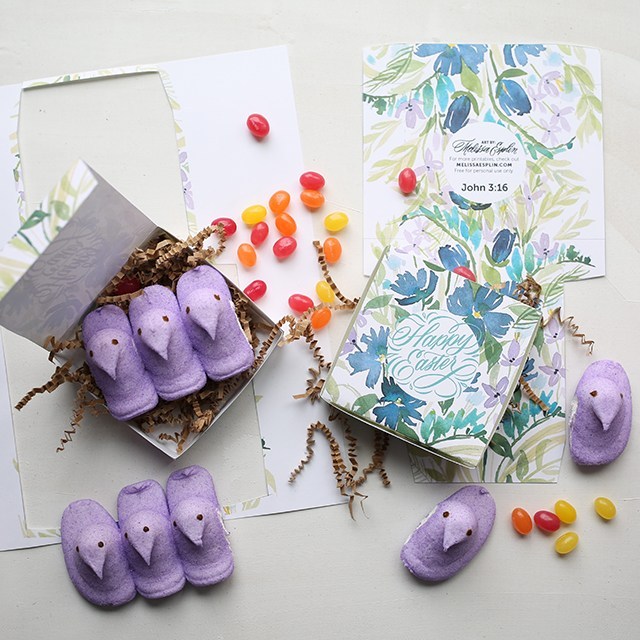
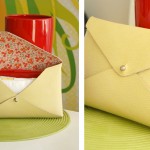
The box dimensions are 3.75 x 3.75 x 1 inches; It’s the perfect size for a few candies or a cookie. The perfect little treat to gift to someone in celebration of this Easter week.
There’s something about Easter that makes me go for blues and greens. See below for different file downloads.
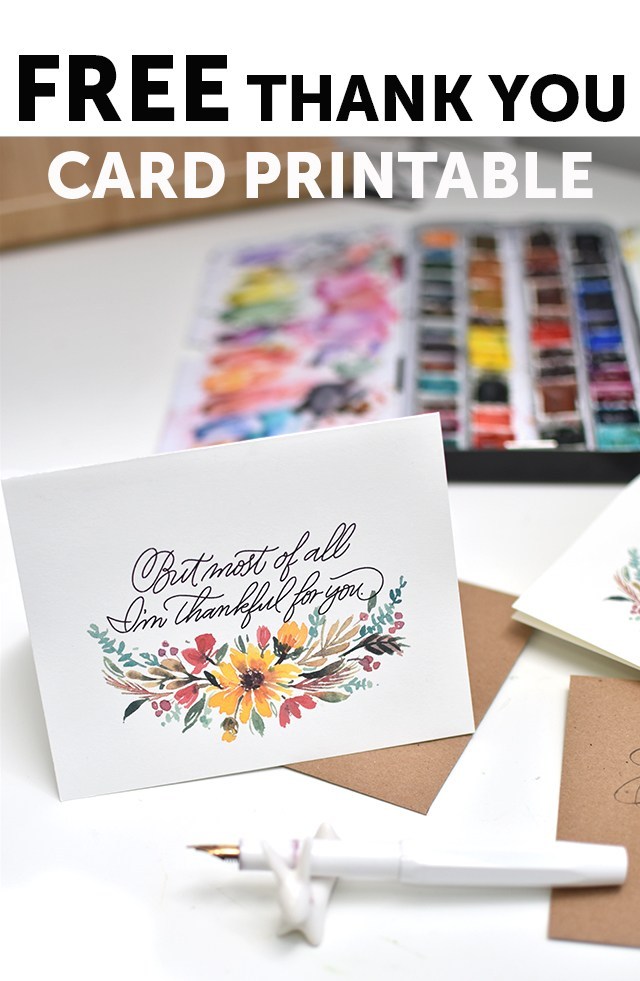
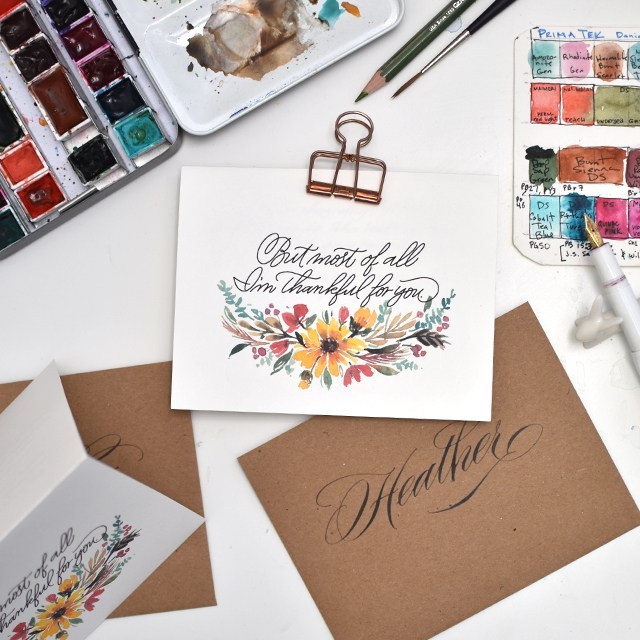
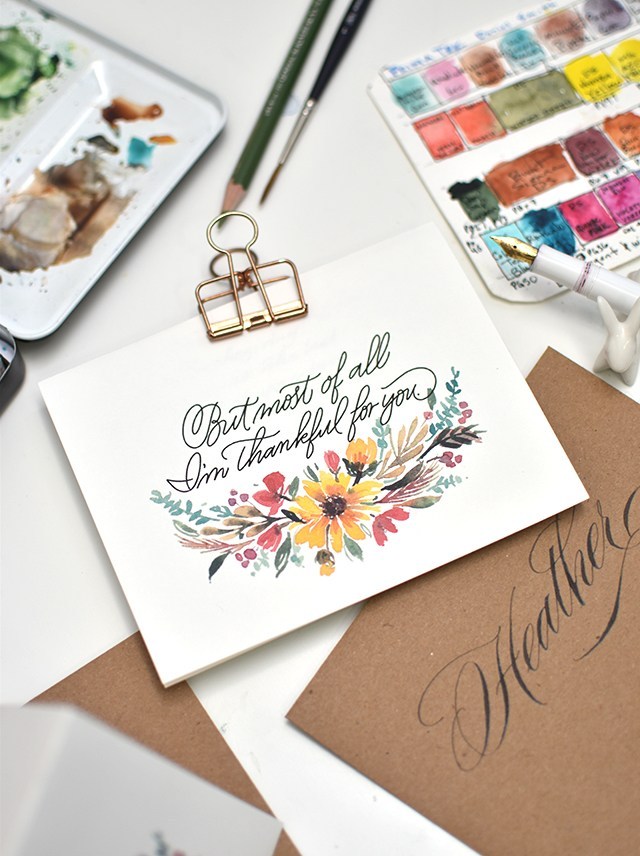
This is one of my most favorite time of year. I have great memories of the most magical Thanksgivings. I hope this is magical for you as well. A big part of Thanksgiving is expressing thanks where it wouldn’t otherwise be said. I hope you take a few moments to download, print and give a card full of gratitude to someone who you’re thankful for.
Want to learn how to make your own? Check out my line-up of online classes over at Calligraphy.org. Use code GIVETHANKS for 15% off your purchase of over $50 now through 12/5.
Happy Thanksgiving! This post is coming to you so so late, but better late than never! Click the above link to download and print, cut in half and send! Use A2 kraft envelopes to send.
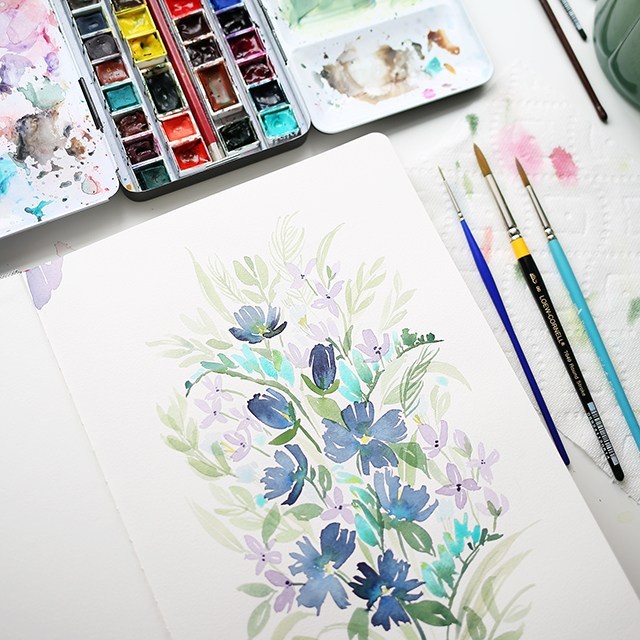
The process was quite simple. I painted the flowers on Legion Stonehenge Coldpress paper, scanned it in and wrote overtop in Procreate app. I kept the style simple with a monoline bouncy penmanship style.
The above download is available free for personal use only. Any alteration or redistribution of this file without written consent is prohibited. Check out the prior years downloads below:
Learn brush lettering based on more traditional foundations and how to manipulate those foundations to write some funky letters! All skill levels welcome, but it is geared more toward beginners. Lefties welcome!
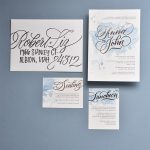
Learn the art of beautiful penmanship and how to harness your own style to tell your story. This is perfect for beginners, lefties and future brides! We’ll go through foundations, style and how to address an envelope.
Join me in Nashville for a whole lot of fun with a 2-day lettering intensive with the pointed brush. We’ll dig deeper than in any other class in the two days. We’ll go letter-by-letter through variant options, work on word and compositional structure and style structure. At the end of the class, we’ll work on the beginning essentials of digitization by making our own personalized stamps with our artwork. All skill levels welcome.
I hope I can see you at one of the above workshops this summer. We always have a blast and I try to pack as much information as possible so you leave the workshop motivated, empowered and ready to continue your calligraphy journey.
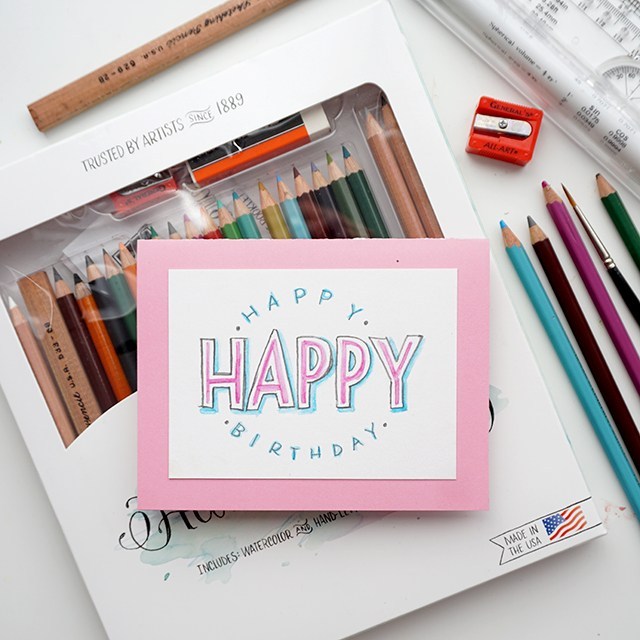
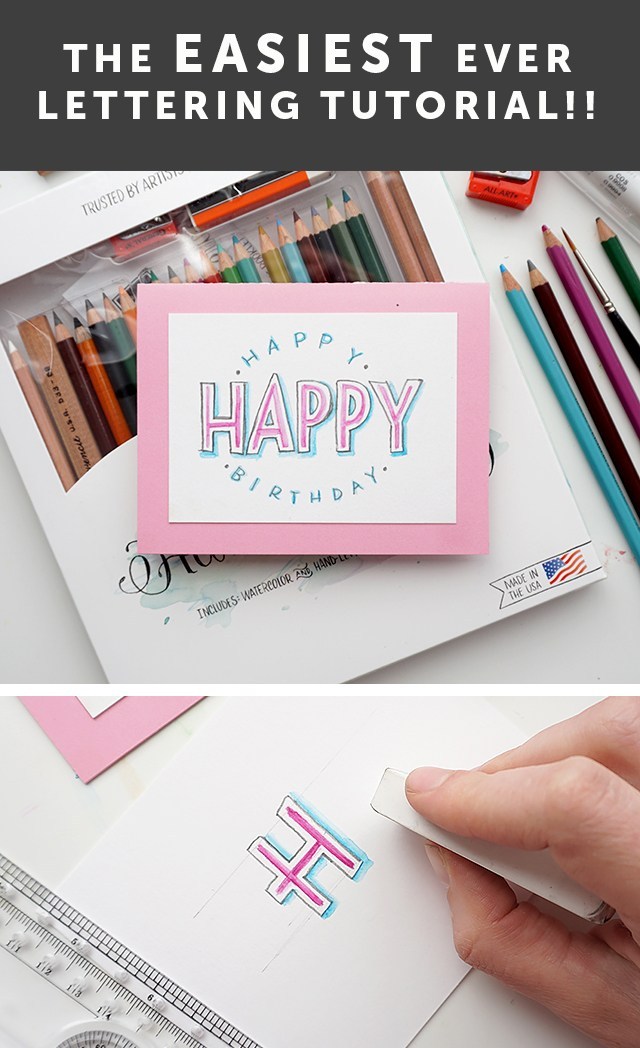
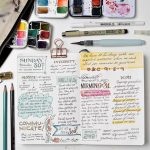
Now let’s talk hand-lettering!! Calligraphy and hand-lettering can be intimidating. Especially if you’re just starting out and teaching yourself. That’s where the humble, yet mighty pencil comes in. The pencil’s got your back. In fact, I have my online class students pull out the pencil before they touch any kind of pen or marker. The master penmen use pencils, so you can, too. I’m really excited to have shared this fun and simple technique on KSL’s Studio 5 on how to incorporate pencil lettering into your every day creativity. Let’s do this, shall we?!?
Isn’t this a fun card? You can totally make this in about 10 minutes.
The cool thing about pencil is that you can erase it until you commit. So watercolor pencils you can erase until you add water. You can erase most pencils quite effectively until you commit by pressing really hard or going overtop in pen. You can see the difference between committing with pressing hard with a dark pencil on the right and a marker on the left. The cool thing is you don’t have to have fancy materials in order to be successful with your pencil lettering. Here’s what you need:
Paper – use a mixed media paper if you’re using watercolor pencil.
Ruler – you gotta draw light grid lines or your lettering will be all over the place. Clear grid rulers are my fave.
Pencils – I’ve teamed up with General Pencil to create a pencil lettering kit, try it! It’s great.
Brush – I like small round brushes for this, but any brush you have on hand could also work!
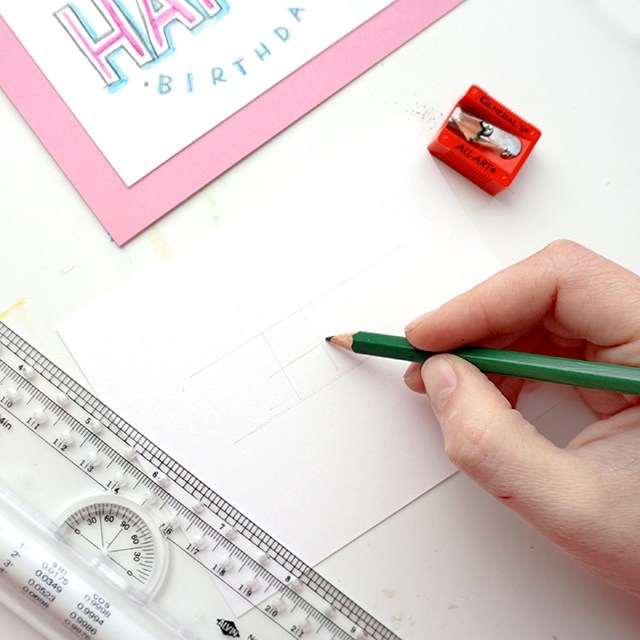
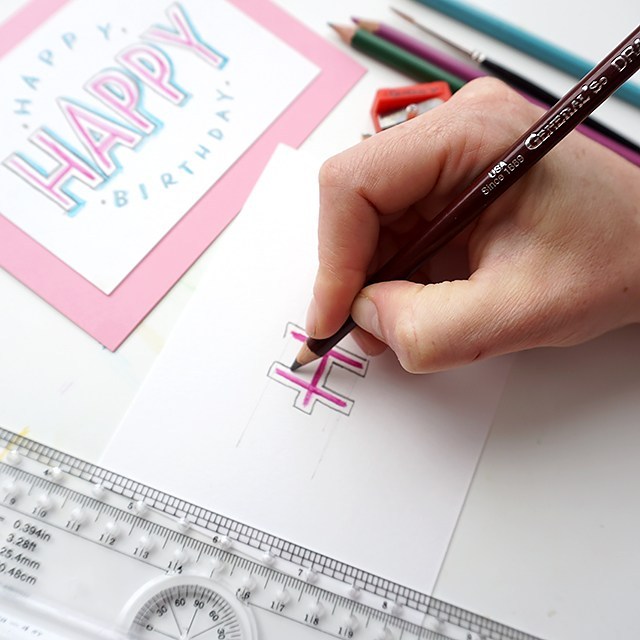
Step 1: Cut down your paper to size. I’ll leave it up to you as to what size you want to trim it down to. Get a ruler and mark out your top and bottom lines. The master penmen use a ruler to mark out guides, you should too.
Lightly draft out your message. I find that short words in this style work best. Also, when drafting out your letters, make sure they’re generously spaced apart. Because we’ll be outlining around each letter, you’ll want to make sure you give yourself enough room for those outlines.
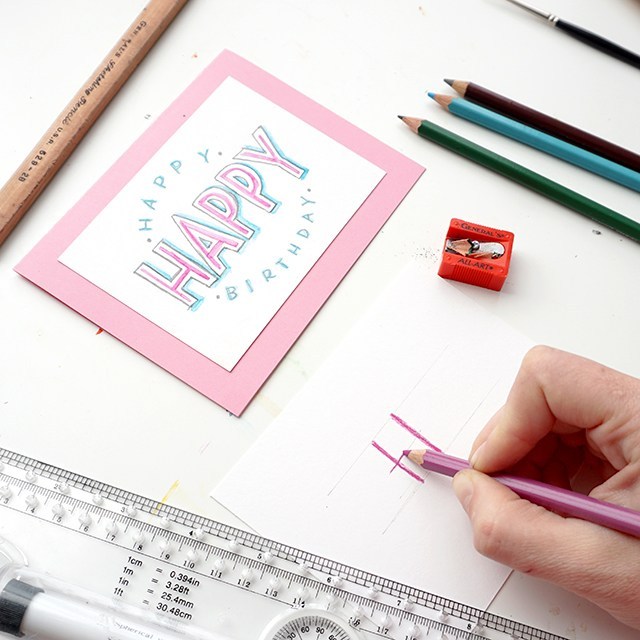
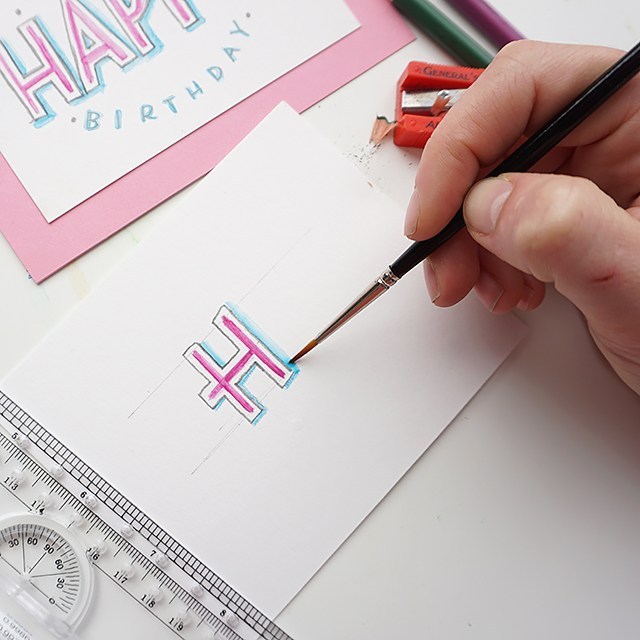
Grab a watercolor pencil and roughly mark out the outlines with watercolor pencils. For the sake of this style, pick two colors that you’d like to go together. Use the darker of the two colors for this part of the outline.
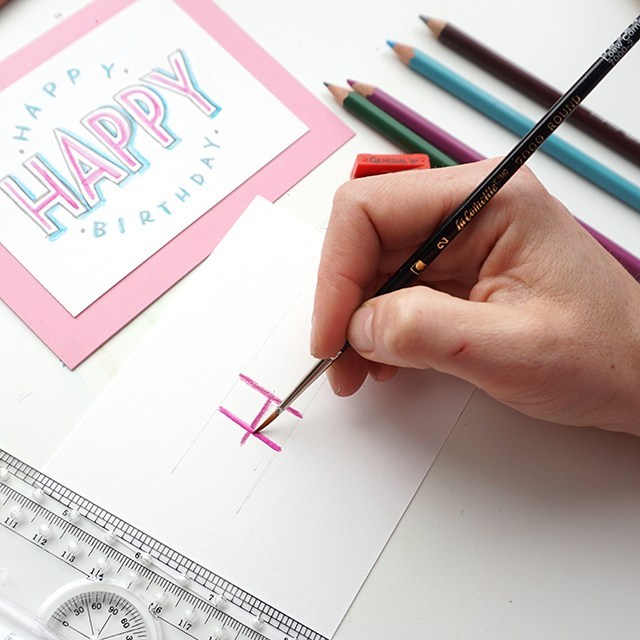
Wet a small round brush (this is a size 2 round) and smooth out the outline of your watercolor pencil.
Leave a little bit of white space and outline each letter. I love the General’s draughting pencil for this. It’s hard enough to maintain a stable line, but it’s smooth and dark.
With your lighter color, outline the right-hand and bottom sides of your outline. You’ll use a light touch to lay down pigment to not disrupt the draughting pencil layer.
Using the same wet round brush, smooth out and soften the drop shadow you’ve created.
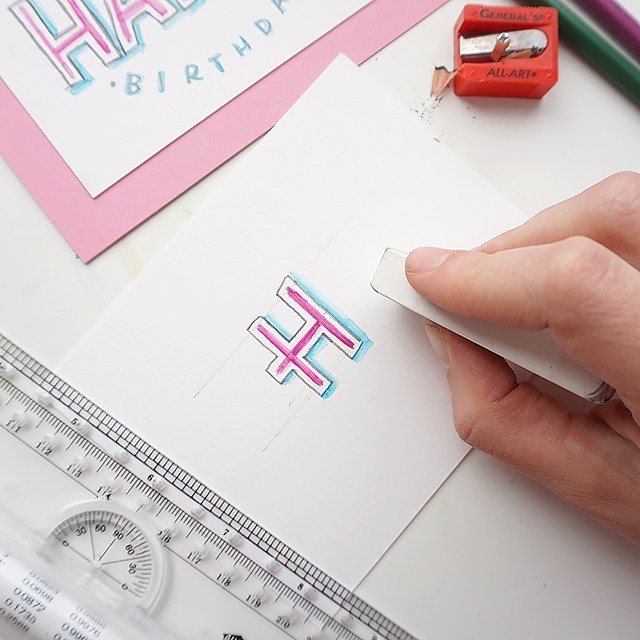
Once the watercolor is dry, erase away guidelines carefully. I like to use the corner of the eraser.
Bam! You’re done. You can send it as-is, or you can trace over the darker pencil marks in pen or marker to make the layout pop even more.
This tutorial is free for personal use. Affiliates are used to link to products I actually use and have. Your support here makes more content possible. Thank you!
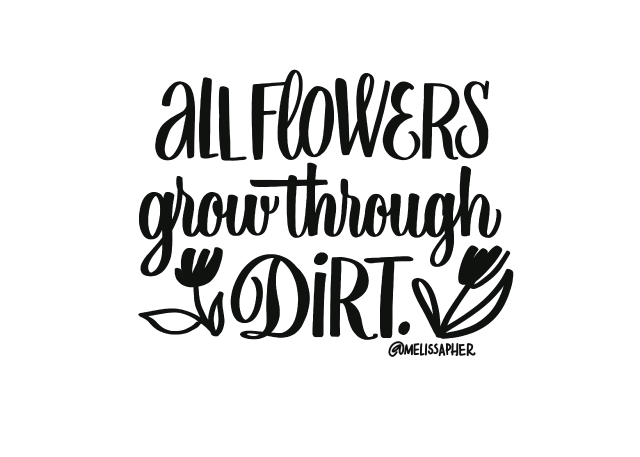
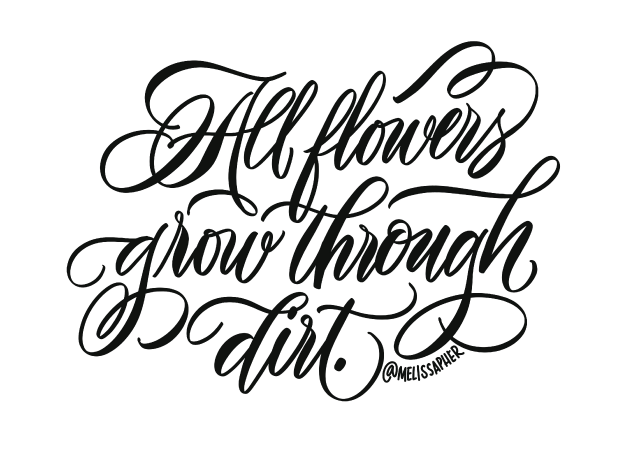
I’m on Studio 5! It was so fun to go on to film this segment. I wanted to do something that related to spring and new beginnings and starting anew. So I found this quote as a little motivator. See the end of this post for the free file to download. FREE FOR PERSONAL USE ONLY.
WORKSHOP SCHEDULE!!
I’ve got 2 workshops coming up next month! Be sure to sign up before spots sell out!
Modern Calligraphy Workshop – April 6th 5-8pm in Draper, UT! Learn basics of modern pointed pen calligraphy.
Brush lettering & Watercolor Workshop – April 21 9-5pm in Bluffdale, UT! Come to Cents of Style headquarters for a DAY filled with watercolor, calligraphy, food and creativity.
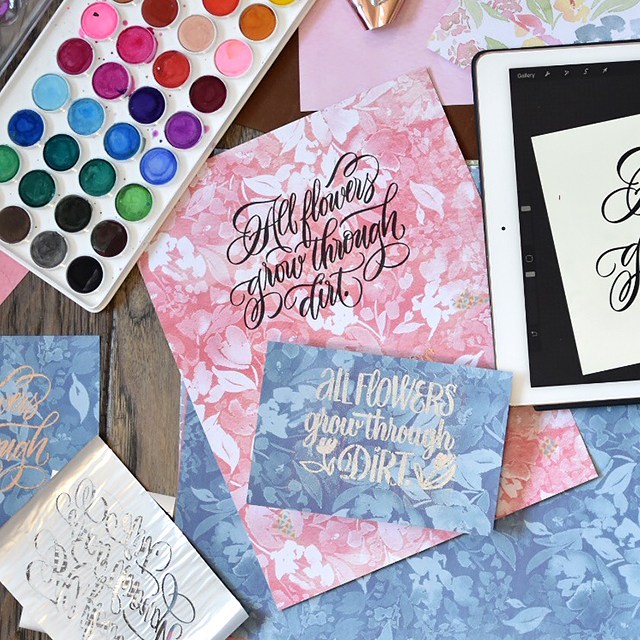
Who doesn’t need a motivator like this? I mean come on! I think you could print this out and mail it to your buddies who you know may be struggling through something. Even the most beautiful flowers still have to grow through dirt (and sometimes manure). I’m totally obsessed with Natalie Malan’s floral skills, so I thought i would put her most recent paper pack to good use and print the quote on there! It was easy peasy. See below for instructions and tools.
Print out the quotes on a laser printer. If you don’t have one at home, head to your nearest copy center and have it printed on black and white on your desired paper. I loved how substantial this Natalie Malan paper pack was, but it went through my laser printer no sweat.
Then turn on your laminator in the highest heat setting. Once it’s ready, cut out a piece of foil the size of the lettering (as to not waste foil material). Lay it overtop the printed area, slip inside a folded sheet of parchment paper and send through the laminator.
Pull it out and remove the foil. TADA!! It’s done.
I did experiment with watercoloring on plain paper after I did the foil transfer and it worked quite well! The chalkiness of the beginner paints, however stuck onto the foil so it wasn’t as mirror-like and shiny where I painted overtop the lettering. But it still turned out ok. Just an option.
I know it’s super simple, but it’s so fun to add a little bit of gold sparkle to some pretty decorative paper!
And if you don’t have access to gold foil, just print it black and white!! Look at how pretty just the black and white turned out….
This freebie is free for personal use only. Alteration or redistribution of this file is prohibited. If you’d like the artwork for commercial use, please contact melissa@melissaesplin.com.
Affiliate links are used. Sales from these links help support this blog and the content created here. Thank you!


