Archive for the ‘handmade’ Category

2019 Christmas Tag Printable

0 Comments

Blogging has been a struggle for the last year. But more so in the last few months. All of my images were deleted and we’re in the painful process of migrating to something that is simpler and works better. I don’t know what that means for my work that’s here, but for now, if you can’t see it, I’m sorry it’s unavailable.

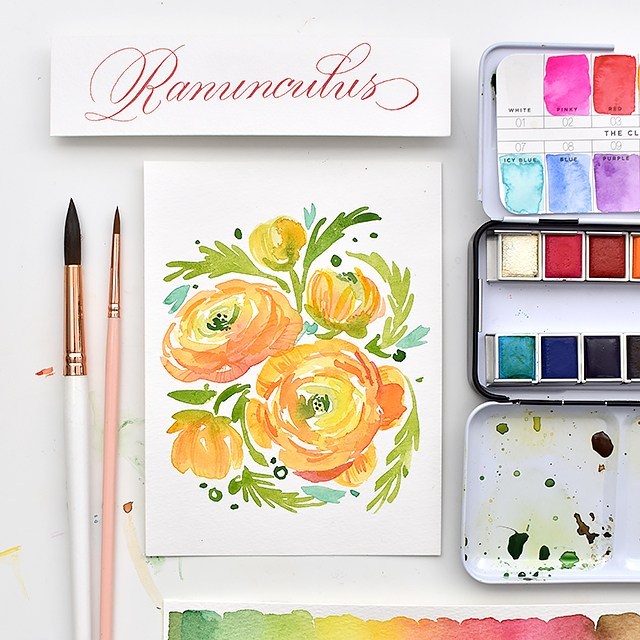
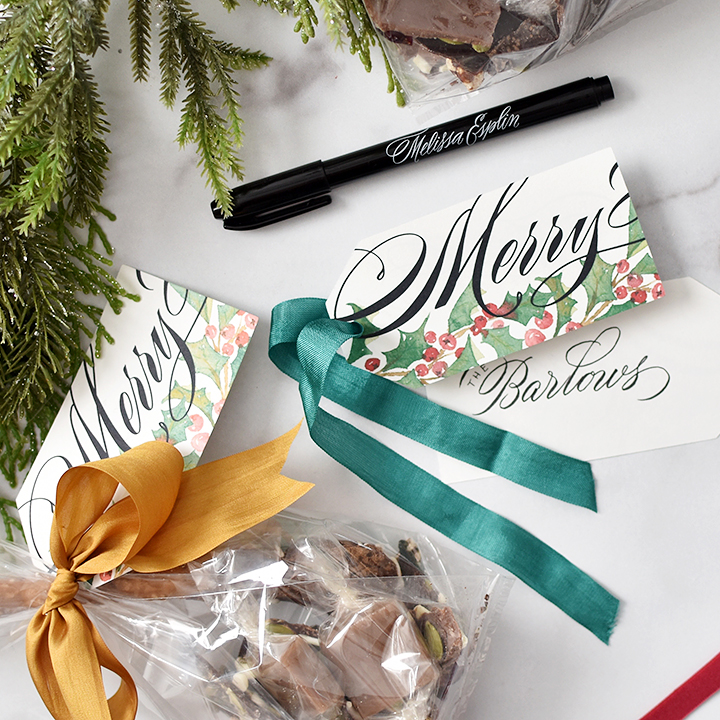
Christmas is a time of stress, but also lots of excitement! I love myself some pretty packaging so I made these tags with a scan of one of my 100 florals paintings and then vectorized my calligraphy and put it all together with a tag shape. 

The inspiration was vintage packaging. I don’t know if you can tell or not, but I love those cookie tins from forever ago and wanted to embody that in the design. 

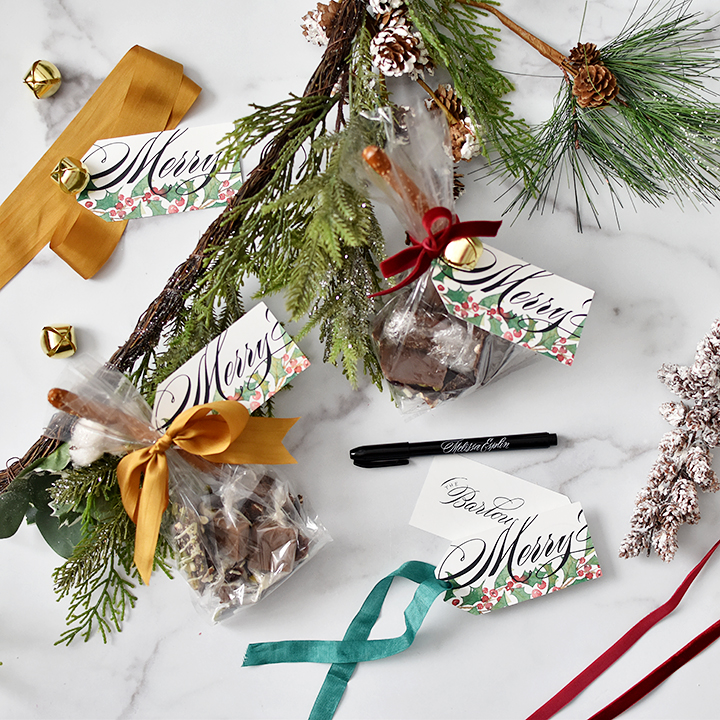
If you’re looking to add some calligraphy to the back of your tags, I highly recommend picking up yourself a package of my brush markers right here from Close to My Heart. :) 

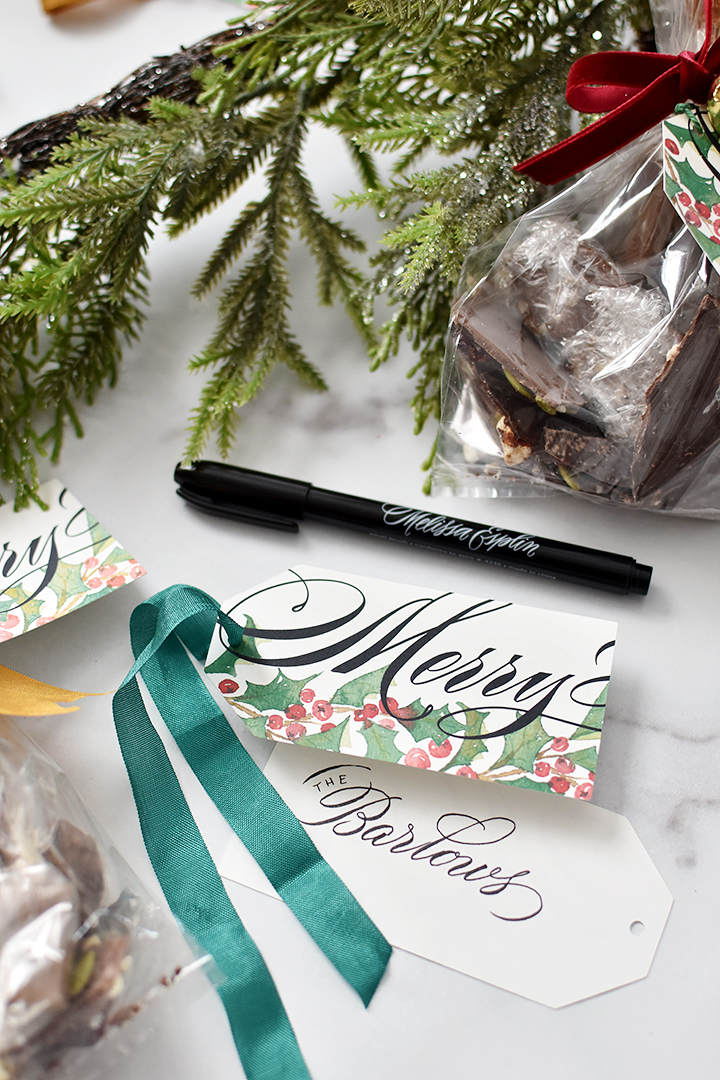
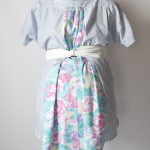
Slap on some ribbon and you’re good to go. 

CLICK HERE TO DOWNLOAD THE FILES

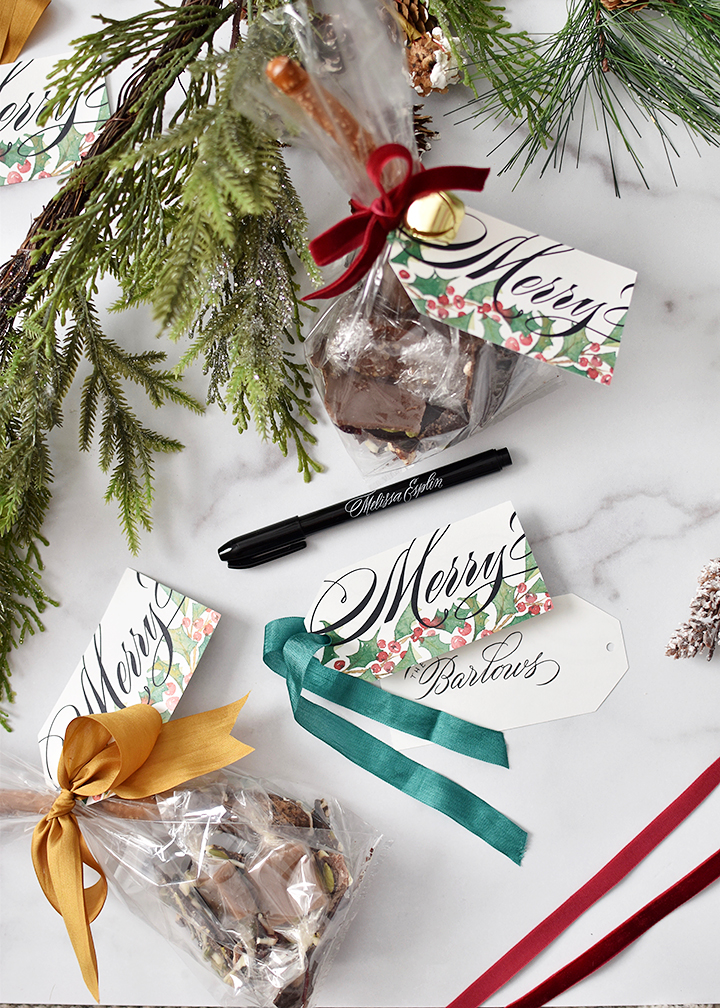
With that said, I hope you have a Merry Christmas. Here are the tags I made this year for neighbors and friends. Feel free to download and use them! For personal use only. The download page is a google docs folder with a printable and a silhouette print and cut file for your convenience.

Hope this year is a wonderful one for you and yours!

Upcoming Fall Workshops

0 Comments

I’ve got a whole lot of workshops coming your way!! The best way to stay up-to-date on local workshop offerings is messaging me on Instagram or checking out Calligraphy.org Local Workshop Page!

Next week I’m teaching beginner visual journaling! It includes penmanship instruction, a copy of my new book and how to format it all in a notebook. This instruction is geared towards visual journaling, bullet journaling, church notes, study notes, etc. 

After that, I’m teaching a beginning brush lettering on September 19th! We’ll start with the basics of script brush lettering with the emphasis on lowercase letters and forming sentences and style. 

In January, I’ll be hosting another intermediate flourishing class where we will be covering capitals and flourishing for both brush and pointed pen. 

Hope to see you there!!


Heirloom Journaling Tips with House that Lars Built

0 Comments

I’m over at House that Lars Built sharing some tips on how to fill out an heirloom journal! Click here to read the full article.

Companies like Promptly and Loom are changing the way we’re doing journaling by prompting pointed and focused stories in beautiful and finely-bound books. It’s brilliant. These books are heirlooms meant to be passed down from one generation to the next, the way journaling should be. So no pressure, right? In the era of perfection in social media, it’s easier to not do something than to make it “perfect”. I’m going to let you in on a little secret:  

Truth is, NO ONE CARES. No one cares if I don’t post to this blog each week even though I’m desperate to do it. No one cares if I miss a day posting to Instagram. No one cares about your perfection because everyone is too wrapped up in trying to be perfect themselves. So stop letting your fear of imperfection get in the way of documenting your story. 

When it comes to writing in an heirloom journal, you may be worried about correct spelling and grammar or beautifully funky penmanship. DON’T BE. Get the stories out, write them to the best of your ability. Understand that those who come after you to read what you wrote are either not going to notice your flaws or embrace them and love each one because it’s proof of your living, breathing humanity. You should embrace it, too. 

Bonus tip: When writing in a journal or filling out limited spaces, try to go for a finer point pen than a medium or bold point pen. A medium point pen will, perhaps, make your handwriting look nicer sometimes; but a medium pen is often too large a size point in order to fill out baby stats and what-not. 

Check out all 6 tips over at House that Lars Built!

Photography by Jane Merritt for House that Lars Built

I’m going to share with you a bonus tip: 

Freebie: Pyrography Designs for Playful Crafting

0 Comment

Big thanks to KSL’s Studio 5 & Brooke Walker for having me on their show! I had a great time coming up with some clever design ideas for wood-burning and pyrography crafts. Click here to view.

If you’re interested in learning about my local calligraphy workshops, CLICK HERE! I’ve got workshops in October, November and December just about lined up and they’ll sell out fast.

CLICK HERE to register for October’s Brush lettering and Watercolor double-header with Natalie Malan! 

Next month’s workshop is going to be amazing. I hope to see you there! Let’s talk about pyrography shall we? 


Supplies needed: 

I found that finely sanded wood surfaces and harder woods (or wood with tighter grain) performed the best. Something to think about when purchasing craft supplies. 

See the spoon on the left? I used the same heat settings and tip, but the tip burned more because of the softness of the wood. The wood block on the right is a harder wood and had a smoothly finished top. I got much finer results. 

Adding elements doesn’t have to be pre-determined. Or stressful. Simple dots or stripes totally work! Add some flora to create more depth too. See above for some ideas. Feel free to use below for inspiration and rub onto your projects. Click on the images below to enlarge. :)

You’re free to use these graphics for personal use. I’d love to see your work! Share pics and tag me @melissapher with images of your awesome projects!

How to Paint Ranunculus Watercolor

2 Comments

Another YouTube video coming at you this week! It’s taken me forever to get this post out, the end of school stuff just took so much out of my week last week. So here we are posting late. If you want to stay up-to-date on new videos, subscribe over on YouTube! I’d love to see you over there. You can expect to see product reviews, art tutorials and time-lapse/real-time calligraphy work. 

I’m giving you a peek into my process with my 100 days project (follow along here!). It’s a fun but crazy challenge to attack so many of these flowers. And ultimately I’ve come to grips with the fact that I won’t be able to finish them all in 100 days. I’m so far behind. But I’m determined to see this series through, no matter how long it takes!! Here’s what you’ll need (these are the exact materials I used): 

HEY!! Use code Melissa15% at myprimaplace.com for 15% off your order. I tried the Prima Watercolor Confections for the first time with this flower set and I’m loving how the colors blend, lay down, dry and mix. They’re just lovely. And aren’t these little tins just the cutest things ever?!? 

Here are the steps broken down. But I HIGHLY recommend watching the video. I give far more detail in the video. To do: 

  • Start by using your largest brush and mix a light yellow green, bright yellow, and yellow orange. You’ll want all three colors mixed before you start. 
  • Lay down brush marks in a circle with the light yellow green. As you make a larger circle (keep it uneven), start picking up the yellows, then as you get to the outside of the flower, move on to the yellow orange. 
  • Allow the colors to melt into each other creating a subtle gradation from green to yellow to orange. 
  • Let your flower dry fully
  • Next, use the size 6 brush and a darker version of your orange to create smaller concentric circles around, creating the shadows. 
  • While you’re waiting for the flower to dry, add the foliage. Work and frame your flower by branching the foliage back into the flower. 
  • Now get the liner brush with the same color, or just slightly darker (not by much) and add the details to the petals and darken up the concentric lines and the greenery in the middle. 
  • Add any other decorative bits and you’re done!


Try changing up your perspective for a full bouquet of ranunculus! I hope you give this tutorial a try. I’d love to see your work if you do! Tag me (@melissapher) on Instagram or message me here if you end up trying this technique out!

This tutorial is free for personal use. Affiliate links are used to products I actually use and have. Your support here makes more content possible. Thank you!

mobile site