Posts Tagged ‘how-to’

Tutorial: Lace Socks

12 Comments

I thought I’d share the secret how-to for Penelope’s little lace socks by way of little tutorial. It’s really easy. You’ll find yourself making socks out of everything. Old t-shirts, felted sweaters or stretch lace (like below).

I found this stretch lace at Fashion Fabrics Club, there are lots of different colors and patterns available there. It has an awesome finished edge along the salvage, I decided to take advantage of that. I’m loving these light, summery socks. I plan on making a lot more in the future. I think some really long ones would be great to peep out of my boots in the winter.

Check out the tutorial after the jump. The tutorial also includes a printable sock pattern for women’s size 6-8 socks. I hope you enjoy.

(more…)

How-To: Wrap Odd-Shaped Gifts

4 Comments

In keeping with my “keep it simple” approach to Penelope’s birthday, I decorated the kitchen very sparsely. I hung the banner I made the birthday banner for Penelope’s first birthday, added a white tablecloth to the table and wrapped her gifts in white butcher paper.

The thing about kids’ toys: they never come in a simple box. They’re always in an annoying blister pack or odd-shaped rectangle. That was certainly the case with the gifts we gave her this year. I was just in such a hurry to get her gifts wrapped before she wandered into my bedroom, somehow I channeled my inner short cook and came up with a really simple and fast way to wrap her awkward-shaped gifts.

I’m not sure about you, but I figured I’d share this technique in case it would come in handy for any of you. I think the gifts turned out quite nicely, considering their shape and the simple paper used. Click the link below for the whole tutorial (and video!).

(more…)

Petal Box Download + Mother’s Day Thoughts

17 Comments

My current mantra is “Better late than never. Better late than never.” It took me over two weeks to get in touch with my sister to wish her a happy birthday, and my mom won’t be getting her Mother’s day gift for another couple of days because the post office isn’t open on Saturdays.

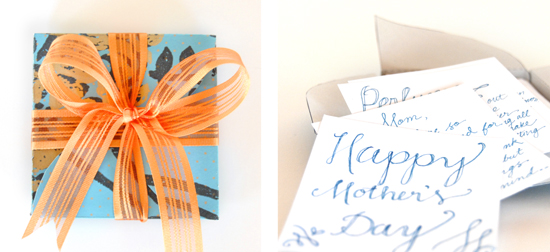
I really want to share with you what I did for my mom for Mother’s day/Birthday (they’re often the same day). My mom is really special. She has worked really REALLY hard at doing everything. When I say everything, I mean it. I hope that she knows that her efforts don’t go unnoticed. So for Mother’s day, I thought it would be fitting to give her the gift of memory. I hand wrote random memories that I have of my mom and the thoughtful things she has done for me. I think the next time I do it, I should start a year in advance, because I know I’ve only hit the tip of the iceberg.

Mom's Petal Box

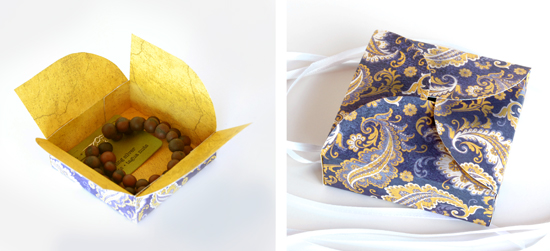
I cut out a bunch of 3″x3″ squares and hand wrote (with pen & ink) my memories. Then I packaged it all with a box version of the petal envelope. I made up the template and want to share it with you! The box template is 3″ x 3″ x 1″, super fast to make and perfect for packaging jewelry and other sweet little gifts.

_dsc0077sm

Click here for the free petal box template!

A Newly Improved Poopy Clutch Tutorial

43 Comments

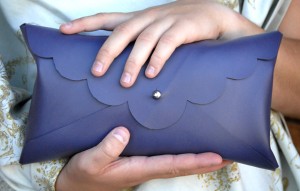
I had to make myself another poopy clutch (the old one was misplaced) and thought I could do much better than the tutorial/pattern I gave you last year. Without any further ado, I give you THREE versions of the old tutorial!! The new patterns are smaller and still fit up to 3 size 4 diapers plus a travel wipes case!! Very convenient for undercover diaper bags (aka purses).

_dsc0999sm-1

Materials Notes:

It might be useful to note where my supplies can be found. Button studs, Leather (you’ll want 2-3 ounce leather for this project) and hole punches can be found online at tandyleatherfactory.com, or check out their store locator for the store nearest you. (I sound like an advertisement, but seriously they have everything.)

As seen below, you can also use leather, vinyl or fused plastic. The folks at Etsy labs have a great tutorial on fusing plastic bags. I’ve seen some really cool fused bag projects.

•     •     •     •     •     •     •     •     •     •     •     •     •     •     •     •     •     •     •

Leather Poopy Clutch

The No-sew Version
Similar to last year’s pattern, this pattern is optimized for leather, vinyl or fused plastic. No sewing required!

Click here to download the Normal Poopy Clutch Instructions

•     •     •     •     •     •     •     •     •     •     •     •     •     •     •     •     •     •     •

_dsc0999sm-1

The No-Sew Version + SCALLOPED EDGE
This version is my personal favorite. It’s just like the first, it’s made for leather, vinyl or fused plastic, but with a decorative scalloped edge to add a little flirty flair to those messy diapering sessions. No sewing required.

Click here to download the Scalloped Edge Poopy Clutch Instructions

•     •     •     •     •     •     •     •     •     •     •     •     •     •     •     •     •     •     •

dsc_0596-1

Sewn Fabric Version
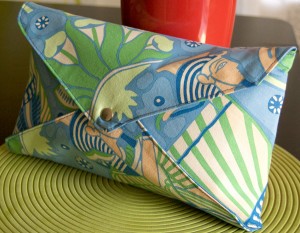
Can’t find leather or vinyl? Wanting to use up your ever-growing fabric stash?!? This pattern is for fabric, complete with instructions for two different edges.

Click here to download the Normal Poopy Clutch Sewing Instructions

Simple Glass Etching Tutorial

43 Comments

I know there are loads of tutorials around the internets showcasing etching glass, but thought I’d add my own point of view on the matter.

I’ve had this large glass serving platter for 6 months or so, and don’t really have much motivation to use it, mostly because it’s plain and boring. Now it’s a little more exciting, but in an oh-so-subtle way. Glass etching is also very practical for marking your glass serving ware for pot-lucks and parties. You’re less likely to end up sans dishes when they have your name on them.
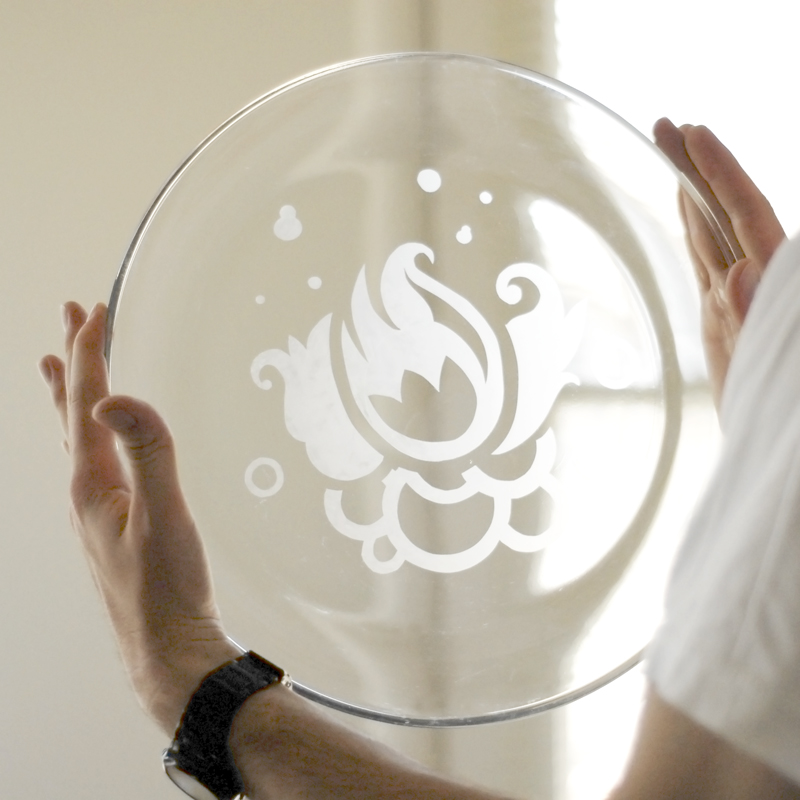
_dsc2870sm

Click here for the FREE printable glass etching tutorial! or read below for the step-by-step instructions.

Glass Etching Tutorial

Supplies:

  • Roll of Contact Paper
  • Glassware
  • Junk Brush
  • Bonefolder or credit card
  • X-Acto Knife
  • Pencil
  • Armour Etch Acid
  • RUBBER GLOVES!!!!

Clean your glassware and dry thoroughly. Apply contact paper to the outside of the glass. Smooth out bubbles with a bonefolder or credit card.

With a pencil or sharpie marker, make your marks. *If you don’t want to hand draw the image, print out the desired design on regular paper and tape image onto contact paper.

With an X-acto knife or scalpal, cut and remove contact paper for etching.

In a well ventilated room, generously apply armour etch acid with a junk brush. Wait 10-20 minutes for acid to etch the glass.

If you’ve applied a load of etching acid, you can scoop the excess back into the bottle for later. Rinse and wash glass, brush and your hands thoroughly with soap. Remove contact paper, dry and enjoy.

Many thanks to How About Orange and Apartment Therapy for featuring this tutorial!

To print out a template of the above design, click here.

mobile site