Posts Tagged ‘paper crafts’

Easy Suminigashi Tutorial

0 Comments
Iron provided by CHI® and Bed Bath & Beyond. Whether taking the wrinkles out of a new bedspread or curtains as the finishing touch on a home décor project, ironing your favorite outfit for a special occasion or flattening paper for artwork the CHI® Electronic Retractable Clothing Iron is the bee’s knees. 


SUMINIGASHI!! This marbling technique is so super awesome. It’s one of those projects that doesn’t really require a whole lot of space or preparation. I had everything on-hand for this project, so there was little barrier to entry here. 

HOWEVER, there was a little bit of a learning curve. Check out this little video Hayley and I made about our discoveries through trouble-shooting (the tutorial is at the end if you want to skip to the end there, too). 

In a nutshell, here’s what we found: 

  • Cold water works best
  • You can use soap to help disperse the ink, but you need a large water bath in order to keep the ink from dropping from the surface
  • Use only sumi ink if you plan on using a smaller water bath (we used a kitchen dish for note cards and envelopes)
  • Not all sumi inks work well. Of the sumi inks I have, Yasutomo worked the best
  • We read elsewhere that these colored inks work well, if you want to add color
  • The first paper you pull is often the “first pancake”, don’t stress if it doesn’t work well
  • You can get 3-7 pulls off of one ink application, the ghost images are subtle like Carrara marble


Don’t feel like watching the video for the tutorial? Here’s the cliff’s notes version: 

SUPPLIES:

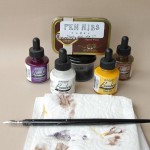
  • sumi ink
  • paper (we loved the crisp results of bristol paper, but anything works!)
  • cold water
  • water container
  • diluted soapy water (only if using a larger container)
  • brush
  • tooth pick or eye dropper
  • the bestest iron ever (yes, a clothing iron)

If you’re doing this project with little people, you may want to add aprons, rubber gloves and a drop cloth to the mix (especially if you’re doing larger ink baths). 

Fill your container with cold water. I chose to use a small container for the video, but I’m on Studio 5 on Tuesday sharing how you can do it with soap and a larger container. So either can be done. 

Get your ink brush wet and load it up with sumi ink. Barely tap the surface of the water and watch the water disperse along the surface. 

Add more dots along the surface, spacing them randomly apart. the longer your brush touches the surface, the larger the dot. 

Get as many dots as you want, until you feel happy with the blank space to ink ratio. 

With a toothpick or eye dropper, drag the tool along the surface to pull and move the ink around. You’ll get little swirls all over. 
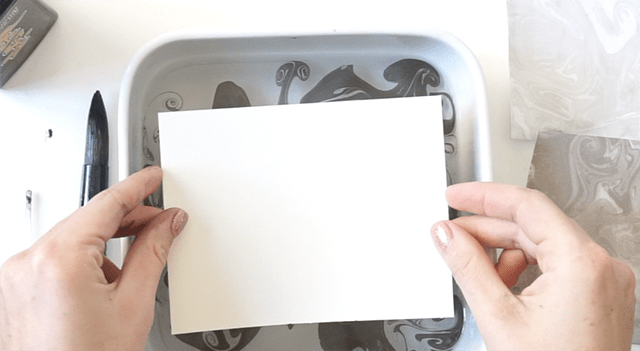
Grab your paper and submerse the first paper entirely. 

Pull your print and place on a cookie sheet to dry. If you’re doing envelopes, touch only the surface of the water to the front of the envelope. Hold the envelope by the flap so it doesn’t get wet (otherwise it will seal shut as it dries). 

Now what do you do when the paper dries?? It’s so annoying when papers dry all curly and whatnot. And they will. So iron them! A huge shout out to CHI Heat tools and Bed Bath and Beyond for providing me with a brand-new iron for my sewing and paper crafting. 

I’ve been a Rowenta gal for a long time, but it wasn’t hard to make the switch. It’s light-weight, yet substantial, the plate is silky smooth, the heat time is short, the reservoir for steaming is twice the size of my old one and it has a retractable cord. All wins in my book. If you’re in the market for a new iron, this is it. 

For ironing paper, get a cutting board (something smooth, yet will take heat) and a piece of quilting cotton. Set the iron to COTTON with NO STEAM. Place the cotton over the paper you’re about to iron and press for 15-20 seconds, moving the iron as you go. Flip the paper around  and repeat. The paper may want to curl in the direction of its grain, but it will relax once it cools back down. 
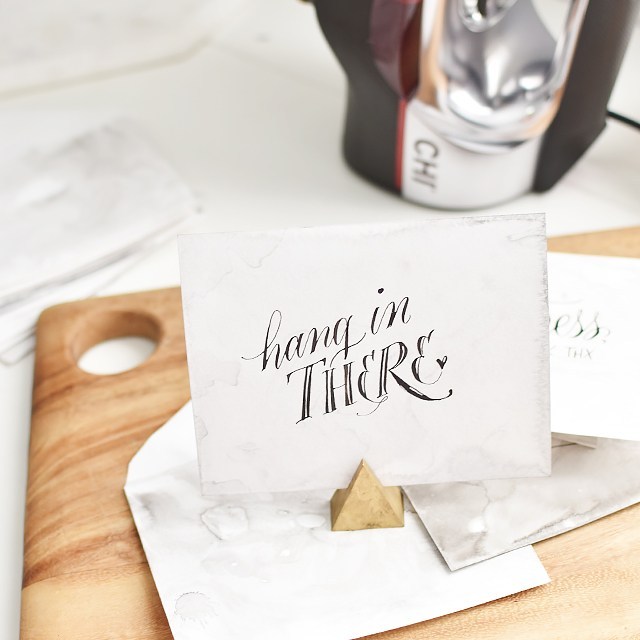
Pretty fun, right? I would recommend doing this in batches to save time. The print or write your desired phrases overtop! 

This post is sponsored by CHI® and Bed Bath & Beyond. All opinions are my own.

Thankful Box by Guest

3 Comments

Until I get my studio set up at our new place, I’ll be posting mostly thrifty finds, ideas & guest posts. If you’re interested in guest posting , please email submissions (photos 500px wide) to melissa at melissaesplin dot com.

• • •

Hi everyone! My name is Holly and I’m from elevencupcakes. I am so excited to be on ISLY today (one of my favorite blogs!). We have been thinking up some fun ideas for a kids Thanksgiving table for the past few weeks and I am super excited to be sharing how to make this ‘Thankful Box’ with you today. Enjoy!

Thanksgiving Kids’ Table: Thankful Box

Thanksgiving is a great time to remember all that we are thankful for. We made these simple ‘thankful boxes’ for each child and had them at their table. While they wait for dinner to start, kids can write, draw, and remember all that they are thankful for this year.

• S U P P L I E S •

  • Altoid tin
  • white spray paint
  • 3″x10″ strip of white paper (fold 3″x2″)
  • scrap paper
  • markers

Spray paint the altoid tin white. You may need to do a few coats to cover it completely. Take the 3″x10″ piece of paper and fold it over 2″ back and forth, so that you make an accordion. Decorate the white paper with scrap paper and stickers. Once the altoid tin is dry, tape one end of the accordion paper to the bottom of the tin. Decorate the outside of the tin with scraps of paper. We printed the word ‘thankful’ to attach to the front as well. Put out markers and pens to kids can write and draw all the things they are thankful for.

We also made a ‘Thankful centerpiece’ for the main table.

• S U P P L I E S •

  • 6 pieces of paper 10″x7″ long (folded in half)
  • Scrap paper and stickers
  • Pictures
  • Tape and markers

Pom Poms & Paper Circles

36 Comments


Many of you who know me, know that I’m not a scrapbooker. My mom has always been the one with the eye & the patience for scrapbooking. She’s awesome at it. I do, however, have an unhealthy obsession with scrapbooking supplies.

In the last 8 or so years, I’d say the scrapbooking industry has really come into its own. Papers & embellishments no longer boast of unsightly forest greens and maroons and the artwork is artwork, not some automatically generated microsoft clipart on repeat. Ew.

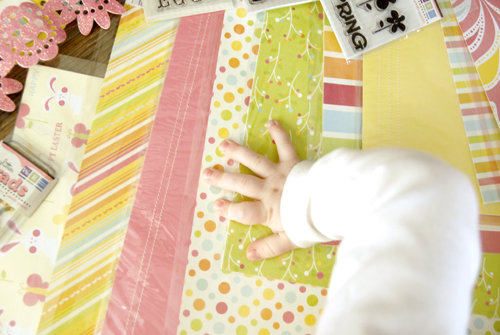
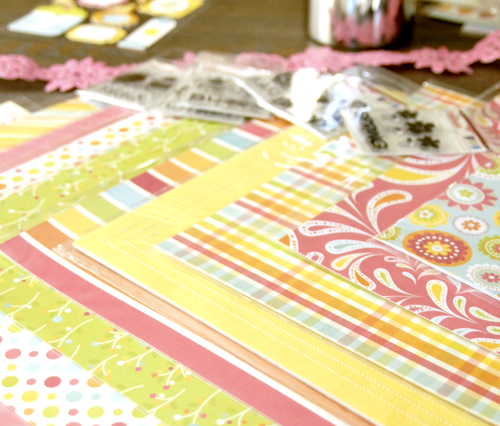
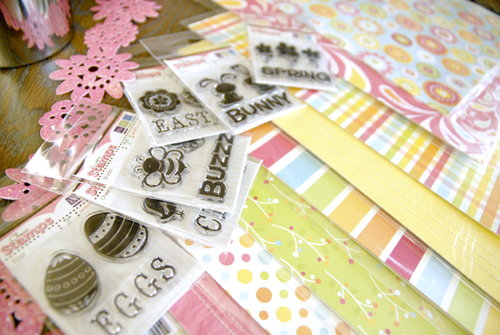
Scrapbooking is all about pretty these days. No? I have a friend who works at We R Memory Keepers in the product design and development end of things. She’s been back and forth from Salt Lake City and China a few times in the last few months in preparation for last week’s CHA. WRM has been very busy coming out with new papers & tools to make our eyeballs pop out of their sockets. What you see above and below is a small fraction of what they’ve been working on. When Jen gave me the samples* to play with, I could tell she was really excited (and proud) of what they’re releasing to stores soon. Aren’t these papers and embellishments fun?

I think I need to host a baby girl shower soon. I think these papers would be so cute cut out into little doilies for serving cupcakes. The stamps would be an easy & inexpensive way to add color & cute to black and white printed invitations. The pink flower lace you see above is adhesive backed. AND Glittery. Isn’t that genius?!? Use that for a closure on an envelope or wrapped gift. Awesome, right?

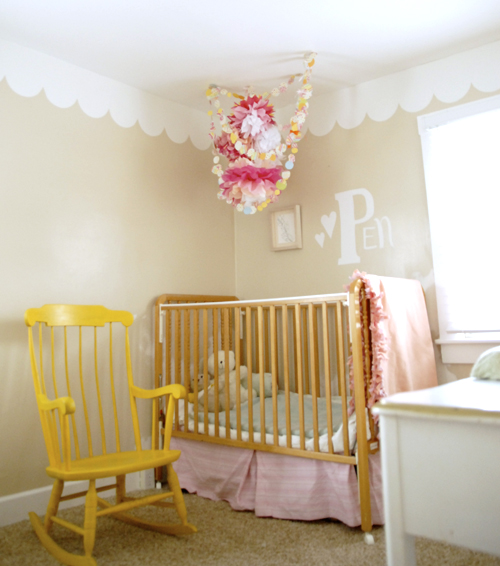
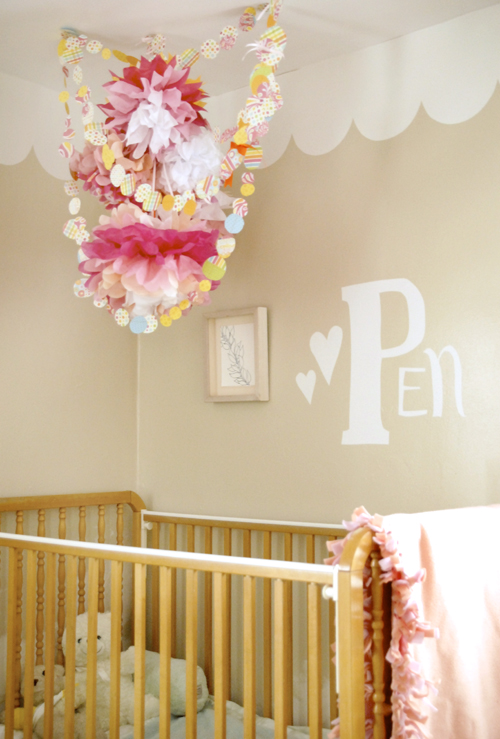
So, I didn’t have time to plan and/or execute a baby shower, but I did have time to spruce up Penelope’s room a bit. Remember the scalloped border I did a couple of weeks ago?

First, I just want to tell you how much I loved your comments. I loved hearing from you & I really appreciate how nice you are to me. Thank you! Second, the scalloped border was getting a little lonely. A lot lonely. He needed a friend up there by the ceiling, so I made a little mobile for the Nels. This particular arrangement was heavily inspired by this beautiful nursery I saw here. I was just blown away at how gorgeous it was & had to have it. . . part of it, at least.

I made tissue pom poms via Martha Stewart, attached them to ribbon and stapled them to the ceiling. Then, I cut a million and a half irregular circles out of the WRM Hippity Hoppity paper and sewed them together. Sewing paper is tremendously easy and SUPER satisfying. If you haven’t done it, try it. NOW. You don’t need any special equipment, a threaded sewing machine would do just fine. You can’t tell from the picture, but the little circles spin around gently from even the softest little breeze. It’s so mesmerizing.

If you don’t have a sewing machine, or you’re too afraid you’d mess up the paper trying, you could buy pre sewn paper from WRM. I was just a little giddy when I saw the 12×12 sewn sheets of paper. Did I mention that I love sewn paper? It’s wonderful!

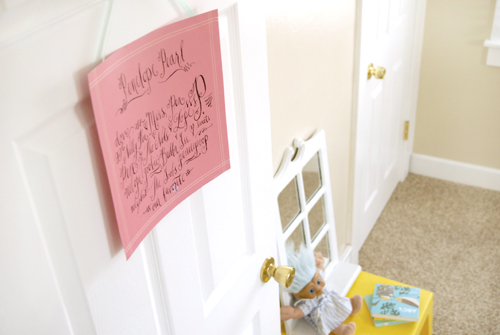
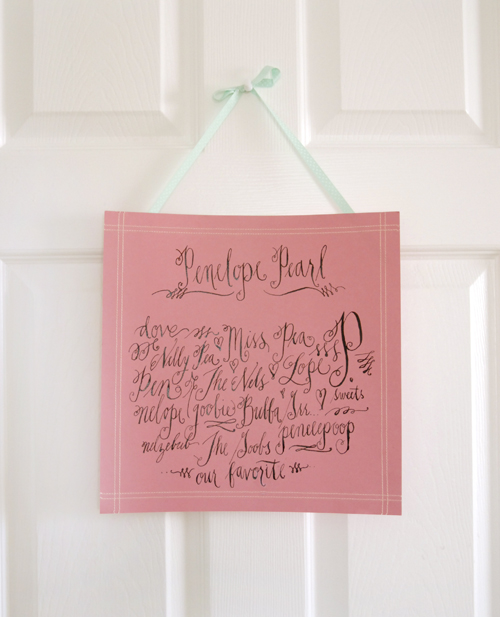
Not wanting to cut up this perfect piece of paper, I wanted to do something with the whole sheet. Again, I’m not a scrapbooker, so a pretty 12×12 with pictures of the Nels on it won’t happen. A door sign with almost all of Penelope’s nicknames was just what the doctor ordered. Penelope really has so many little nicknames, and they’re all just so cute, so I did a hand-calligraphed cloud of her nicknames. When I showed Chris, he let out an audible, “ooOOoooOOoo!” That made me feel so good inside.

The above paper is a nice cardstock, so I just needed some double-stick some tape, ribbon and a thumb tack to post it to Penelope’s door. It’s thick enough that it doesn’t look silly all by itself, but I have to admit it would look cute framed in swirly gold.

*note: I received free product.

The Dating Scene

12 Comments

It’s been three and a half years since I officially left the dating scene, and I can’t say that I miss it all that much. Being married is the best thing that has ever happened to me, but every once in a while I’ll think back on some of the highlights of the dating life.

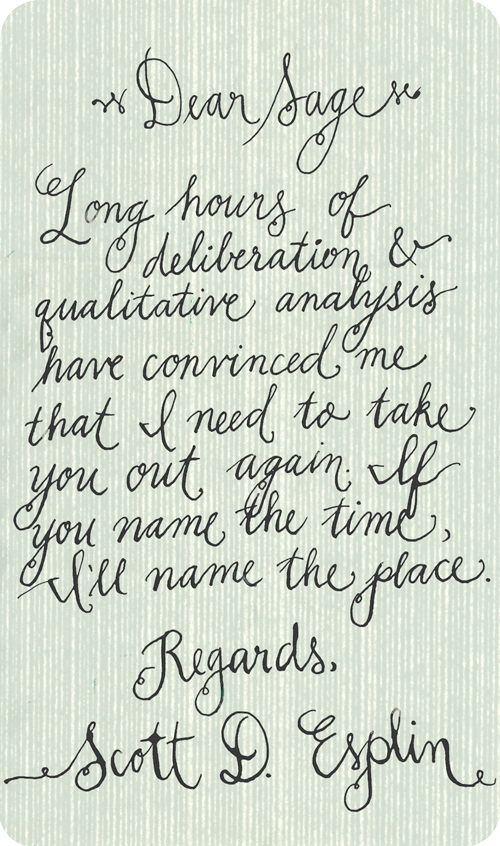
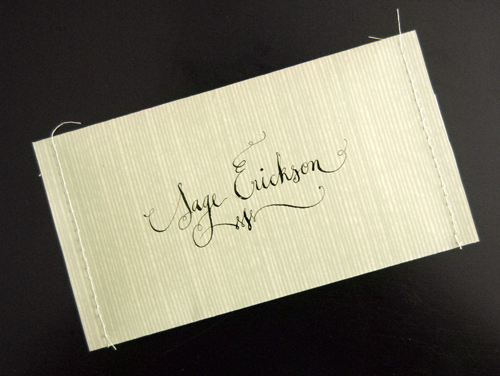
I got a call last week from my eligible brother-in-law asking for a favor. He wanted me to write a little “love note” for a girl that he wanted to ask out. I remember when Chris wrote me love notes when we were dating (he still does every once in a while) and boy that made me feel awesome.

I was very excited to do this for Scottie, and he got pretty excited about it, too. Here’s how it turned out:

dear-sage

Thankfully Chris and my mother-in-law were around to help with the verbage. Let’s be serious, I’m not good at being concise.

envelope front

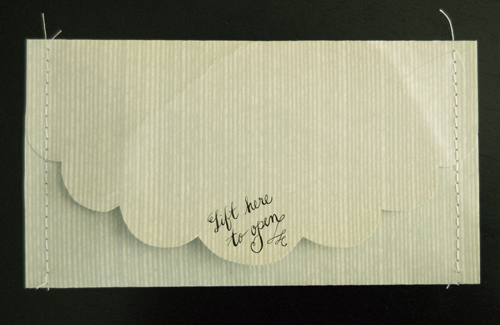
To top it all off I made a scalloped envelope and sewed up the ends. I just love how sewing paper adds funkiness and formality of it all. If only I had some wax to seal it with. . .

envelope back

Scottie drove 35 miles each way to pick up the note, but it worked. They went on a date last night. What did they do? Etched glass. My brother-in-law’s a stud. I think he learned that from his older brother. ;)

Earth Day Winner #5: Let’s Have a Picnic!

0 Comment

Here’s a little info about our fifth winner, Brooke:

Favorite colors: yellow, but I also like green, orange and blue

Interests: I like doing things outdoors, especially if they involve the water. I also enjoy traveling, cooking, and sunshine.

Something that makes me, me: Hm. I love to laugh and to make others laugh, even if its poking fun at myself. :D

Paper Napkin Paper Rings

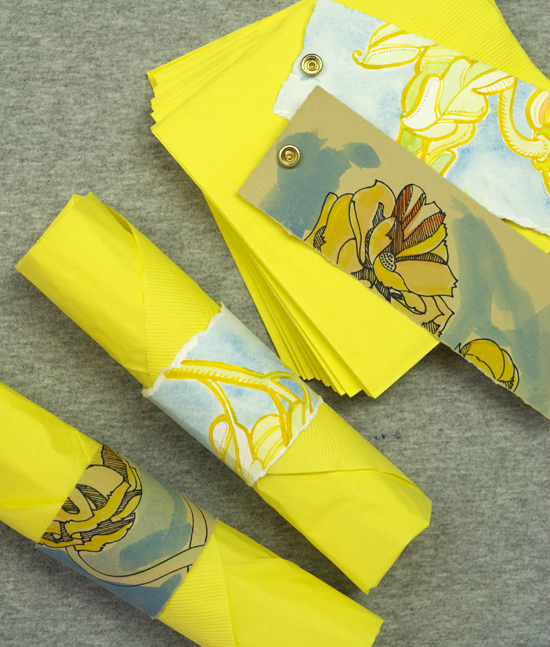
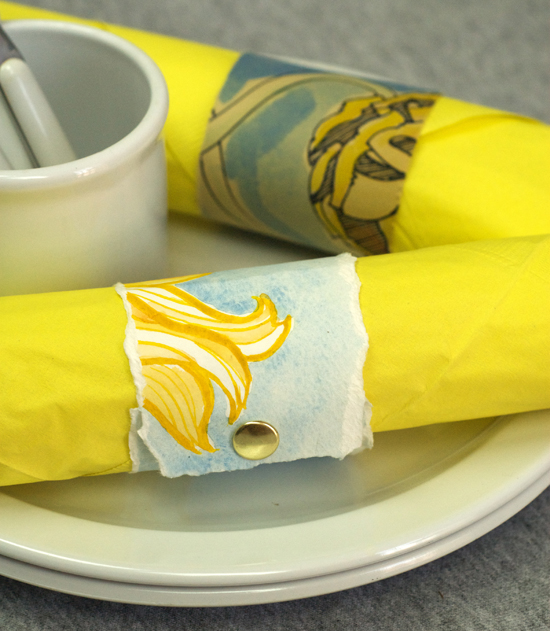
It’s funny, I had such a hard time coming up with something for Brooke, and we have so much in common! It was so good to spend so much time brainstorming ideas, though. I’m a little embarrassed it took me until this morning to figure out something that I could do that could be unique and fun and easy to ship. I have this huge pile of small paintings next to our computer, and I thought that it would be great to reuse them somehow, and here they are, as napkin rings.

_dsc0335I just took a couple of old paintings, ripped them in half (2.5″ x 7″) and added a snap! This way the rings can be shipped (or stored) flat and securly fastened together when in use. Perfect for a casual picnic in the park or at the pool (but maybe not too close to the water ;) ).

paintingsHere are the two paintings that gave their lives all for the sake of picnicking. I think I’m going to do this napkin ring thing again. Seriously. This idea would have come in handy for Penelope’s party. Too bad it took me this long to think it up!

mobile site