Chalk markers are one of those tools that I’ve used and haven’t liked, so I dismissed them altogether. They’re so fussy that by the time you get one to work, you could have been done with an entire composition if you had used regular chalk. No convenience factor. And usually they’re so permanent that they may as well be paint pens. So completely negating the whole reason why you opted for chalk in the first place. No room for mistakes? Not my jam. I make tons of mistakes. We all do.
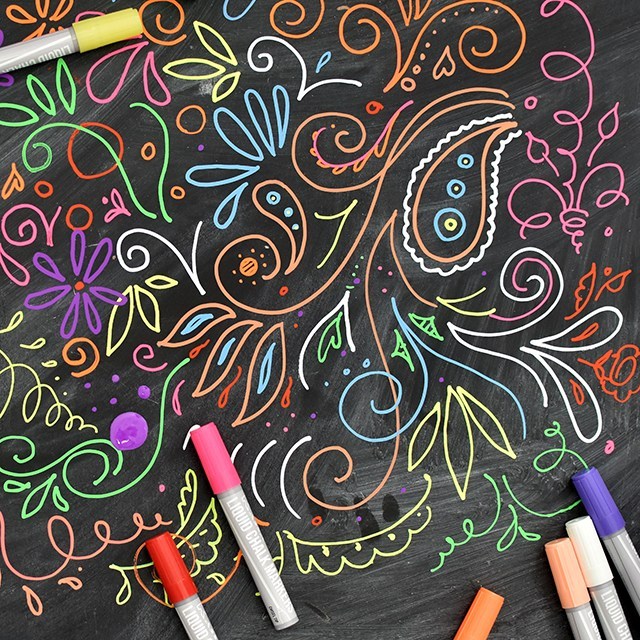
Then these babies showed up in the mail. With my nose turned up awaiting for disgust, I found three glorious things out of these chalk markers: juicy ink, opaqueness and non-permanence. Yep! But first, four tips for making chalk markers work for you:
- To avoid puddles of ink when starting the marker; shake the marker while capped and lid pointing up, remove the cap, and depress the nib while point is still facing up. This releases pressure that may build up while taking advantage of gravity to keep the ink inside the pen and not all over the chalkboard or test paper.
- Store chalk markers horizontally (this is a great practice for all markers) to keep the point from drying out.
- For best results on clean-up, use a non-porous chalkboard surface. I used chalkboard MDF from Home Depot for this review and every color (except white) came off beautifully with just water and paper towels.
- Ghosting? No problem. Grab some windex and a magic eraser.
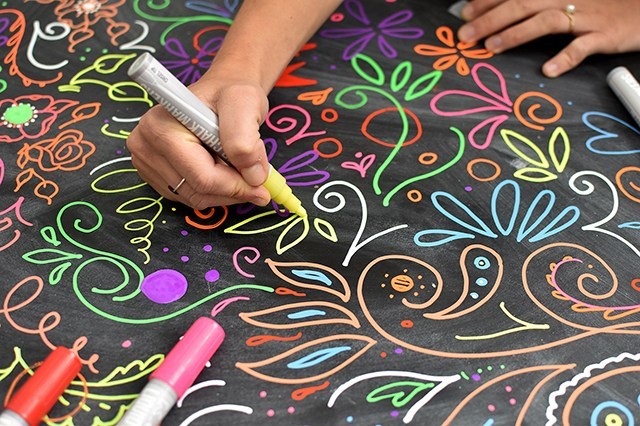
My assistant, Hayley, and I spent a morning last month testing out these markers and we were both singing praises. You can see the results from our testing in the above review video.
Hayley approves!
Like I mentioned earlier, we found some serious pros to these markers:
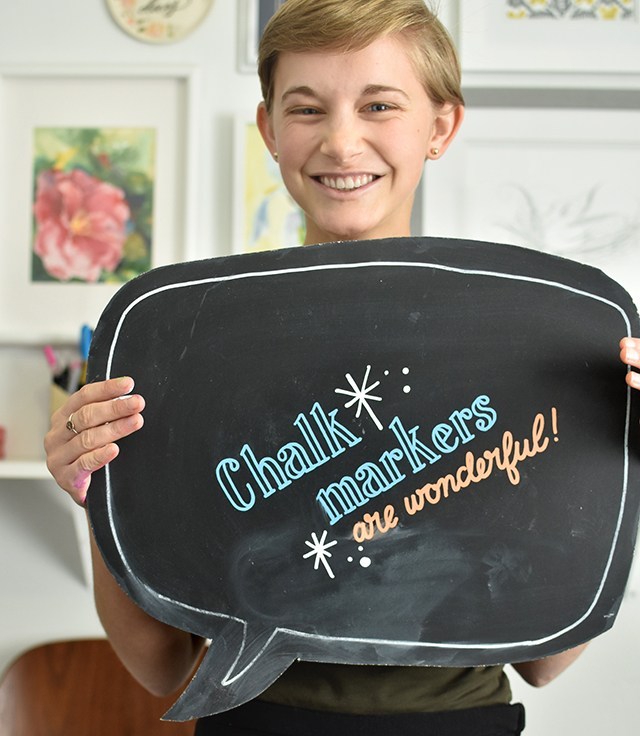
- The ink flowed smoothly, each line was just as juicy as the last. Consistent ink is king!
- The markers were all very vibrant and opaque. The images and video don’t do the hot pink justice. ;)
- Clean-up was easier than anticipated for sure. Water and paper towels (a lot of paper towels) did the trick.
We found a couple of cons, but not deal-breakers:
- The white had a tendency to ghost upon clean-up. The other colors cleaned up easily, though. Windex and magic eraser was my friend to get that off.
- The ink tended to flood out when we were starting the markers. Relieving pressure with the tip facing up did the trick, though.
Overall, These Kassa Flourescent Chalk Markers were a fantastic surprise to both Hayley & me. Major win over here. I hope you try them out and enjoy them as much as we have!
I’m working on doing a review per month on art and calligraphy-related materials. Stay tuned for more! If there’s a material or product you’d like to see in the future, comment below!
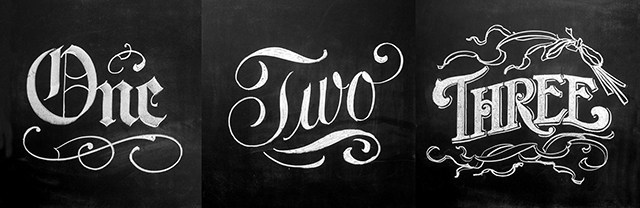
Looking to learn the art of Chalk Lettering? Take our class (taught by the ever-amazing Skyler Chubak) right here! Use code CHALKROCKS for 15% off the workshop. Code valid through 6/30/2017.
Product was donated for this unpaid review. All opinions are my own. Affiliate links are used to link to products which help support the blog. Thanks so much for reading!