 This post is sponsored by Tiny Prints. They provide excellent quality printing and amazing printing options to make your holiday cards stand out this year.

I’ve got 6+ easy ways to embellish your envelopes this year. Don’t get stuck with boring print labels or chicken scratch! Make your snail mail pop with a few tips that require little to no technique. :)
If you want to get some technique under your belt, check out 5 Easy Steps for Improving Your Handwriting, or take my calligraphy class!

Getting fun snail mail is possibly one of my favorite aspects of this time of year. I love getting something other than business offers and bills! Colored envelopes will certainly help make those invites pop.
I went through Tiny Prints for my Christmas cards this year and got one of their laser-cut designs (See all of their offerings here). It’s unique, well designed and I didn’t have to spend a million hours getting it squared away. Major win! I’m dedicated to having enough time to enjoy the holidays this year. No chicken with her head cut off over here, please!
I’m incredibly partial to Kraft envelopes (greengrocer kraft is fabulous). They work well with both light and dark pens and they stand out in a pile of mail. The envelopes featured in this tutorial are from Tiny Prints. I’ve been incredibly impressed how well they handle ink and how easily I can write on them with my super sharp calligraphy nibs.

Next up, gather all random scrapbook supplies you own. Heck, head over to Walmart and browse their crafty section. You’ll find some great stuff for next to nothing.

To do the techniques seen above, you’ll want to collect a few things:
You’ll want a few different patterns of washi tape, and perhaps a few different widths, too. When in doubt, collect all the black, white, gold and silver washi tape you can get your hands on. It goes with practically everything and every season.
You can use any kind of pen for these techniques. I used dip pen and ink for many of these samples, but just use any kind of pen you have. Ballpoint pens, however? NO. Throw all of those out of your house right now. They’re terrible. Shame on you for having them around. :)
Learn how to use a pointed pen with my online calligraphy class: IStillLoveCalligraphy.com. I’m happy to teach you! Side note: our kit makes for the perfect gift.
So let’s get going, shall we?

When doing your addresses on a straight line, use the chalk pencil and the clear ruler to mark out those lines. Otherwise:
DECORATIVE GUIDELINES
Use washi tape as a decorative way to keep your lines straight.
Tape a vertical and horizontal strip and write in the bottom right section OR use it to slant your baseline. Layer multiple strips of tape for more depth.

RANSOME NOTE
Use alphabet stickers to draw attention to different letters.
For a cursive style, use block letter stickers for the first letter of each name. For block style writing, replace a random letter with a sticker.
I found these stickers at Walmart for about $1-2 each. I’m sure you can find them at just about any craft supply store as well.

AROUND AND AROUND
Use circular sticker labels (I used Avery 2 1/2″ labels) to structure your envelope’s layout.
Print or letter just the address within the label (this is great if you want a hand-lettered touch, but you have LOADS of addresses to do) and write the name outside the sticker.
In the top version, I used the border of the label as a baseline and wrote the name around the diameter. It looked a little empty so I drew a little holly berry illustration on there. You could draw something there, or keep it simple and stick the circle in the center of the envelope.
Wrap the label around the back and write the name on a large scale all the way across the envelope.

GLITTER GLUE DETAILS
Glitter glue is my best friend. It’s all the sparkle of glitter without the mess of loose glitter everywhere (I swear that stuff multiplies). My favorite brand is Stickles. Sparkliest of them all.
Pipe out a wavy line in glitter glue. Use that line as your guide for the baseline of the recipient’s name.
Or Letter out your address and use glitter glue to add accents on hairlines and at the terminals of each line.

LARGE-SCALE NAME
Grab a marker and go to town! Write out the first name as large as the envelope will allow. Cursive styles work best. I used a Tombow dual brush marker here. You can use a casual, grungy style nicely. Then letter the rest of the address in a normal style, save for the ZIP. Make the ZIP huge.
ADD SOME BLING
Letter the address as you would prefer then stick some rhinestones on it. Yup. Simple. But it’s so fun go get in the mail! I like to use PVA glue to fasten them on. It’s a strong glue that dries clear.

I hope you have some fun sending out mail this year!
*This DIY is free for personal use and should not be distributed/republished without my consent. Altering any files is NOT ALLOWED. If you would like to use this freebie for commercial purposes, please email me. Thanks!
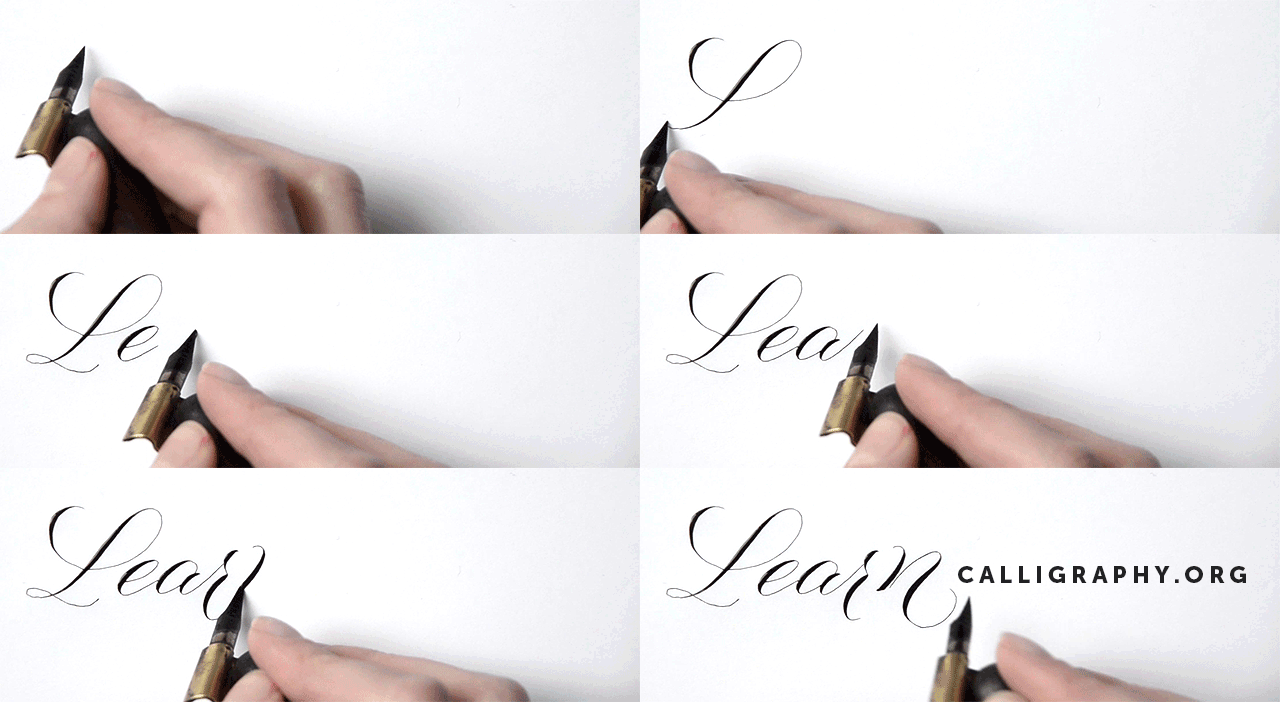
Learn calligraphy online at istilllovecalligraphy.com. You’ll learn the basics of pointed pen, flourishing, addressing envelopes and developing your own style. The course comes complete with a beginner kit of supplies and personal coaching from calligraphy experts Melissa Esplin and Erika Paulsen. Click here to find out more.
![]() This post is sponsored by Tiny Prints. They provide excellent quality printing and amazing printing options to make your holiday cards stand out this year.
This post is sponsored by Tiny Prints. They provide excellent quality printing and amazing printing options to make your holiday cards stand out this year.![]()


