Posts Tagged ‘Thanksgiving’

Freebie: Thank You Card Design

4 Comments

Thanksgiving is upon us! It’s one of those awesome holidays that not only gets over looked, but the real meaning tends to be forgotten, too. Let’s give thanks this year, and every year.

Write out a heartfelt thank you to someone tomorrow. Heck, write out 10.

I recently scored a ton of awesome envelopes, so I have no excuses for not sending out some heartfelt thank yous. I really hope you do the same. Let’s remember what we’re thankful for.

This printable is sized to fit a standard #9 envelope, a fold-over card for a standard A2 envelope or a simple postcard. Print this with a laserprinter on kraft paper and watercolor the graphic for a more hand-drawn look! If this doesn’t float your Thanks boat, check out all these other Thank You printables:

Hope you travel safe and have a fun and tasty Thanksgiving!!


This tutorial or freebie is free for personal use and should not be distributed/republished without the express consent of Melissa Esplin. I love getting shout outs from around the web, but please, link with love. You may publish 1 photo along with credit back to the original post. Never link directly to the download. If you would like to use this tutorial or freebie for commercial purposes, please email me. Thanks!

Thank You Freebie

20 Comments

This time of year shouldn’t be the only time to express gratitude to the ones you love for the things they do for you, but if it’s something you’ve not done in a while, now is definitely the time to do so.

I owe so many people thank you notes (especially with all of the awesome help with moving!), so this design is largely for me to kick my own butt in gear & spread the gratitude. This hand-lettered thank you is also available for you to enjoy & use to express your thanks to the ones around you (a lined version also included). Just click the download button below & print. The design is black text on a white background, so feel free to print it on colored paper or HECK, some adorable vintage wall paper or scrapbooking paper. I fully plan on doing just that as soon as the ink refills for our printer arrive.

What are your plans for this Thanksgiving? It might be cool to write a thank you to each person you attend Thanksgiving dinner with & write all of the things you’re thankful for about them. Just a thought. Other Thank You freebies:

Thank You Postcard 2010Fill-in-the-Blank Thanks 2009

This tutorial/freebie is free for personal use and should not be distributed/republished without my consent. Altering the file NOT ALLOWED. If you would like to use this tutorial for commercial purposes, please email me. Thanks!

Thankful Box by Guest

3 Comments

Until I get my studio set up at our new place, I’ll be posting mostly thrifty finds, ideas & guest posts. If you’re interested in guest posting , please email submissions (photos 500px wide) to melissa at melissaesplin dot com.

• • •

Hi everyone! My name is Holly and I’m from elevencupcakes. I am so excited to be on ISLY today (one of my favorite blogs!). We have been thinking up some fun ideas for a kids Thanksgiving table for the past few weeks and I am super excited to be sharing how to make this ‘Thankful Box’ with you today. Enjoy!

Thanksgiving Kids’ Table: Thankful Box

Thanksgiving is a great time to remember all that we are thankful for. We made these simple ‘thankful boxes’ for each child and had them at their table. While they wait for dinner to start, kids can write, draw, and remember all that they are thankful for this year.

• S U P P L I E S •

  • Altoid tin
  • white spray paint
  • 3″x10″ strip of white paper (fold 3″x2″)
  • scrap paper
  • markers

Spray paint the altoid tin white. You may need to do a few coats to cover it completely. Take the 3″x10″ piece of paper and fold it over 2″ back and forth, so that you make an accordion. Decorate the white paper with scrap paper and stickers. Once the altoid tin is dry, tape one end of the accordion paper to the bottom of the tin. Decorate the outside of the tin with scraps of paper. We printed the word ‘thankful’ to attach to the front as well. Put out markers and pens to kids can write and draw all the things they are thankful for.

We also made a ‘Thankful centerpiece’ for the main table.

• S U P P L I E S •

  • 6 pieces of paper 10″x7″ long (folded in half)
  • Scrap paper and stickers
  • Pictures
  • Tape and markers

Happy Thanksgiving!

0 Comment

It was a great week for me. I had a wonderful time with my in-laws cooking, eating and vegging. Here’s what we did on Thanksgiving:

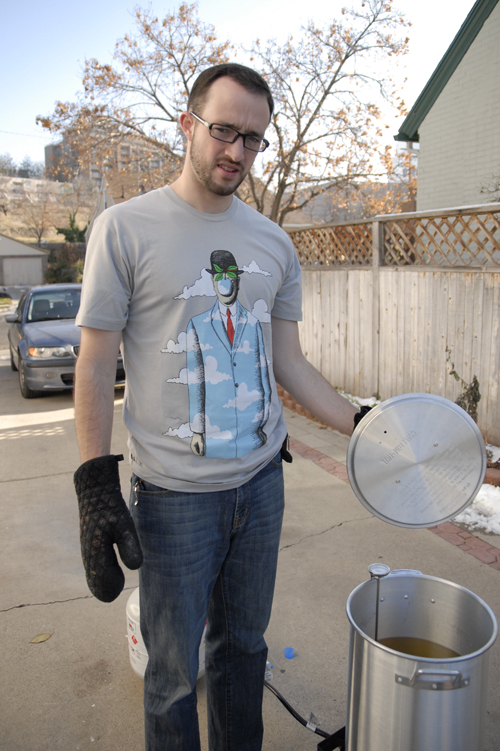
_dsc0174

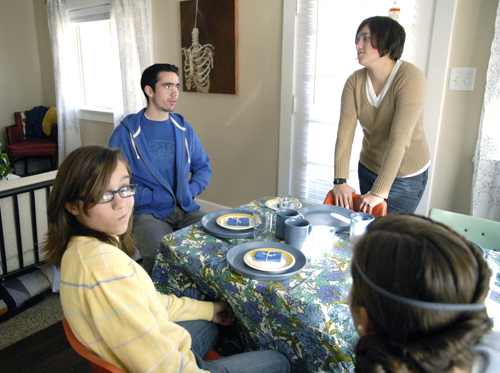
Waiting for turkey. Isn’t his shirt cool?

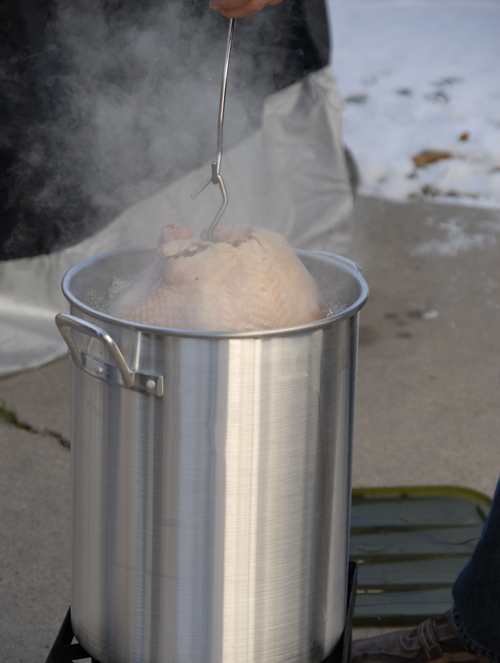
_dsc0186

In she goes.

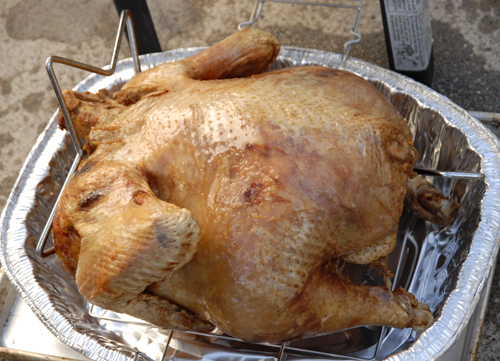
_dsc0199

Deep fried turkey. SUCCESS!

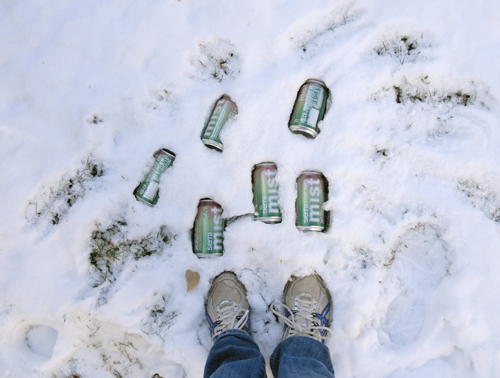
_dsc0212

Chilled soda. Grapefruit. MMM.

_dsc0222

Waiting for food.

_dsc0225

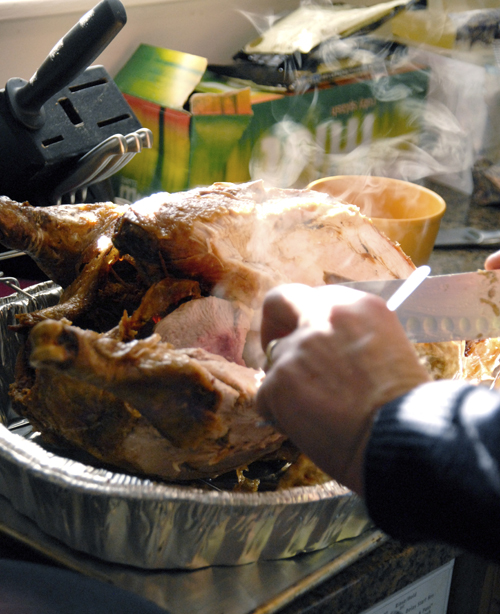
Carving the turkey.

_dsc0227

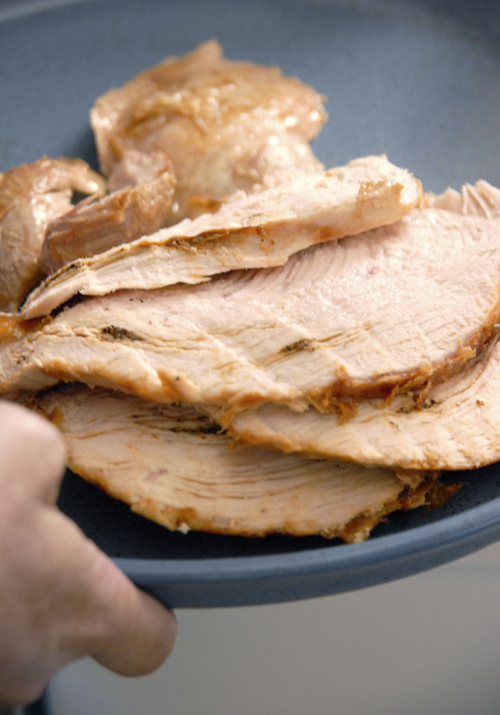
Doesn’t that turkey make you salivate? It was delicious.

_dsc0228

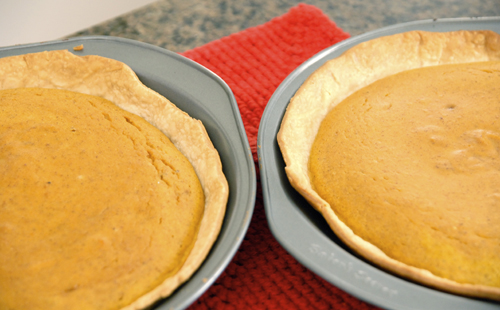
Good pie. Sad crust.

_dsc0237

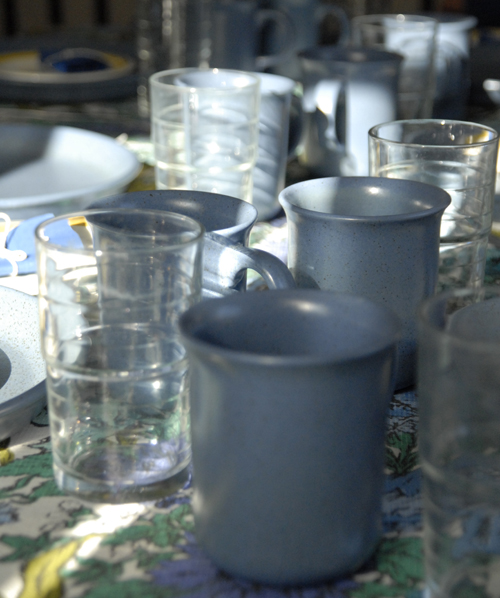
Too many cups on the table.

_dsc0240

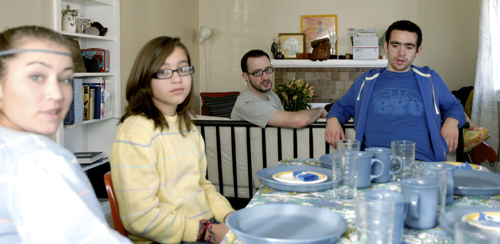
Still waiting for food.

_dsc0245

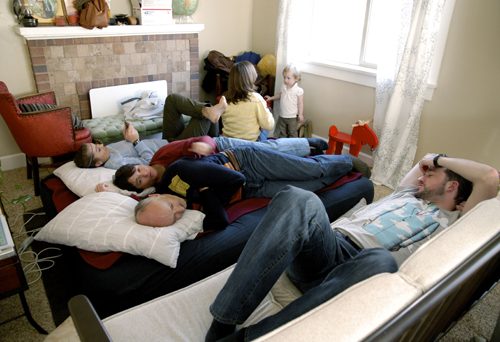
The turkey-induced coma.

_dsc0258

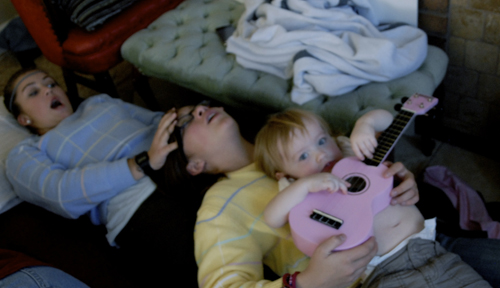
Penelope trying to learn the Ukulele from a comatose Brookie.

_dsc0262

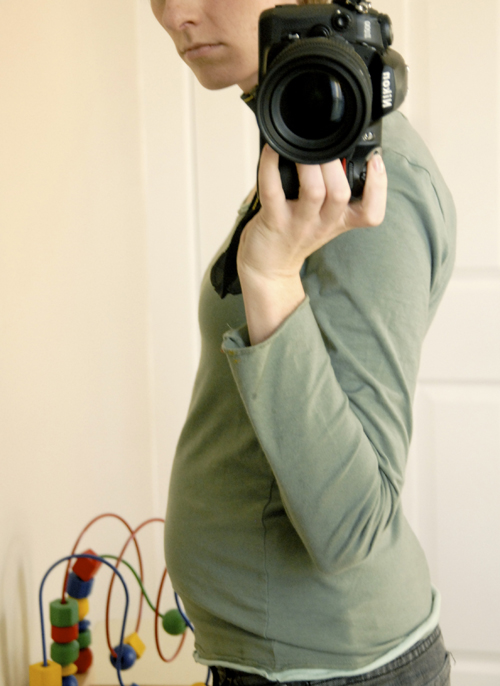
food overload. It looks like I’m 18 weeks along! I’m not.

I’ve been thinking on and off about the things and people that I’m grateful for and it’s boiled down to two lists. The silly things I’m grateful for and the sappy things I’m grateful for.

The silly things I’m grateful for:

  • An abundance of socks. Nice fuzzy socks and colorful tights. It’s been a childhood dream of mine to own comfortable socks.
  • Black Friday sales. I just got 50% off some amazing clothes at Tulle.
  • Sweet vintage chairs (more on that when I find my perfect table–Thanks Annie!)
  • The Yudu machine. Thanks Linda!
  • My wacom tablet.
  • My purple suede boots.

The sappy things I’m grateful for:

  • My husband, of course! Chris is the only one that fills that lonely void in my heart. He’s my other half. He makes me so, so happy. There’s no one in the entire universe that I trust more with my heart than him. He’s my perfect prince charming and he makes an excellent Mr. Mom.
  • My family. I’m grateful for all of my family members and for the support they’ve given me. I am also so grateful that Chris and I were able to start our own little family. I have loved Penelope from the very beginning. I feel really humbled that Penelope came into our lives as fast as she did. I know of so many couples struggling with fertility, and sometimes I feel a little undeserving to have such a beautiful and healthy child. I won’t take her for granted. I love Penelope so much.
  • My circumstances. I’m learning a TON from our current situation, and for that I’m thankful. I’ve gained more perspective, more confidence in my work and more love and appreciation for Chris and Penelope.
  • My church. I believe in God and I believe God is good. Very good. I’m thankful that my church has helped me figure that out.

Delicious Pumpkin Minicakes (or Pumperdoodles)

11 Comments

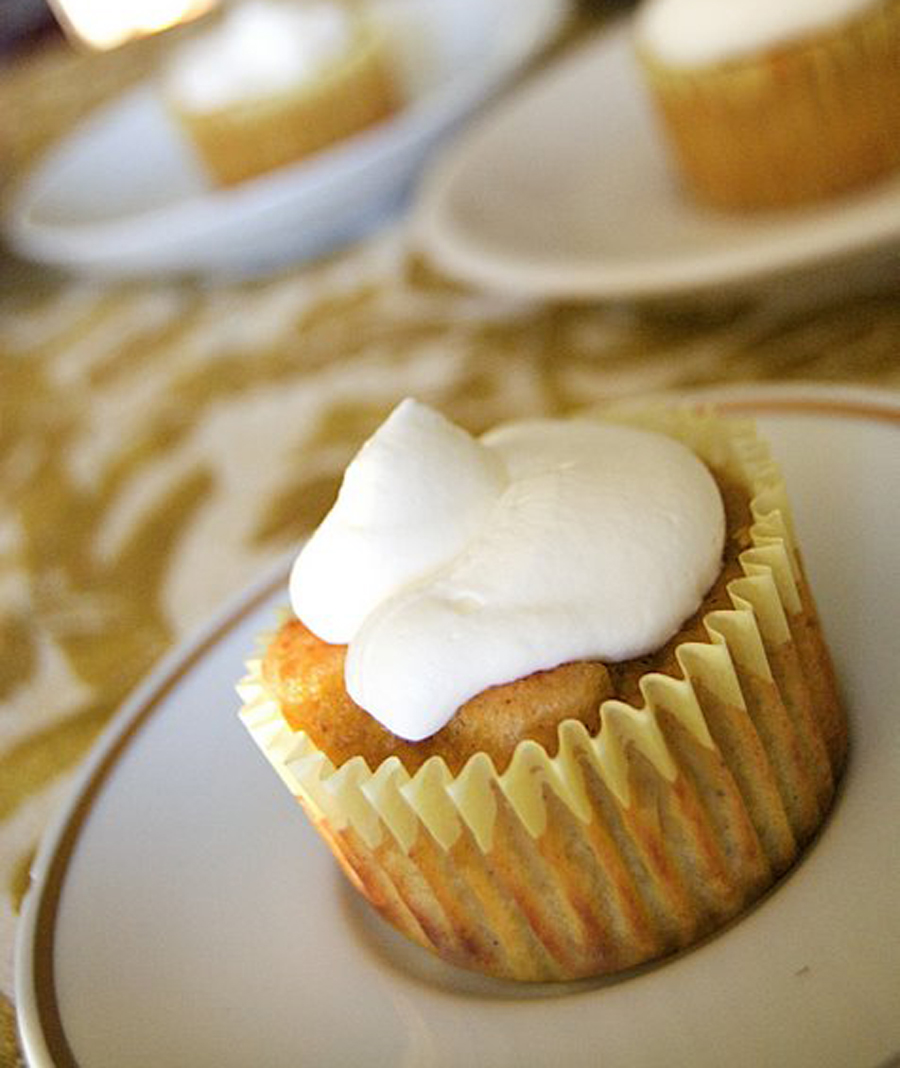
I’m not sure what I want to call these, but whatever their name may be, they are delicious. These minicakes were one of those happy little accidents that (for me) rarely ever happens in the kitchen. I had far too much pumpkin pie filling left over after baking 2 pies, and decided to make a little concoction of pumpkin filling and snickerdoodles. The results, well, too bad you weren’t there to eat them with me. I think I ate half the batch in two days. Thanks to the park days ladies who helped me polish them off.

Download the printable recipe card HERE.

Without any further ado, I give you The Pumperdoodle (or Pumpkin Minicake)

Pumpkin Minicakes

Makes about 18

Dough:

  • 6 tablespoons butter, softened
  • 3/4 cup sugar
  • 1 egg
  • 1 1/4 cup flour
  • pinch of salt
  • 1/2 teaspoon soda
  • 1 teaspoon cream of tartar

Cream butter, sugar and egg. Beat well. Sift together dry ingredients and mix into butter and sugar mixture. Press about 1 large spoonful of dough into bottom of cupcake cups.

Filling:

  • 1 cup pumpkin puree*
  • 1/3 cup firmly packed brown sugar
  • 3 tablespoons all purpose flour
  • 1/2 teaspoon ground cinnamon
  • 1/4 teaspoon freshly grated nutmeg
  • Pinch salt
  • 2/3 cup heavy cream
  • 1/4 cup maple syrup
  • 2 eggs, slightly beaten
  • 1/2 tsp vanilla extract

Preheat oven to 325º. In a large bowl, combine pumpkin puree, brown sugar, flour, cinnamon, nutmeg, cloves and salt and whisk until smooth. Add the cream, maple syrup, eggs and vanilla and whisk until just smooth. Pour 2-3 tablespoons of filling onto dough.
Bake cupcakes about 20 minutes, or until lightly browned. Chill and serve with maple whipped cream: 1 cup heavy cream with 3 tablespoons of maple syrup until soft peak forms.

*Notes: I used fresh pumpkin. To prepare, preheat oven to 425ºF. Cut the pumpkin in half and place it cut-side down on a baking sheet. Roast until tender, 50-60 minutes. Remove from oven and puree in food processor or blender until smooth. Also, if you don’t have maple syrup on hand, a traditional pancake syrup works well, too.

mobile site