Posts Tagged ‘diy’

Easy Suminigashi Tutorial

0 Comments
Iron provided by CHI® and Bed Bath & Beyond. Whether taking the wrinkles out of a new bedspread or curtains as the finishing touch on a home décor project, ironing your favorite outfit for a special occasion or flattening paper for artwork the CHI® Electronic Retractable Clothing Iron is the bee’s knees. 


SUMINIGASHI!! This marbling technique is so super awesome. It’s one of those projects that doesn’t really require a whole lot of space or preparation. I had everything on-hand for this project, so there was little barrier to entry here. 

HOWEVER, there was a little bit of a learning curve. Check out this little video Hayley and I made about our discoveries through trouble-shooting (the tutorial is at the end if you want to skip to the end there, too). 

In a nutshell, here’s what we found: 

  • Cold water works best
  • You can use soap to help disperse the ink, but you need a large water bath in order to keep the ink from dropping from the surface
  • Use only sumi ink if you plan on using a smaller water bath (we used a kitchen dish for note cards and envelopes)
  • Not all sumi inks work well. Of the sumi inks I have, Yasutomo worked the best
  • We read elsewhere that these colored inks work well, if you want to add color
  • The first paper you pull is often the “first pancake”, don’t stress if it doesn’t work well
  • You can get 3-7 pulls off of one ink application, the ghost images are subtle like Carrara marble


Don’t feel like watching the video for the tutorial? Here’s the cliff’s notes version: 

SUPPLIES:

  • sumi ink
  • paper (we loved the crisp results of bristol paper, but anything works!)
  • cold water
  • water container
  • diluted soapy water (only if using a larger container)
  • brush
  • tooth pick or eye dropper
  • the bestest iron ever (yes, a clothing iron)

If you’re doing this project with little people, you may want to add aprons, rubber gloves and a drop cloth to the mix (especially if you’re doing larger ink baths). 

Fill your container with cold water. I chose to use a small container for the video, but I’m on Studio 5 on Tuesday sharing how you can do it with soap and a larger container. So either can be done. 

Get your ink brush wet and load it up with sumi ink. Barely tap the surface of the water and watch the water disperse along the surface. 

Add more dots along the surface, spacing them randomly apart. the longer your brush touches the surface, the larger the dot. 

Get as many dots as you want, until you feel happy with the blank space to ink ratio. 

With a toothpick or eye dropper, drag the tool along the surface to pull and move the ink around. You’ll get little swirls all over. 
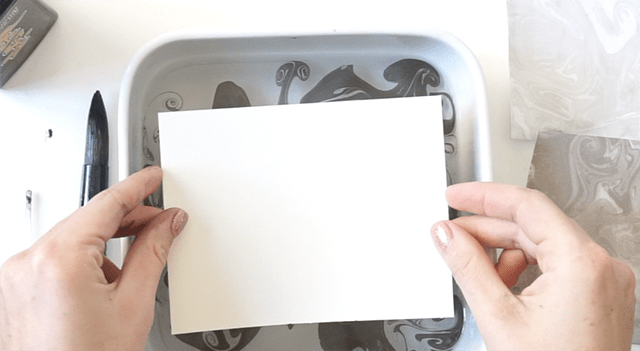
Grab your paper and submerse the first paper entirely. 

Pull your print and place on a cookie sheet to dry. If you’re doing envelopes, touch only the surface of the water to the front of the envelope. Hold the envelope by the flap so it doesn’t get wet (otherwise it will seal shut as it dries). 

Now what do you do when the paper dries?? It’s so annoying when papers dry all curly and whatnot. And they will. So iron them! A huge shout out to CHI Heat tools and Bed Bath and Beyond for providing me with a brand-new iron for my sewing and paper crafting. 

I’ve been a Rowenta gal for a long time, but it wasn’t hard to make the switch. It’s light-weight, yet substantial, the plate is silky smooth, the heat time is short, the reservoir for steaming is twice the size of my old one and it has a retractable cord. All wins in my book. If you’re in the market for a new iron, this is it. 

For ironing paper, get a cutting board (something smooth, yet will take heat) and a piece of quilting cotton. Set the iron to COTTON with NO STEAM. Place the cotton over the paper you’re about to iron and press for 15-20 seconds, moving the iron as you go. Flip the paper around  and repeat. The paper may want to curl in the direction of its grain, but it will relax once it cools back down. 
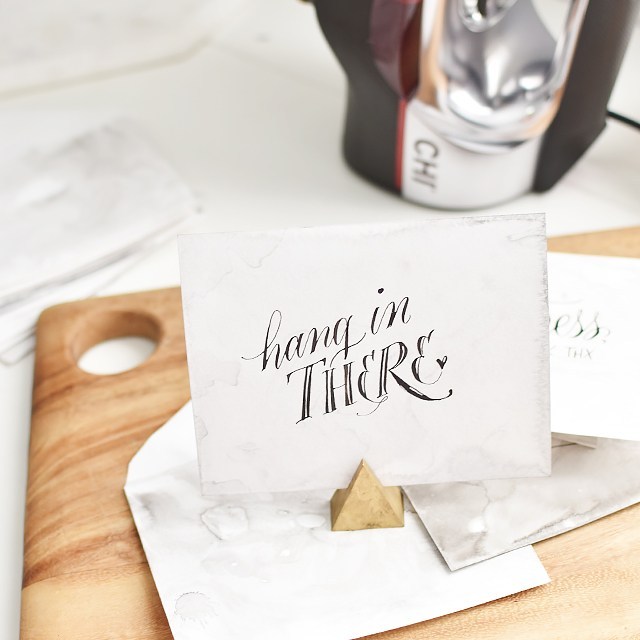
Pretty fun, right? I would recommend doing this in batches to save time. The print or write your desired phrases overtop! 

This post is sponsored by CHI® and Bed Bath & Beyond. All opinions are my own.

Watercolor Pencil Ranunculus Tutorial

0 Comments

I’ve had this thing in the queue too long! It’s no secret that I’m a materials hoarder. When I got the chance to score a set of General’s Kimberly Watercolor Pencils, I jumped at the chance. I tried watercolor pencils a long, long time ago (before I really even knew a thing about watercolor painting in general), and didn’t really do well with them. I needed to make up for lost time. 

I really loved how these watercolor pencils turned out. They’re smooth, vibrant, juicy, and blendable. BUT… they aren’t watercolor paints! There’s a real distinction between the two… See? 

I love how I can get very gestural strokes with the watercolor pencils. It adds a lot of movement to the paper. I filmed a quick little tutorial on how to make your own ranunculus in the video below. I do hope you enjoy! 


Add your own calligraphy to your florals, and you’ve got a VA-VA-VOOM piece that your friends and family will love! Don’t know calligraphy yet? Consider taking my online class. It’s THE BEST (if I do say so myself. ;)). 

DIY: Raised Lettering With Glue

0 Comments

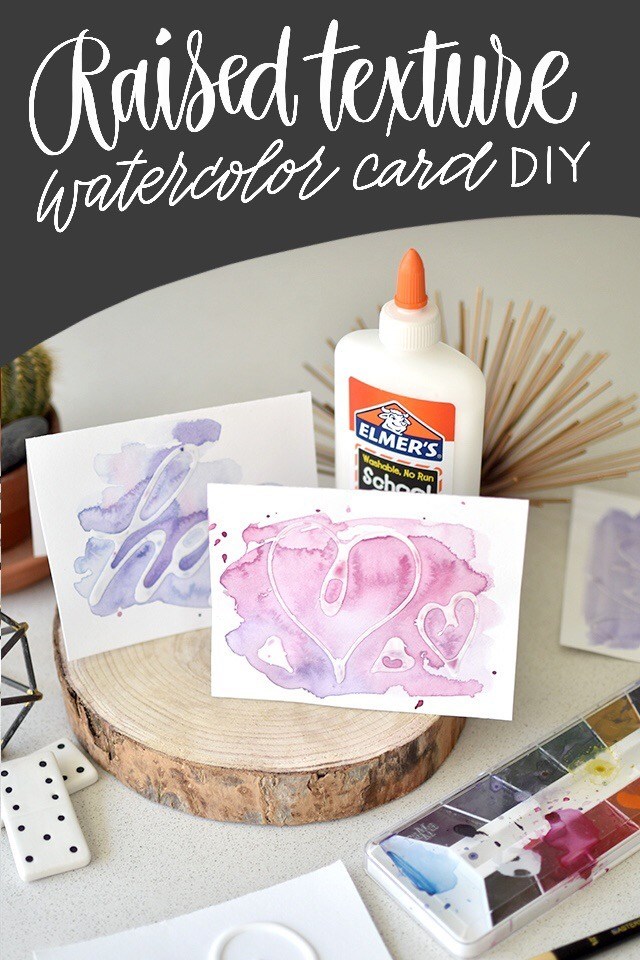
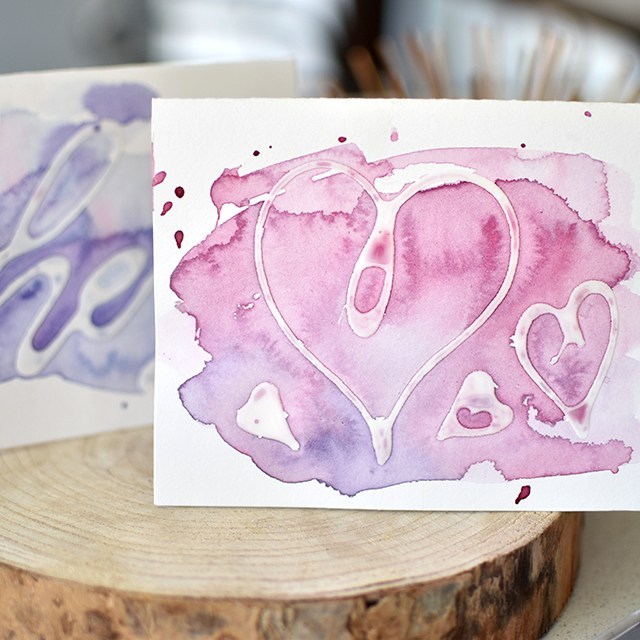
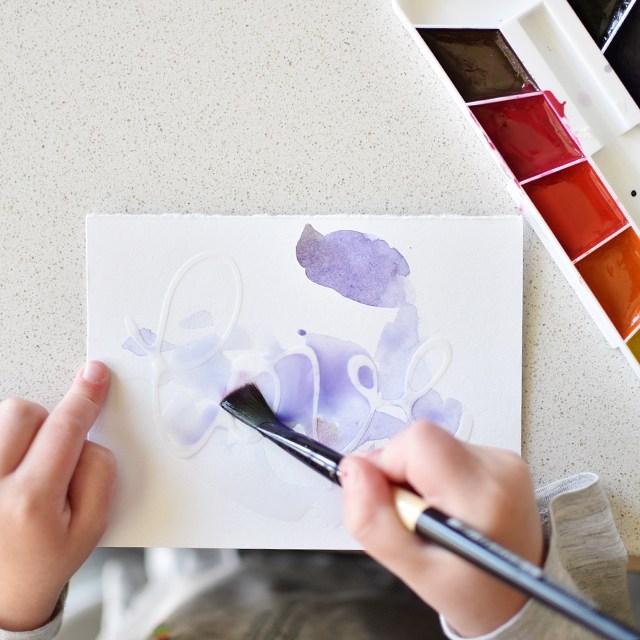
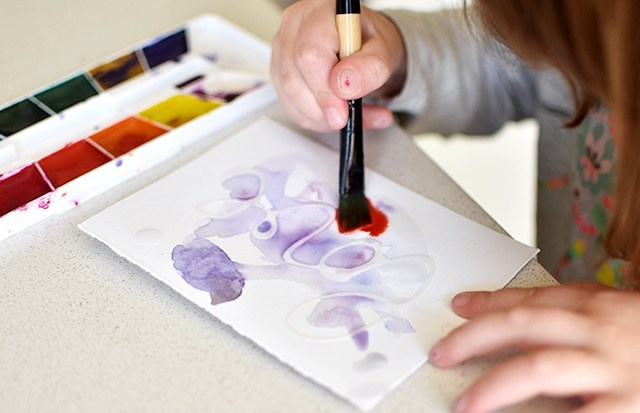
I was on local TV show, Studio 5 this week sharing a fun how-to with Elmer’s glue: Raised lettering. It’s really quite addicting and something you can rope your kids into (perfect for a Father’s Day craft). It doesn’t have to be lettering you include on the card, either. Abstract designs really add a lot of depth, too. So any age and skill level could do this craft. But be careful, it could get messy. ;) Here’s the link to the segment if you’d like to take a look!

So here’s what you need: 

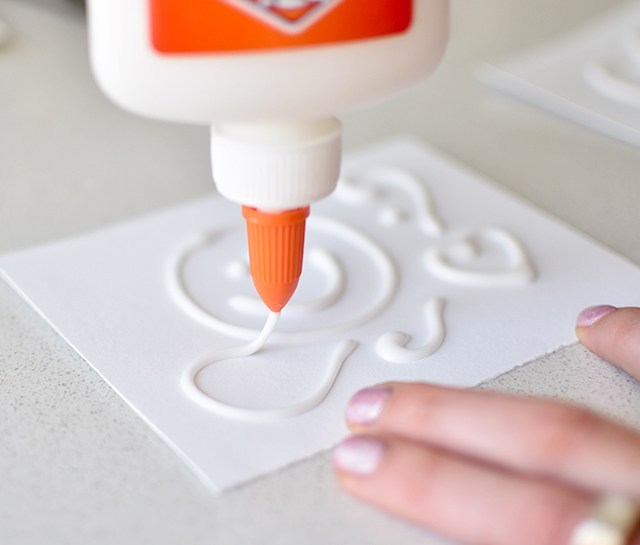
Figure out your design. I found the simpler the better. The largest word I was successfully able to write without bleeding and readability issues was “love”. “Hi”, “Hey”, “thx” totally worked. 
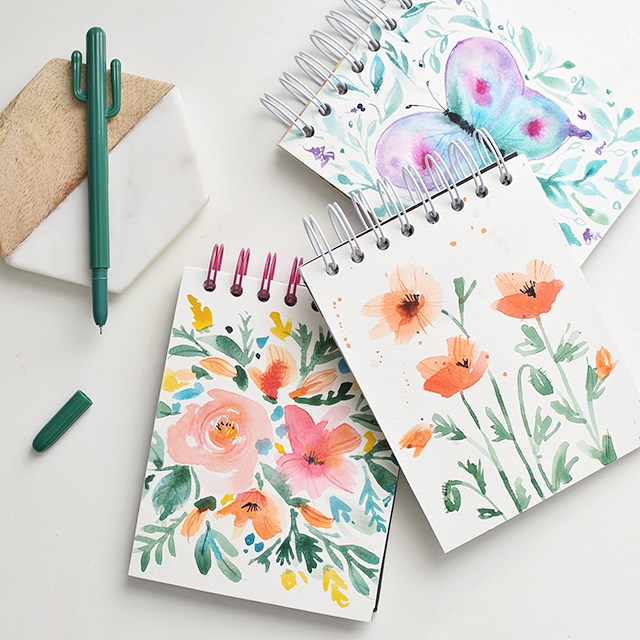
Keep your glue bottle about an inch to two inches away. Allowing the steady stream of glue to create smooth curves. Set out in the sun for a couple of hours to dry. I use little porcelain dominoes to keep them from flying away. 

Once the cards are dry, paint overtop! This is super fun because the paint job can be whatever. So include your little ones and do something fun. This is a great way to get them involved in hand-written ‘Thank You’s and perfect for Father’s Day this upcoming weekend. 

Junie got really excited about this project, too. We had a great time disconnecting from screens and making some fun artwork. 

Hope you get around to doing some fun raised cards soon! Feel free to comment below if you did the project. I’d love to see how they turned out. 

This tutorial is free for personal use. Link with love. Thanks! Affiliate links are used.  

Simple & Quick Easter Outfits

0 Comments

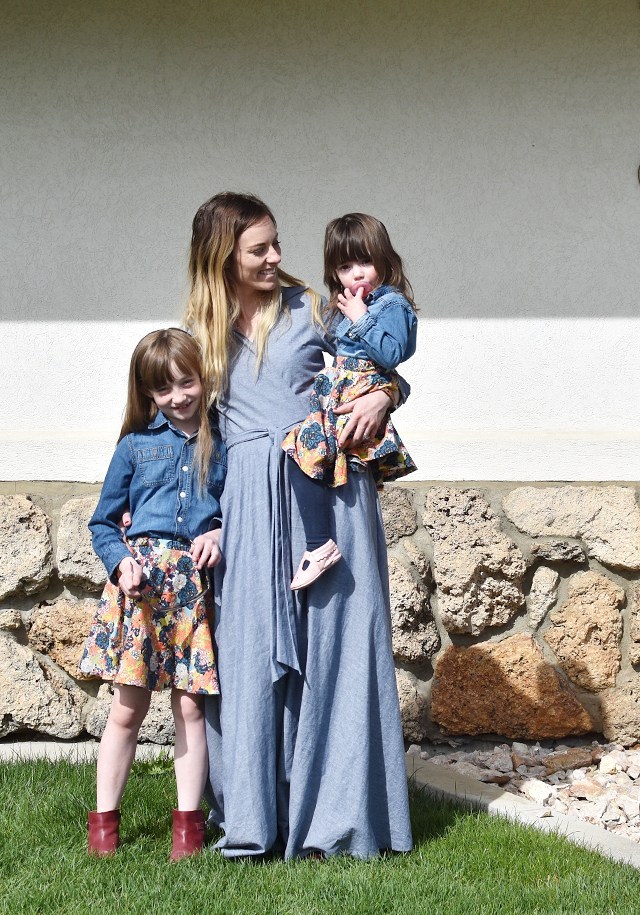
Time hasn’t been a luxury for me lately, but I wanted to take time out to do something this Easter for the girls. It’s a tradition my mom held with us when we were kids to make Easter dresses. I love that tradition. I’m sure at some point, Pen & Junie will dread it, but for now they just lit up when I showed them their new skirts. 

I didn’t go sophisticated with their outfits at all. I just made two simple circle skirts and called it good. Junie is in the middle of a growth spurt, so I made her skirt fairly long so she can grow into it. Need some pointers? Check out this tutorial.

Making a woven circle skirt is quite easy. You just have to make sure that you’ve cut the opening wide enough for the hips to fit through and then you put the elastic in the waistband and gather it to fit the waist. Finishing the skirt is simple. If you’ve got a rolled hem foot, it’s even easier. 

Add some fun shoes a chambray shirt and I called it a day for these two munchkins. 

Poor Felix didn’t get anything made. But he doesn’t care quite like the girls do. He had plenty of fun playing with the Hot Wheels cars that the Easter Bunny brought. 

OMG aren’t these little Mary Jane Moccs the cutest things ever?!? They went perfectly with Junie’s outfit!!

Outfit Details: 

skirts: handmade

chambray: H&M and Gap

Penelope’s boots: Zara

Junie’s Moccs: Freshly Picked (c/o)

Tutorial: Watercolor Poppies Notebook for Journaling and Conference Notes

6 Comments

You new here? WELCOME!! Pop over to Instagram and give me a follow or check out my online calligraphy class!

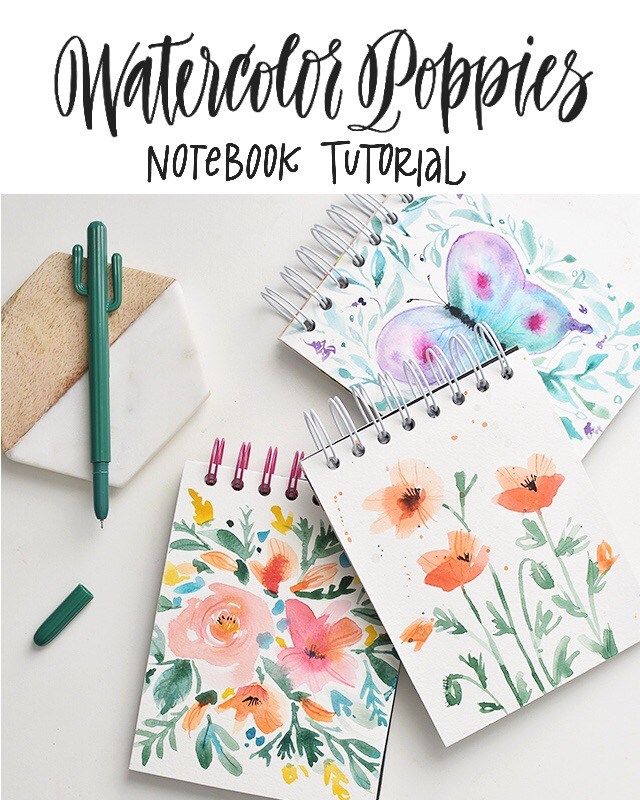
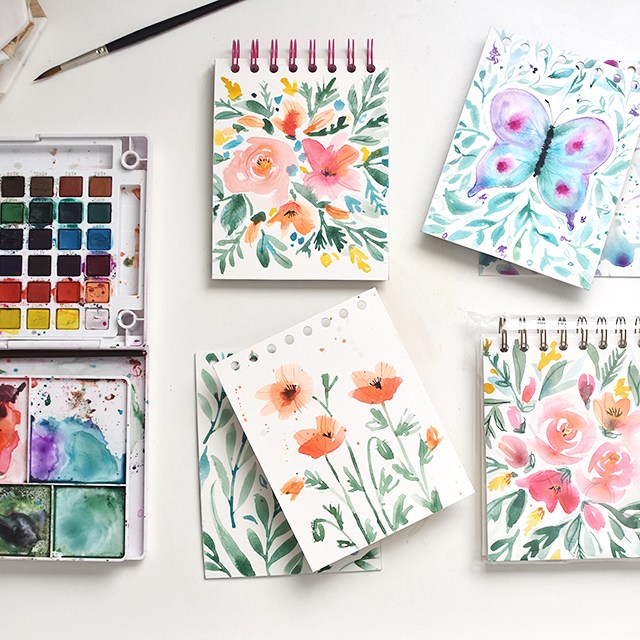
Over the last few weeks, I’ve made about a dozen or so of these notebooks. I’ve made them for neighbors, family, friends and even a couple for myself. I’ve really enjoyed the freeform aspect of painting the covers as I go. I’ve gotten a few requests for the step-by-step, so here you go!

The cover material is Canson Watercolor Artboard. I was given a pad of this artboard and truly have enjoyed the thickness of this paper. It’s actually coldpress watercolor paper that’s mounted on museum board. So you can soak the paper with as much soupy water as you want, it won’t buckle. You may get a slight bow to the board, but it all goes back to its original flat shape once the paint has dried. It’s perfect for book covers!

Shall we make a notebook (or 10) together? Let’s get it going! Affiliate links are used to link to actual materials I own and use. Your support feeds my craft addiction, which feeds more tutorials. So thank you!! 

For supplies, you will need: 

* CLICK HERE TO DOWNLOAD FILLER PAPER FOR GENERAL CONFERENCE FOR THE CHURCH OF JESUS CHRIST OF LATTER-DAY SAINTS (you’ll want to print 5-10 copies of this PDF for one book)

If you’d like to just paint poppies, skip to the bottom. If you’d like to bind a notebook, you’ll want to line the underside of the boards with a decorative paper. You can use wrapping paper (I used Rifle Paper Co wrapping paper) or any kind of scrapbooking paper you choose. 

You can get your favorite paper and cut it into fourths (4.25″x5.5″), or you can download my lined filler paper and have it printed at your nearest print shop. for a .75″ coil bind, you’ll want at least 60 sheets of paper (15 copies, cut in fourths). If you don’t have a good cutter at home, your local print shop can do the cutting for you! 

First, we need to cut down the boards down to size. For a notebook that fills quarter sheets (see here for filler paper download), 4.25″x5.5″, you’ll cut your boards down to 4.5″ x 5.75″. 

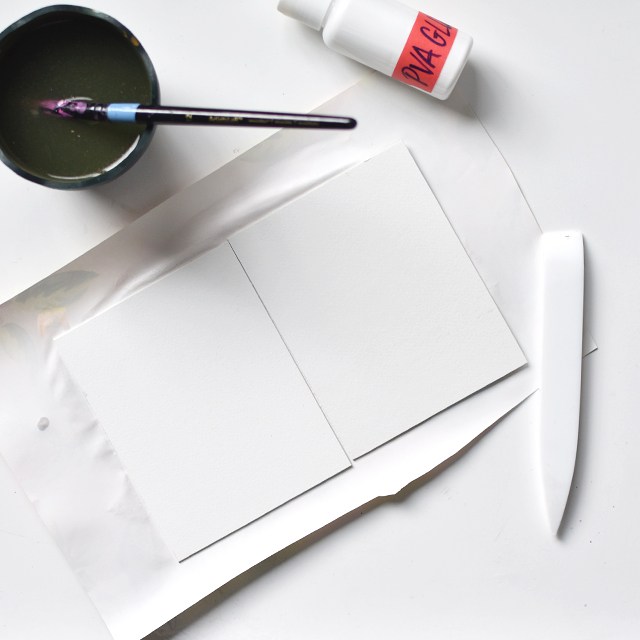
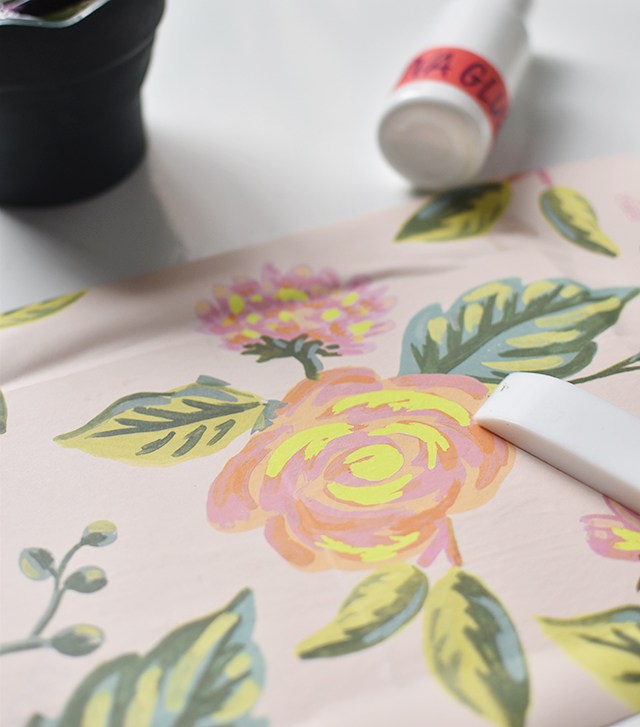
On a larger sheet of decorative paper, apply glue to the backside of the paper. Spread with a watered brush. Press the paper down, be careful to avoid getting glue on the top of your watercolor board or you will have a terrible time painting it. 

Turn the boards over and with your bone folder, work the bubbles out. 

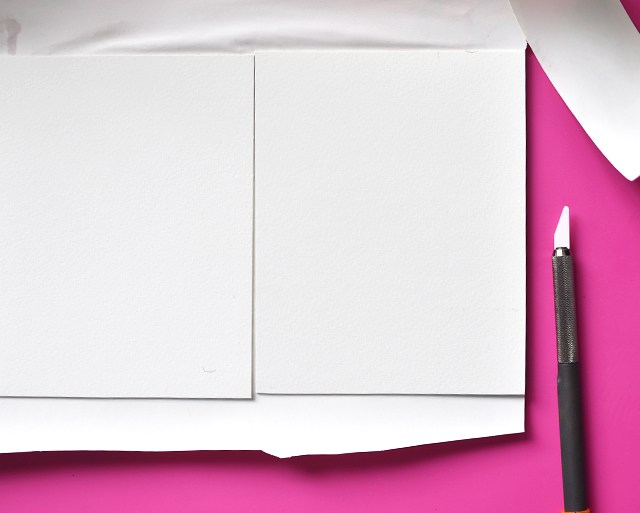
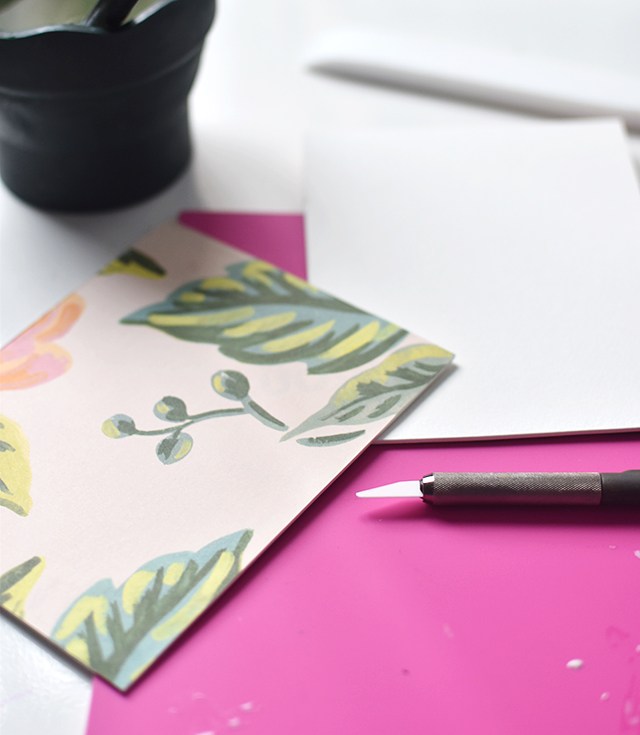
On a protected surface, cut the boards free of the excess paper with a craft knife. I LOVE this craft knife from Slice. It won’t cut skin! See my review of it here.

Allow to rest so the glue has time to dry. NOW on to the painting!! 

For this portion, I’m using 2 different brushes. I’m using a red sable brush (a soft, natural bristle brush), size 5 round and a synthetic size 0 round for the little details. You can use whatever brushes you have on hand, but I like the flexibility of the sable brush and how it gives me more organic lines. You can get amazing results from just about any brush, but if you’re investing in watercolor, consider purchasing a sable brush. They’re just so fantastic to paint with. 

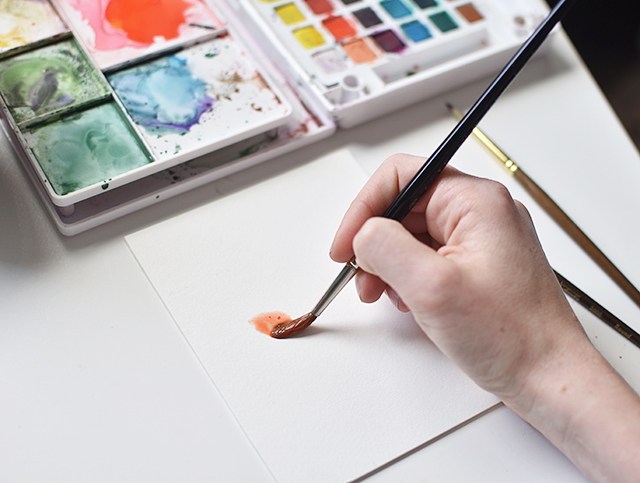
Start by mixing 2 types of oranges. A true orange and a reddish orange. Make them soupy. You want lots of water in there to work with. 

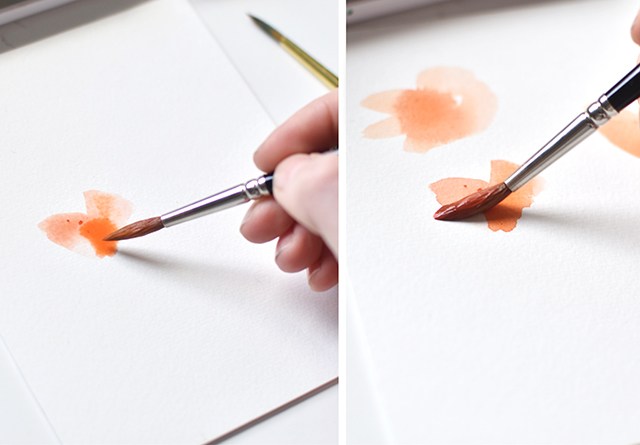
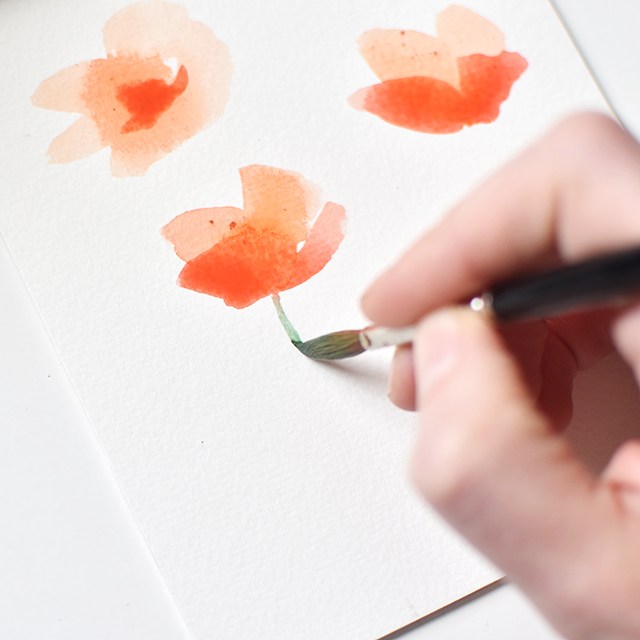
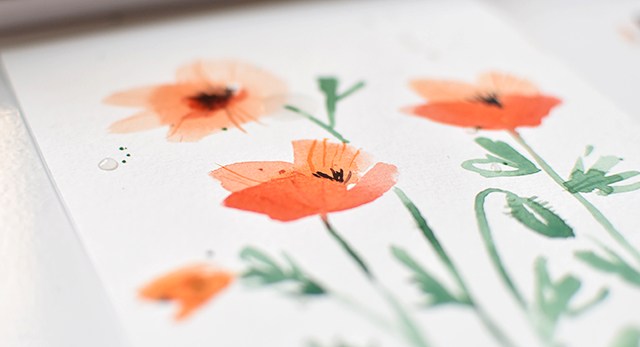
Start by picking up the lighter orange and fill your brush with that pigment. On the middle to top third of the board, I make organic ‘V’ strokes. Start heavy and thick at the top and release pressure so you have a point towards the bottom. It doesn’t matter where you put them. Make about 3. Allow the watercolor to dry. 

If you want an open poppy, scribble a couple of ‘v’s and a rounded bottom. Drop the darker, reddish orange in the wet middle of the open poppy. 

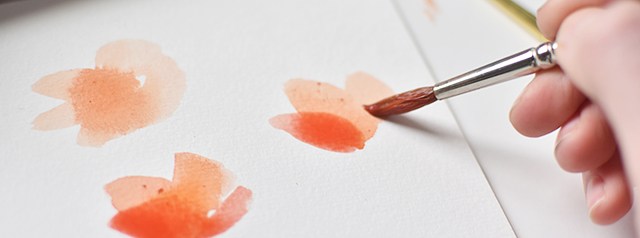
Once the first set of marks have dried, add another ‘V’ stroke, align the bottom of the ‘v’ in the same spot as the lighter pigment, but offset the tops of the ‘v’. 

The one on the lower left wasn’t quite dry when I added the darker color, so there isn’t as much of a separation of pigment. That’s totally okay! You can see on the right ‘V’, that there’s more a separation of color. Making them slightly different gives each flower a more organic touch. 

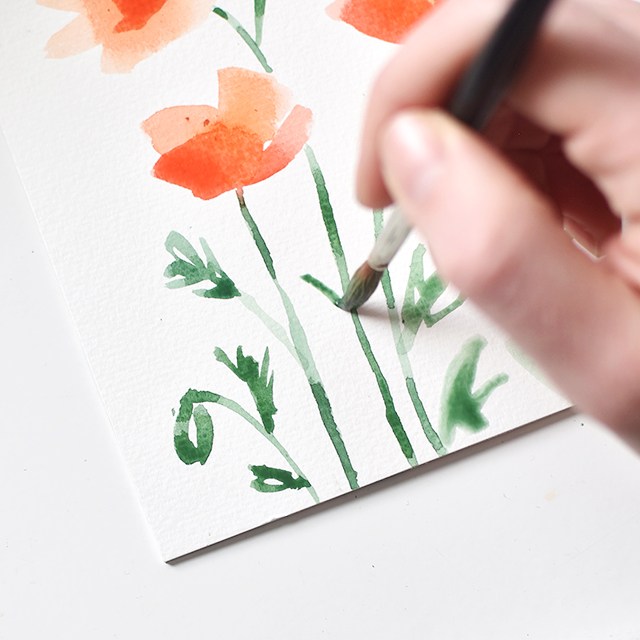
While the bottoms are still a little wet, draw in the stems. I like to create a varied, organic, almost awkward stem. Drop some darker bits of green color in there for some variation. When it comes to mixing the green stems for poppies, I go for a mid-toned, warm green. No jewel-toned greens here, otherwise the orange won’t pop. 

You can leave your painting simple without any leaves and just do the stems, but I love how easy these leaves are. With the tip of your brush, draw little scribbles. Little zig-zags that go into each other for the leaves. I also like including pods, the stems tend to arc downwards and have a cupped ‘c’ shape on either side. You can be quite abstract with those shapes. 

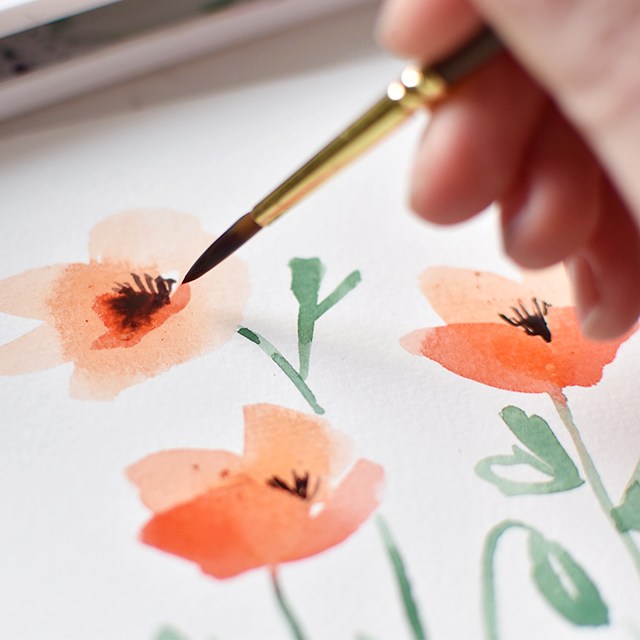
Now that the greenery is done, the poppies are dry enough for the middles. The centers of poppies are black with little bits of yellow pollen. I like getting a muddy blue-ish black to paint the middles. On the open flower, you’ll draw a circular-ish (again, don’t be perfect) shape with black stamens coming out of the black. You can add yellow to the tips. That’s where the pollen lies. For the profile flower, have the stamens coming out between the front ‘V’ shape. 

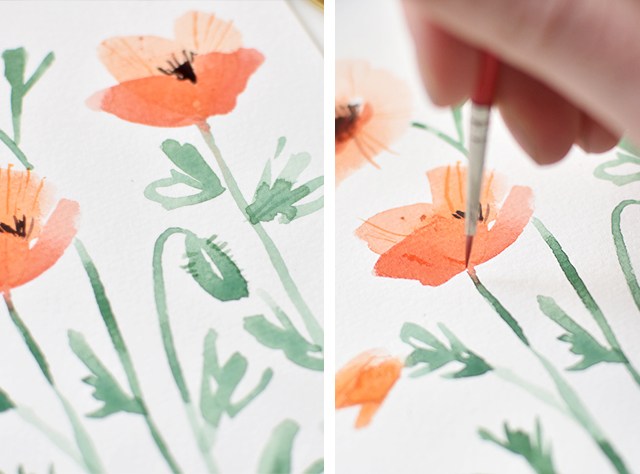
With your #0 brush, grab a yellower orange and make little lines coming out of the ‘V’ shapes. Make them squiggly and imperfect. Then add fuzz in green to the pods. 

Boom! DONE! So easy, right? I like to add little splatters afterwards. Because it’s fun. 

For the back covers, I used complimentary colors and something simple like just leaves or a splatter pattern. Easy, peasy. 

 I used this tutorial from Ink Struck Studio for the butterfly cover and I learned the roses from Natalie Malan.

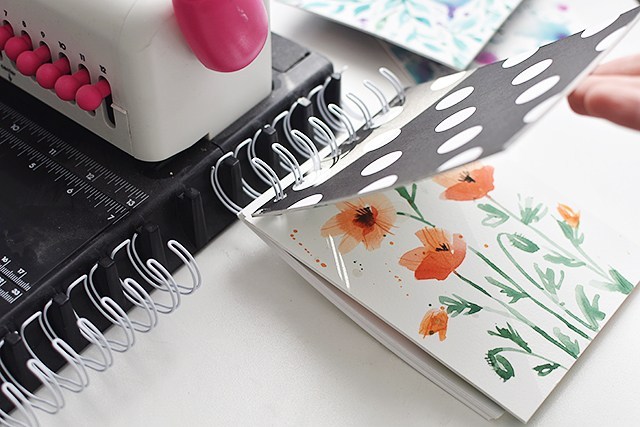
Now for the binding part. You can take the un-bound journals to your local print shop and they’ll do it for you. OR, if you have a tool like the Cinch, punch holes in the covers and filler paper separate. But make sure that the holes are centered. Put the filler paper on the coils, then the front cover, then the back cover (facing the front cover). This will allow the coil edge to be unseen on the inside back cover. Crimp down with your binder tool. 

Now they’re ready to gift! Or keep. I like to hoard the things I’m most proud of making. ;)

This tutorial and accompanying printable is free for personal use. 

mobile site