[This is a pretty long post. Sorry]
Excuses, excuses: Chris and I got back from our Idaho/Montana trip late Thursday night. We’ve not been in one place for more than 3 days for the last 2 weeks. We’re living out of suitcases at my parents’ house. . . Therefore it’s been just a teensy bit difficult to do much of anything crafty, especially in time for Easter. I was hoping to make a big deal out of it this year with dying eggs, homemade easter baskets with sweet treats, and matching dresses (all traditions from my childhood), but it just wasn’t very realistic (just like my idea of having an elaborate party for Penelope’s first birthday).
However. . .
For the last couple of months, I’ve been thinking non-stop about making a striped skirt like the one from Anthropologie and I just so happen to have 5 yards of very similar fabric. I think it was Saturday afternoon that decided that now was the time to make that idea happen.

I used the skirt pattern from the Sew U book (it’s genius), and modified it just a tad. It probably took me nearly an hour to figure out how to place the pattern pieces on the fabric to get the stripes to line up just right.

I like the enclosure in the back with the grey buttons, I also like the light weight fabric and the look of the bias. Overall, I think it turned out ok, but Chris just might say otherwise (he’s just not a fan of the pleats in the front). So, I’d like to ask you: Should I keep the pleats in the front, or should I modify the skirt to make it flat-fronted?? I’m not sure, because it looks like pleats are all the rage, but I’m a little self-concious about it. Seriously, I need your opinions!!
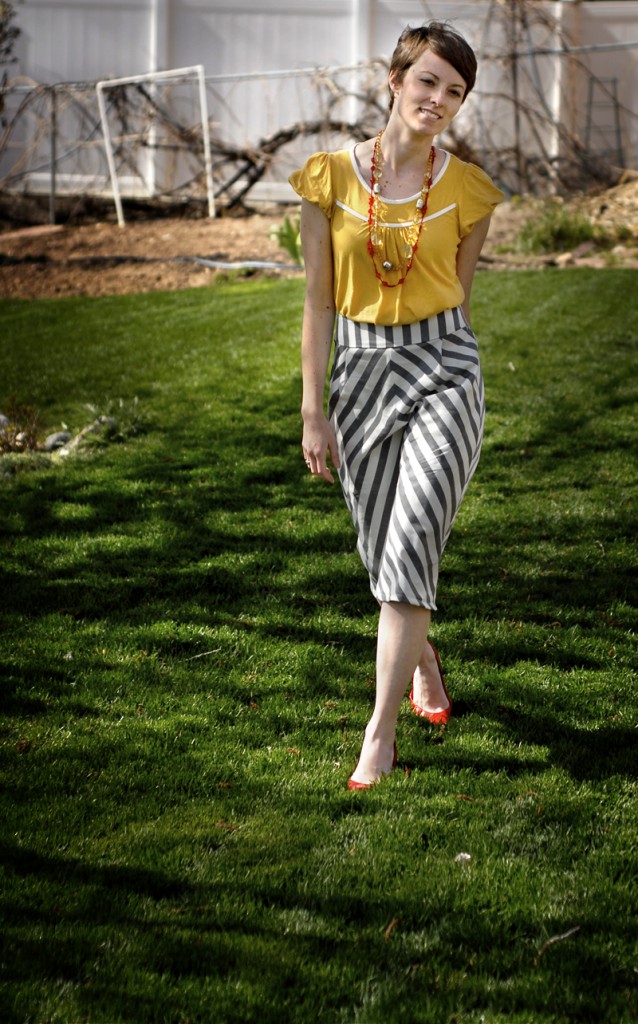
Anyway, It turned out ok, but I’ll definitely make this skirt again so I can learn from my mistakes.
• • • • • • • • • • • • • • • • • • • • •
Penelope’s dress turned out slightly better, but it too, has its flaws. The inspiration for this dress comes from a Martha Stewart magazine photo of a girl in a pink scalloped dress. SWOON with a capital S! This was my attempt at making that dress from a japanese dress pattern. The pattern is starting to get a little small for Penelope, so I tried to enlarge it. The proportions came out a little funny, but the dress still looks as cute as a button.
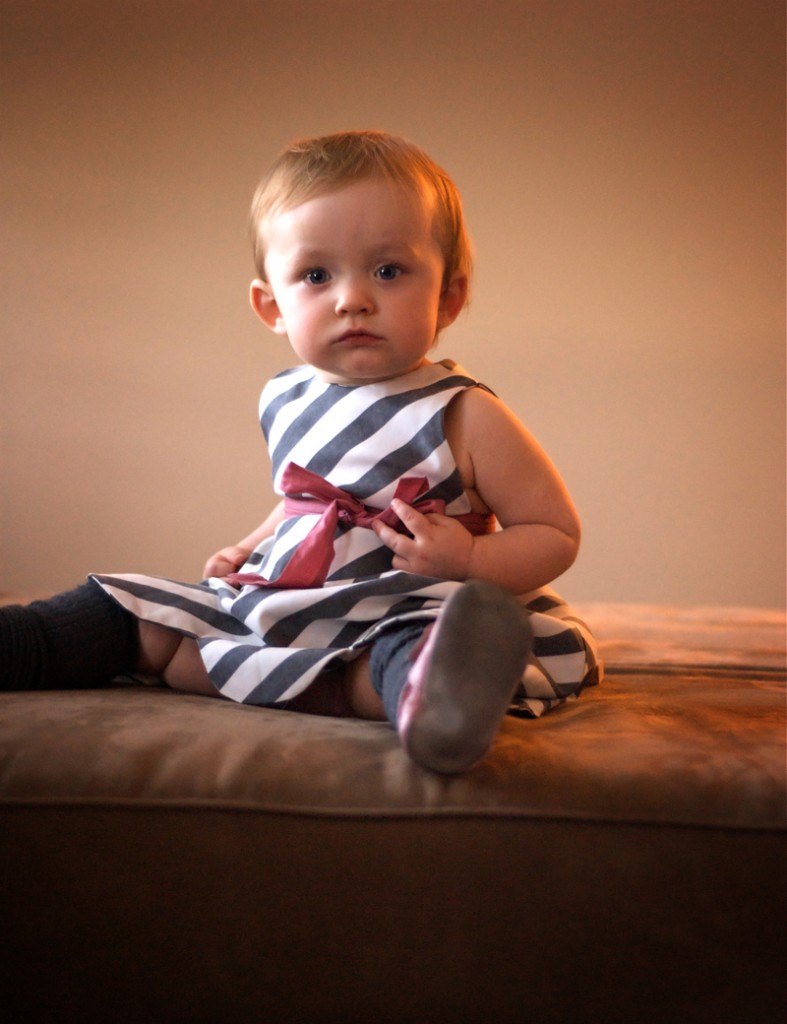
I love this little girl, and the grey stripes with the pink ribbon fit her personality just right.
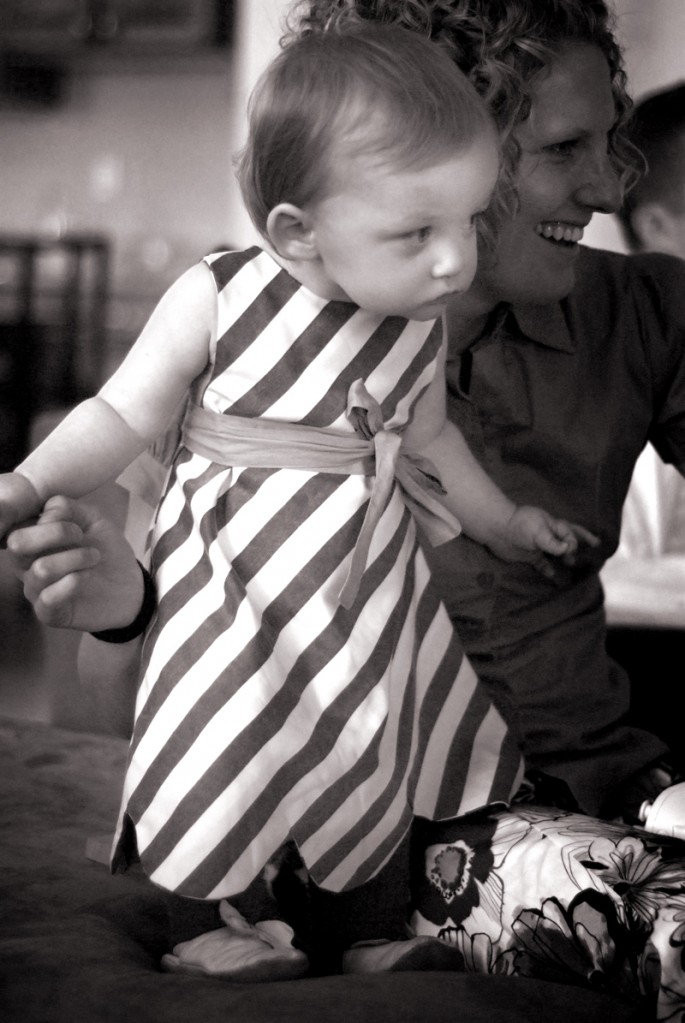
Overall, my attempts to be matchy, matchy for Easter were fairly successful, and all it took was 10 straight hours of sewing and $5.

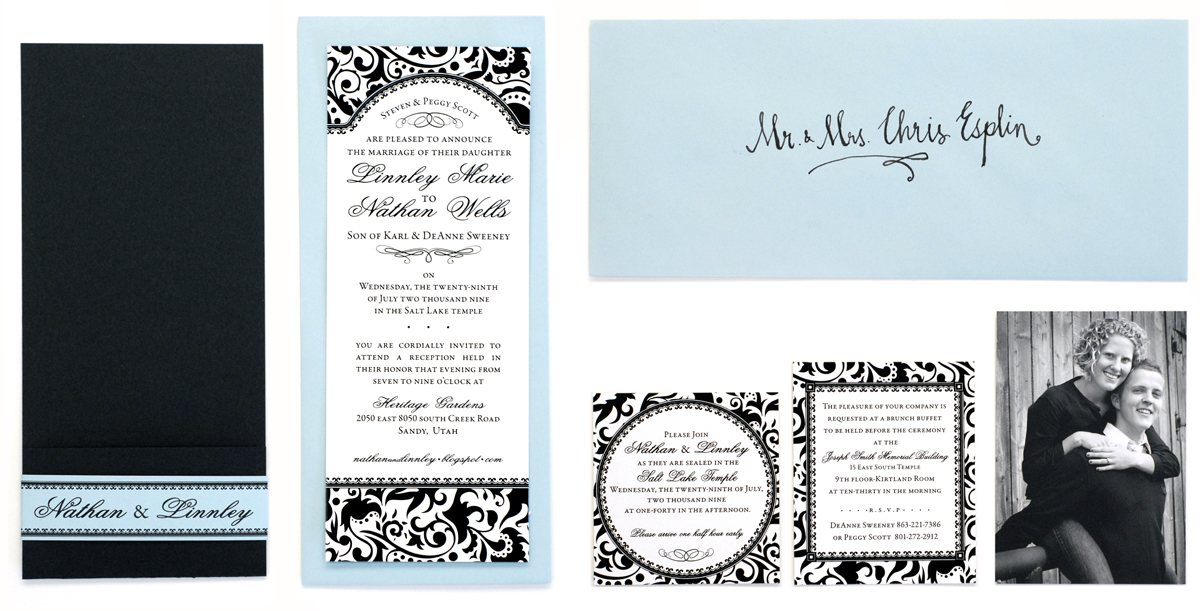
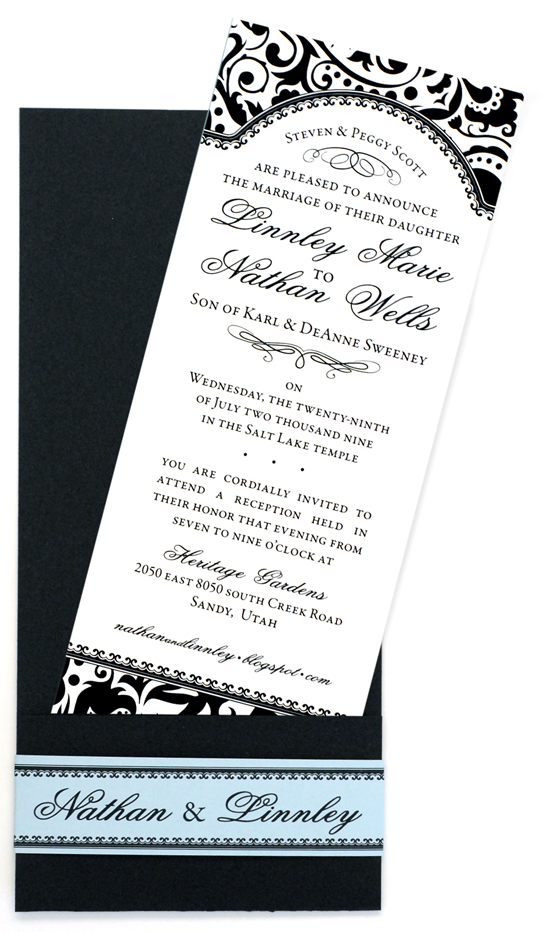
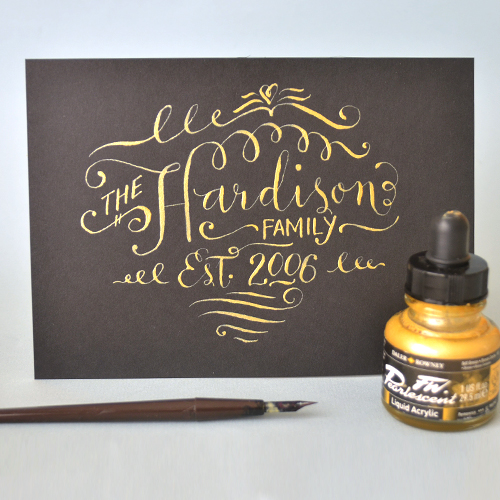 I’ve been meaning to get around to both for some time (like several months). I’ve got a couple more calligraphy/lettering projects to finish this weekend. I can’t wait to show those to you, too! I’ve mostly been doing digital lettering these days, so it was fun to bust out the old pen & ink.
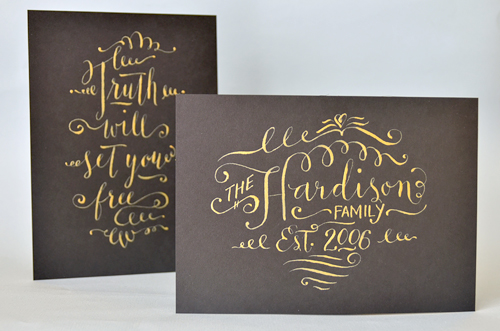 Speaking of calligraphy, who’s up for a class? For those of you who are local, I’m thinking about doing a class on the 17th of September from 1-3pm. Registration is limited & will go live next week. You’ll want to stay tuned. If you’re not local & looking to get in on all of our calligraphy fun, don’t despair! We will be filming the class in preparation for the online class I’ve been promising for nearly a year!


