Posts Tagged ‘photography’

IS•LY Elsewhere

21 Comments

I failed to take pictures of my newly recovered butterfly chair before we headed out for Phoenix. Seriously, I can’t wait to show it off, but that won’t be until next week. I’m having a great time here in Phoenix, just playing & relaxing! We’ve missed out on the complete white out everyone has been freaking about in SLC. Gosh, they even closed the airports it was so bad. So glad I’m in 60º weather right now.

I’m enjoying the break immensely and I plan on milking it for all it’s worth. Which means nothing new around here for a few days. Here’s where you can see me in the mean time:

:: Whatever Dee Dee wants ::
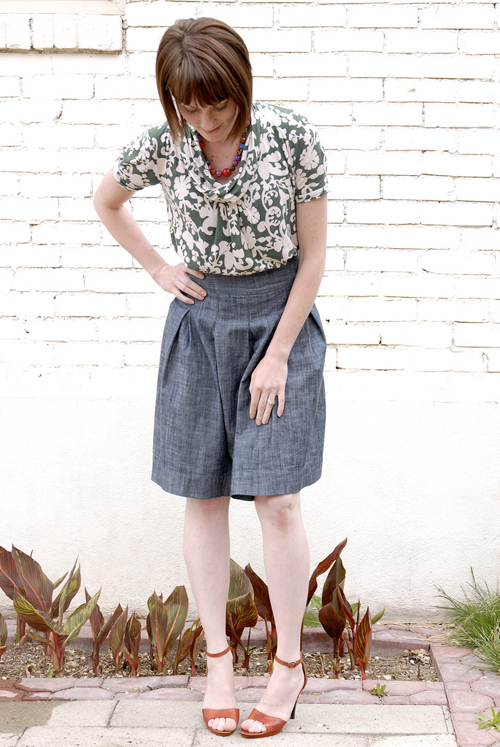
I’ve posted a few of my Thanksgiving dress tips. Attend Thanksgiving in style & comfort this year!

:: Giverslog ::
I’ve written about my favorite thing right now. Head over to read what it is (I don’t want to spoil the surprise here)! It’s the perfect gift for guys or girls.

:: Delightfully Engaged ::
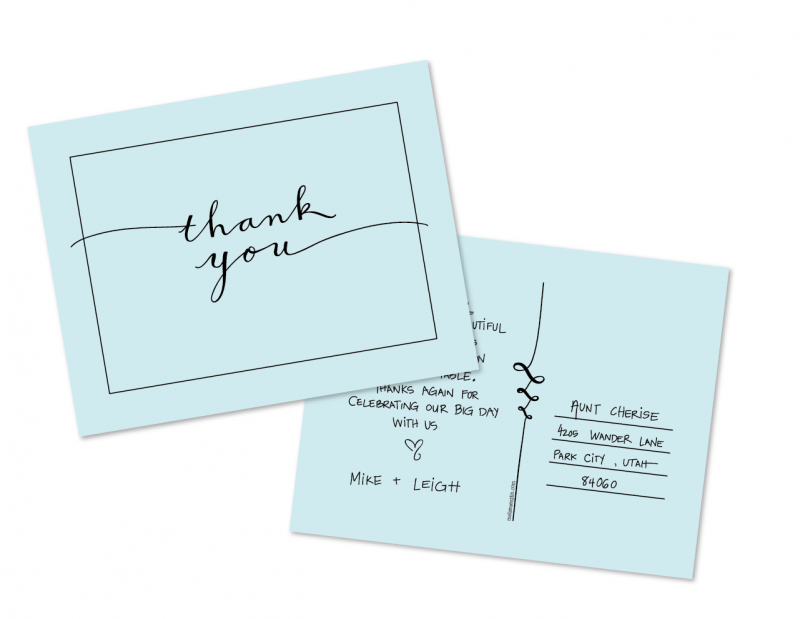
OH! And I almost forgot, give thanks this weekend by writing sweet Thank You postcards with my free “thank you” card printable, available at Delightfully engaged.

I wish you all a happy Thanksgiving!

Turns out the post on MyWeddings.com has disappeared. Download the Thank You Postcard printable directly by clicking the button below. All printables are subject to my terms of use: may be used for personal use only.


Flash!

8 Comments

I bought a Nikon SB-600 flash unit for my camera nearly a month ago. I’m loving it. I feel like a free woman now that I can take decent photos in low-light situations. When I say low-light, I mean practically pitch black. Really.

Can I brag about it for a minute? I love this thing. Let me show you how awesome this thing is:

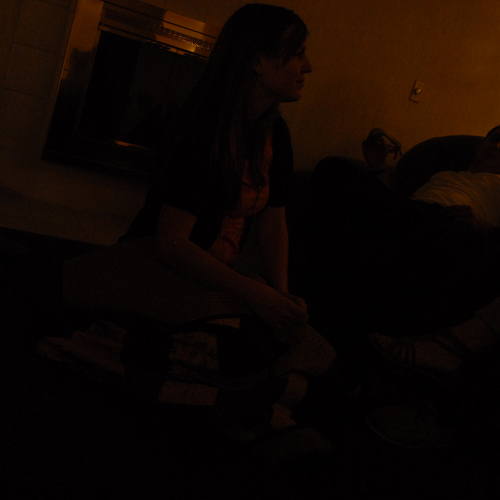
I took these photos at my cousin’s house at midnight. Each photo was taken from the same spot on the couch using the same settings. The above shot was taken without a flash of any kind. So sad.

This shot was taken using my pop-up flash. It’s not horrible, but it looks pretty bad. Right? It’s still really dark.

Now this is what I’m talking about!!! The above image was taken using my new flash pointed at the ceiling with a diffuser cap. WOW. Isn’t it nuts the difference between this and the rest of the photos? I love my new toy, I just have to start working out my arms so I can better handle my giant camera/lens/flash set-up.

8 pounds of camera gear is always worth it

11 Comments

Last Friday as I was wrapping things up at work, Chris and I decided that our Friday night plans would be best spent camping. The only problem was we have NO gear. Chris picked me up with a long checklist of must-have items and we set off for the cheapest outdoor gear store we could find.

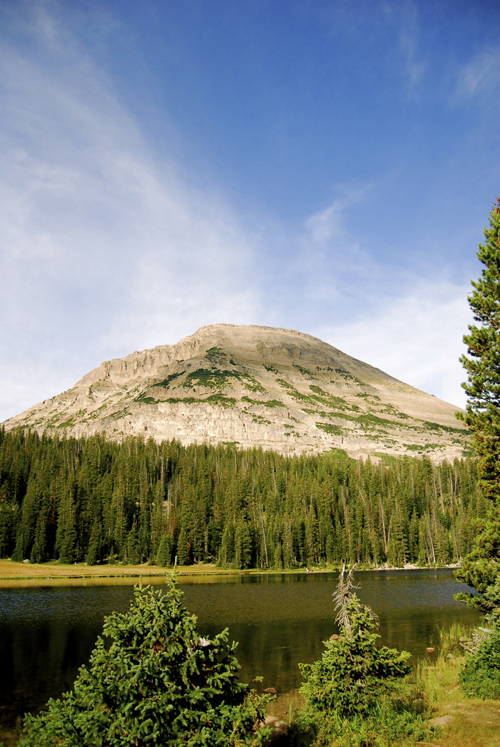
Mirror Lake

Luckily, the first place we went to was the perfect place. Seriously. Besides backpacks (which we already had) we got completely outfitted for our hike-in camping adventure for under $190. We lucked out with an awesome sales associate who found us a $40 tent. Yup. Awesome.

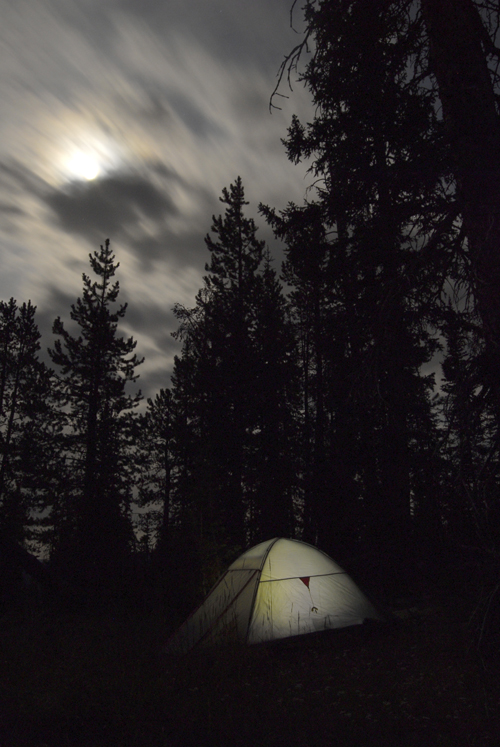
We left a little late, which meant our hiking and set-up was all done in the dark, but it worked out really well. Chris managed to pack all of our gear and I managed to pack Penelope (nearly 30lbs) and my camera gear. I had a little argument in my head whether or not it would be worth it to take my camera and tripod and luckily the smarter part of my brain won out. Just before we went off to bed I took out my gear and looked for just the right shot. It was a beautiful night. As I was setting up the moon had just come out and the skinny tree branches of the trees created sweet silhouettes against the glowing sky. Seriously it was beautiful.

_dsc0346

I’m so happy that this photo (above) worked out so well. It made packing the camera SO worth it. That night Penelope and I snuggled inside a mummy bag just big enough for the two of us. High-quality Z’s weren’t the name of the game, but I sure had fun snuggling with the Nels.

Exploring the countryside was so fun, this area was incredible. We’ll be doing this again. Definitely. Read more about our adventure on Whrrl.

Click here for the story.

Welcome to the Family

15 Comments

my new lensbaby

You need a mama? I’ll be yours indeed.

One of the many highlights of the BlogHer trip was hanging out in the Shutter Sisters Suite. The Shutter Sisters were sponsored by Lensbaby and Aurora, which—in a genius bit of marketing—let masses of bloggers test their products at the convention.

Aurora is a photo-editing program with a simple and sleek user interface aimed at matching your images to what you saw as you snapped the shutter.  Aurora’s feature-set sidesteps Photoshop by ignoring the fancier—and sometimes horrific—editing techniques that Photoshop users tend to abuse. Instead, the focus is on fixing common problems like saturation, color balance and exposure that tend to plague the entire photoshoot.  In addition to fixing photos, Aurora connects with websites like Facebook and Picasa to make uploading and sharing your photos a one application process. You can even edit the photos you’ve already uploaded! I’m anxious to get my hands on a copy to reduce my time in Photoshop and hopefully process all of my photos instead of just those destined for public consumption.  They’re only charging $20, so it’s a slam dunk.

Lensbaby stands for crazy lenses and crazier photos.  It’s Aurora’s doppleganger, kicking dirt at realism with the same impressionist attitude that makes old Holgas, Dianas and pinhole cameras so intriguing. These lenses have pivot points!

I’ve drooled over the concept since I first saw it on Shutter Sisters, so I leapt at the chance to test drive one of the ‘babies.  Image fidelity is not on the menu. The results are as distorted, fringed, and horribly out of focus as you want to make them. They’ve got three untamed lenses, all of which are customizable with optical inserts; there’s a standard glass lens, a plastic version for Dianaesque effects, and a pinhole insert.  Other accessories include telephoto, macro, wide- and super-wide-angle attachments. My personal favorite is the super-wide.
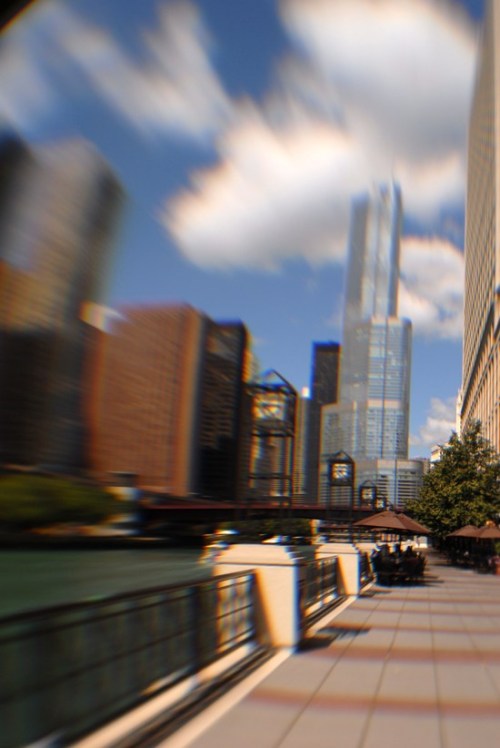
lensbaby 1

This image was done with the super wide attachment and plastic optic (check out the fringe!).

lensbaby 2

Lensbaby straight up. Double plated glass and no lens attachments.

lensbaby 3

Double plated glass optic and macro +4 and +10 filters on. This bug was about 1 cm long in real life! The macro would be perfect for capturing wedding ring details.

dsc_0467I can’t remember what accessories I had on for this photo, but I think it was just the plain old lens. This was taken right outside the Sheraton along the river.

Star LensbabyAnd then there are the novelty heart- and star-shaped aperture packages. Nice.

I’m a sucker for camera equipment, especially when I get to try it out for free. I went on two Lensbaby test-walks and called my husband Chris to see if it was ok to buy one.  He wasn’t too hot on dropping $270 on an impulse buy, which I can’t really fault considering how unemployed our family is right now. Like a good blogger, I entered to win a free one instead and kept my fingers crossed. I must have crossed them extra hard or cashed in some Karma Chips from my saintly elementary school days. Penelope was napping, Chris was looking for jobs online and I was checking my email on his iPhone when I found out that lightning had struck again!  I started squealing and shaking violently until Chris turned around and asked what had happened. He was overjoyed as well, if only because he might have saved some cash on my Christmas present.

I actually won the single piece of camera equipment that I was in the process of coveting. My only comparable experience so far in 24 years is—ironically—winning the BlogHer tickets from Whrrl! and Social Luxe Lounge. Blogging has been good to me. Time to go play with the ‘baby.

DIY Camera Flash Sock Project

12 Comments

The second DIY project I’ve done recently is a flash sock. Now, it’s a little silly that I did a DIY for something that costs as little as $10 (some are listed for $30+ which I think is also silly), but I had the materials on hand and I didn’t want to wait for the sock to come in the mail.

flash sock supplies

What I used:

  • For the exterior, diffuser part I used white felt and white plastic from a picnic spread. I’m sure you could fuse plastic bags together and do the same thing. Although, you would want to make sure they were plain plastic bags.
  • For the interior reflective top I used the shiny metal bag from a Pop’s cereal bag
  • I used elastic cording to attach the sock to the flash and white thread to sew it all together.

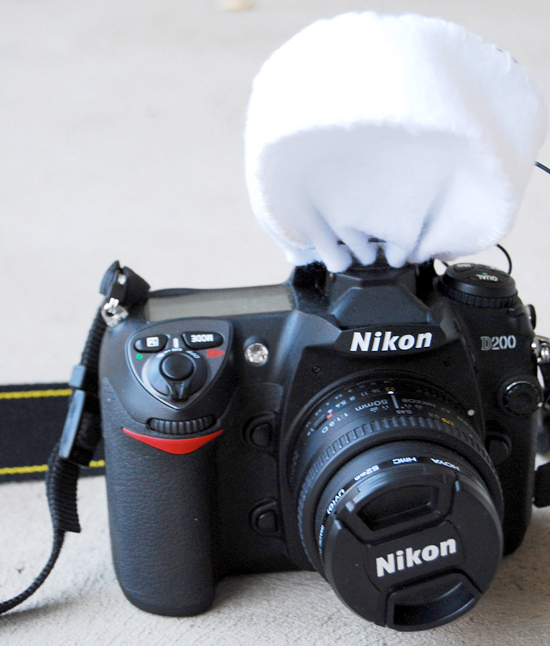
Flash diffuser sock on pop-up flash

I ended up hand sewing the sock together, which wasn’t hard but a little more time consuming than if I had done it with a sewing machine. Despite the freakish appearance my camera takes when I use the sock, I really like how the photos turn out.  Check it out:

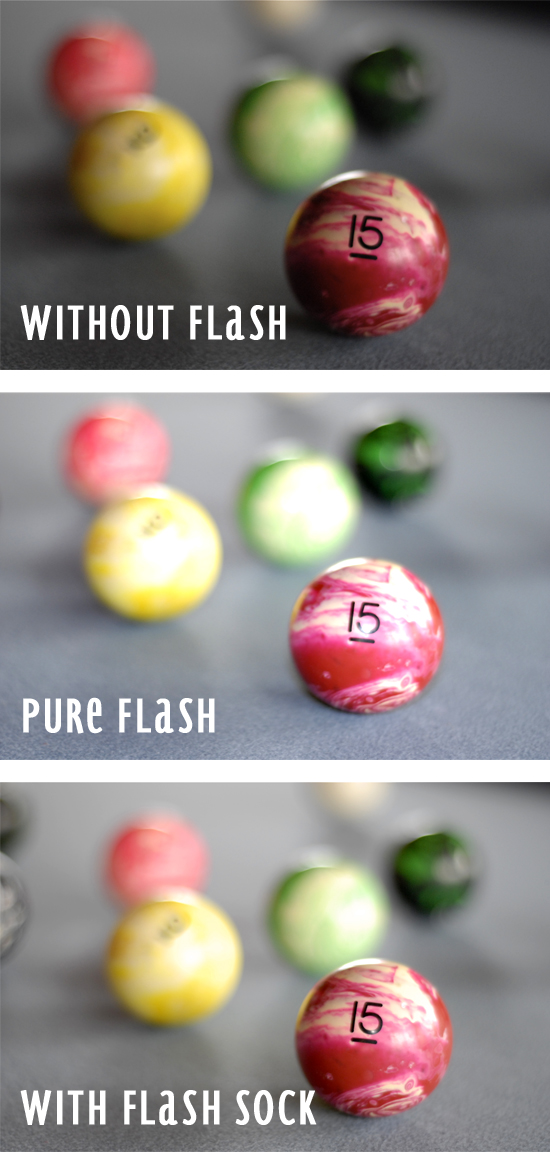
Flash sock photos

The flash sock helps to avoid over-exposure and softens all of the hard edges usually created with the flash. It’s also interesting to observe that my sock warms up the photos ever so slightly. Interesting, hu?!? While my flash sock works on my pop-up flash, the sock idea is really optimized for an external flash.

Do any of you readers have an external flash that you love, or know of one I could get on the cheap? I’ve been thinking of getting one, and would love some pointers from users/camera enthusiasts and not salesman.

mobile site