I've been looking forward to sharing my living room with you for some time. Like 7 months. While moving sucks, the silver lining in the crappy moving cloud is redecorating. I LOVE the chance to decorate a new space. There's nothing that makes furniture and wall hangings look new again like a completely different space.
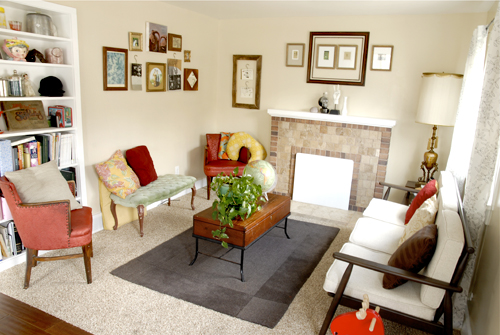
Our new place is completely different from our
old apartment in Menlo Park. Our old apartment had SIX south facing windows with flat-white painted walls. Everything about our last apartment was bright white. Our new house has dark brown hardwood floors, tan travertine tile, tan walls with a little bit of white trim. It doesn't scream bright white; so my black, white and rainbow wall decorations I used at the Menlo place wouldn't have really worked.
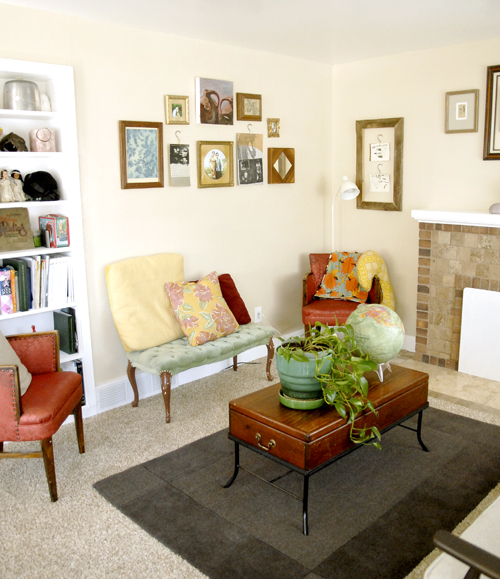
Coloring aside, we sold most of our furniture before we left California so I pretty much had to start from scratch anyway. While it's taken a good six months to collect all of the furnishings for this room, I've managed to do it all under $390! The only reason why it's that high, was because 70% of that was spent on the couch.
Here's the breakdown:
- couch - $300
- coffee table - $35
- tufted bench - $15
- 2 red chairs - $10
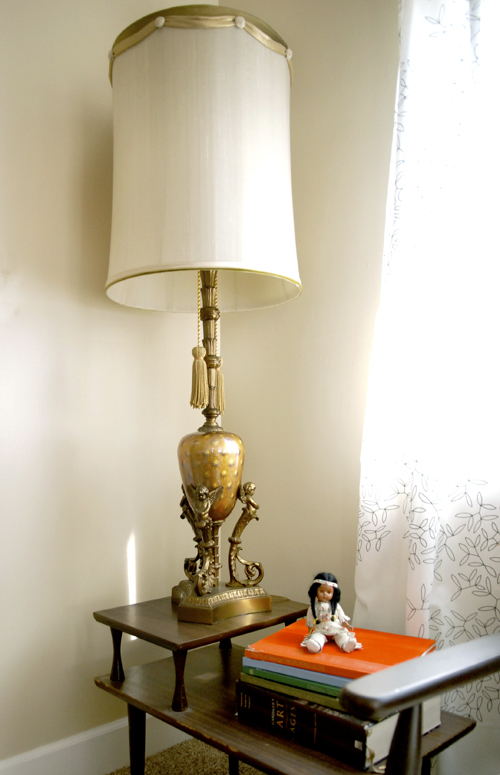
- lamp - $15
- side table - $8
- rug - FREE thanks to my parents
- 2 large frames $6
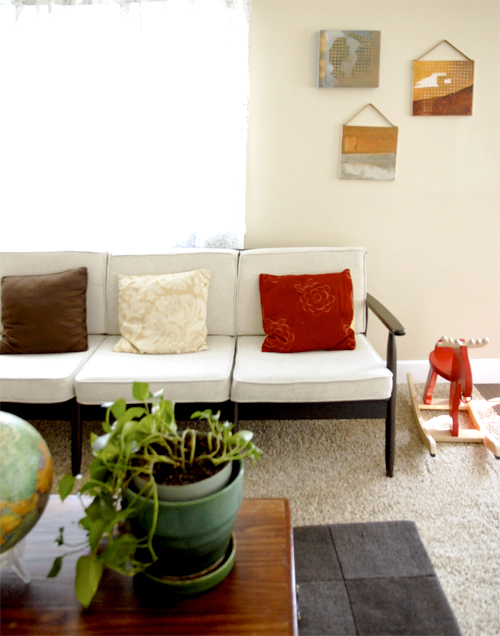
Not bad, right? I have to tell you about the couch. I was planning on splurging big time and buying a {new!} couch from Urban Outfitters, but I kept wimping out at checkout. I really didn't feel comfortable spending $600 on a couch that I've never seen in person {I'm really that cheap}. Would you? Well, I waited too long. Before I knew it, OU sold out of the MCM Couch I had been eying. I admitted defeat and decided that I really didn't want to spend that kind of money on a couch, anyway. I spent a few days scouring KSL {SLC equivalent to Craigslist} where I found THE OU couch I had been eyeing, for half off ! WHA?!? I quickly called the girl and bought it that night. I swear it was nothing short of destiny.
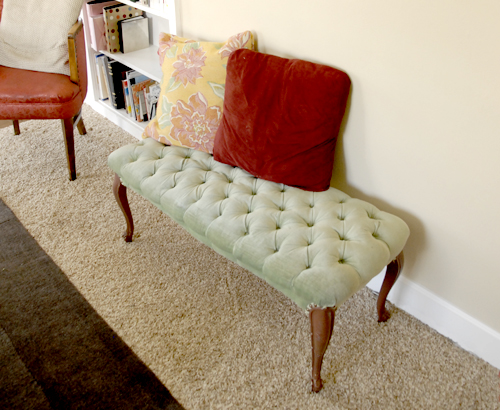
The coffee table and tufted bench were also a thrill to find. I went thrifting at a pretty child-unfriendly thrift store (multiple levels are just so annoying when you're hauling a baby and a cart full of goodies) and I went to the as-is section and found my gorgeous coffee table. I quickly pounced and awkwardly stuffed the coffee table in the cart, because some equally savvy shopper was eying it, too. Phew! About 5 minutes later, the same thing happened with the tufted bench. I love my bench.
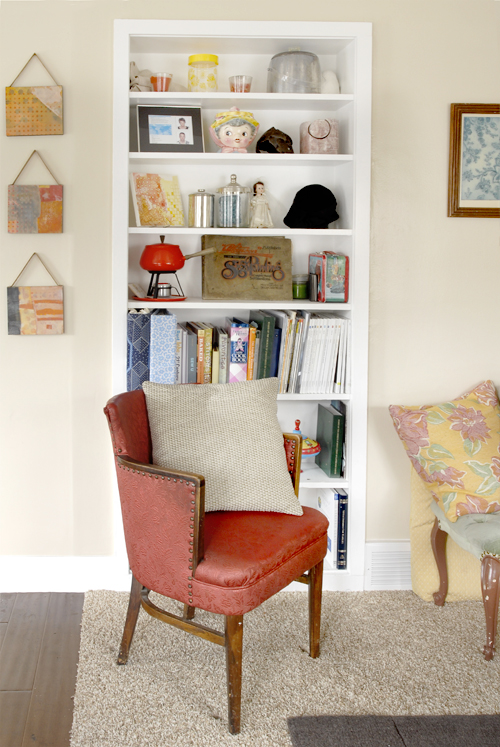
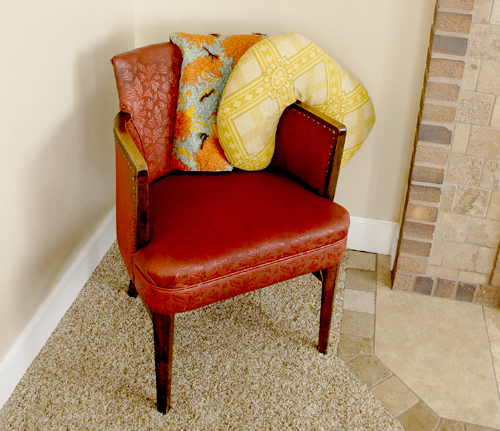
The red chairs are so dear to me. I love furniture that remind me of my friends and family. We were up in Idaho visiting our dear friends
Chad & Alexis and Alexis showed me 6 of the raddest chairs she bought for $5 a piece at an estate sale up there. She totally saw how jealous I was and sold two of them to me. Alexis is a really nice friend, one day I hope to have the same shopping and style savvy as her and her mom. One day I think I'll recover these chairs, but the upholstery is good enough to hold off for now. Maybe I can be cool like my other friend Susan and take an upholstery class.

I'm really happy to have one room in our house decorated and complete. When the rest of the house is a mess, I just sit on my new favorite couch and revel in the complete-ness of the entire room. Ahhh. The next big projects are finishing Penelope's room and working on our master bedroom (aka the hopeless cause). So, have you found any sweet furniture finds recently? Please share, I'm listening!! Cool stories behind cool furniture are such a favorite of mine.
 I love my necklace so much, I've been wanting to share it with you for sometime, but haven't worked on the tutorial until just now. Here it is! I hope you like it.

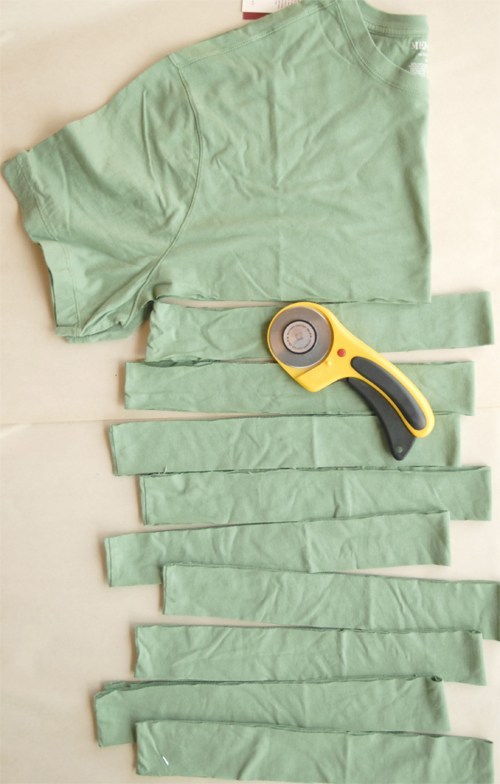 Materials:

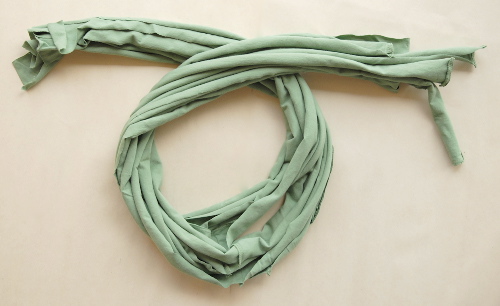
 Cut open one end of each strip. Stretch the jersey through your hands to allow the fabric to curl inside itself. Group strips into threes.
 Sew coiled ends together. Secure the end to a stationary object (like a couch) with a safety pin. Start braiding. I find that a tight braid looks nice, but avoid pulling and stretching the fabric.
 Once finished braiding, sew ends together to make three separate rings of fabric.
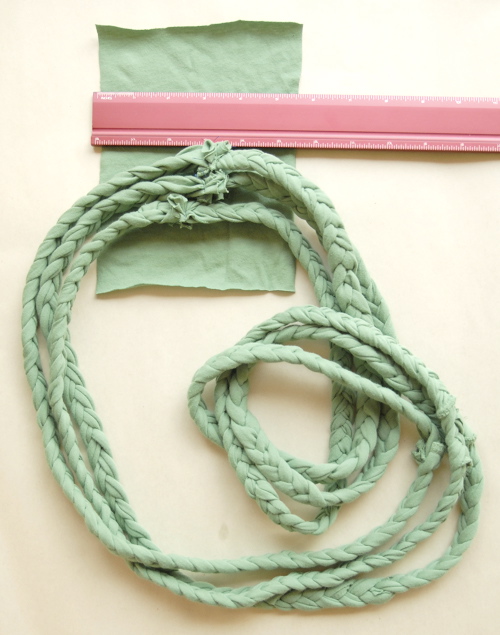
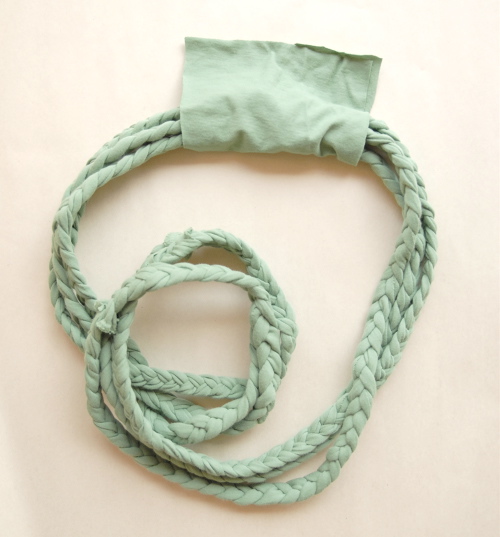
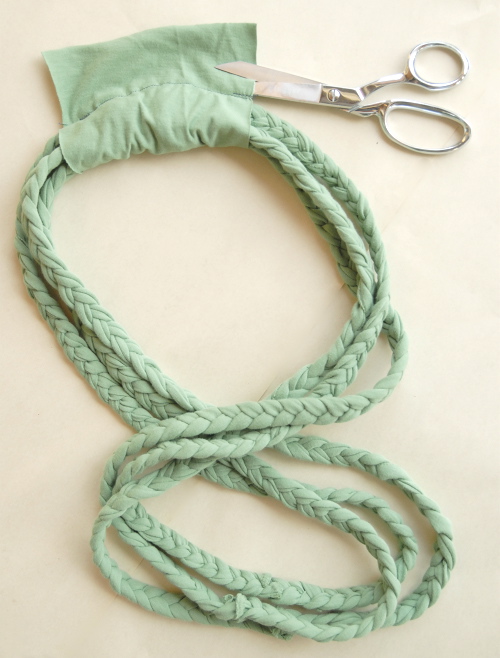
 Cut a 5 x 7 inch square of fabric from the remainder of the shirt, fold it over the three braids and sew. Sew the tube as close to the braids as possible for a snug fit. Trim excess fabric. Turn right side out.
 Voila! Your necklace is complete. Twist, and double over and you're ready to rock and roll!
 If you twist the loop twice before doubling over, the necklace looks like this (above).
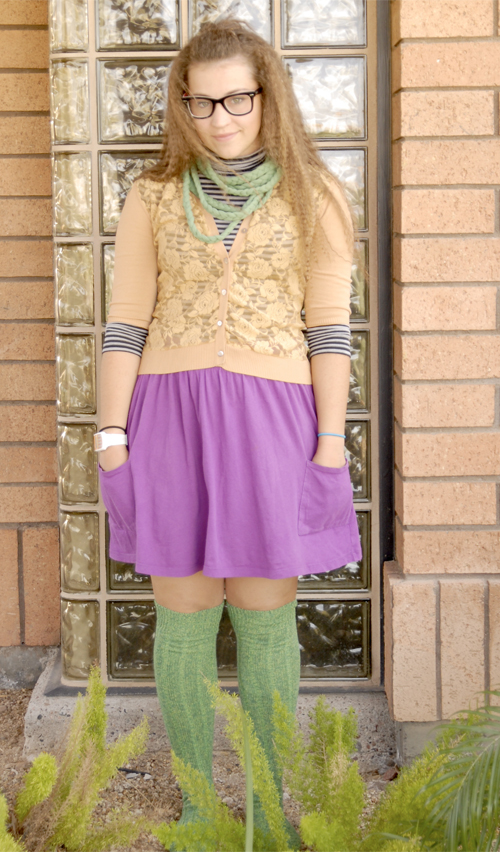 Twist the necklace once before doubling over and pull some loops longer to have a cowl neckline (above).
So there you have it, in less than 15 minutes you can have a really rad fabric necklace 'round your neck. Hope you give it a try! Happy Weekend, All!
P.S. You might want to check out Annie's etsy shoppe: Annily Green.