• D I Y B U T T O N - S T U D B E L T •

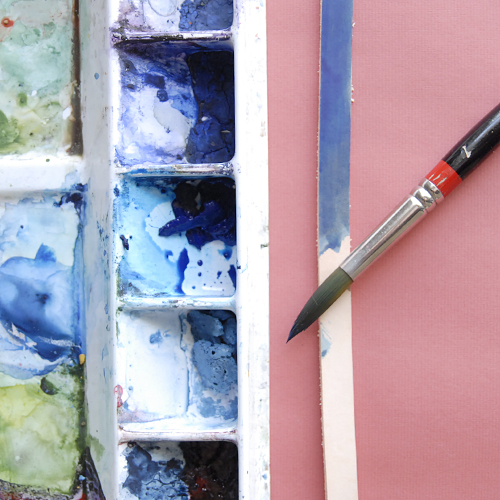
• S U P P L I E S •
• watercolors
• brush
• olive oil
• hammer
• hole punch
• X-acto knife (not pictured)
• scissors (not pictured)
Saturate your watercolor with water & let soak for 5 minutes. Load up your brush with water & pigment & apply to the leather. Apply 2 coats & let dry.
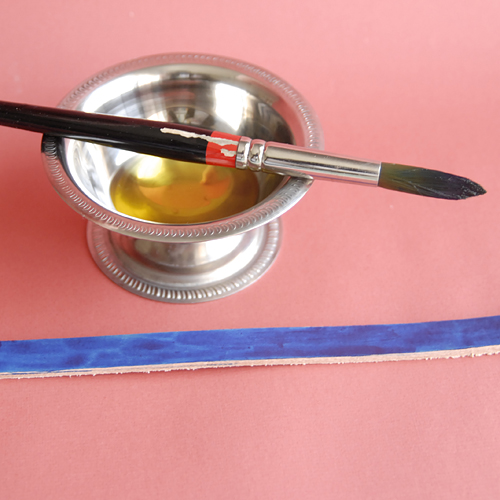
With your same brush, or a clean paper towel, apply oil while smoothing out pigment. Some pigment might rub off. This is normal. Apply two coats & let dry.
Wrap leather around your waist & mark with a pencil where the two ends cross over. I made one side longer than the other for visual appeal.
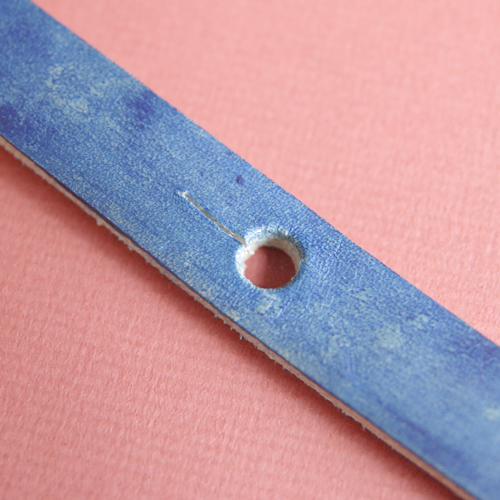
Punch two holes at the marked points. Make the first hole as big as the screw posts diameter for the button stud. Make the second hole slightly bigger than the shaft of the button stud.
With an X-acto knife, cut a 1/4 inch slit. This is to allow the stud to go through the small hole. You may have to open up the slit to allow the stud to go through easily.
Affix the button stud to the smaller hole & test the larger hole. You may have to make adjustments for the button stud to fit through the hole.
• O P T I O N A L •
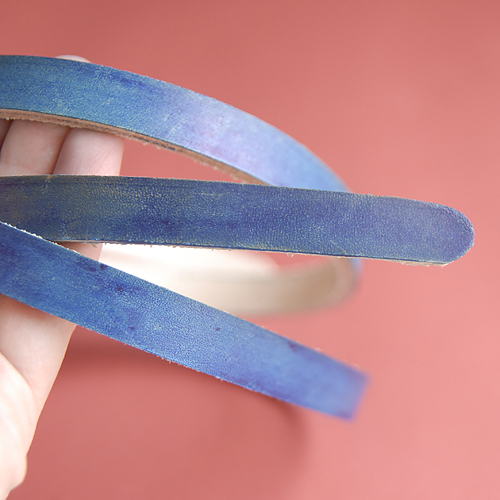
Round each end of the leather strip with sharp scissors.
• F I N I S H E D ! •
To view the entire outfit, click here. For your off-line DIY-ing convenience, the tutorial is available to download by clicking the button below.
This tutorial is free for personal use and should not be distributed/republished without my consent. Altering the file NOT ALLOWED. If you would like to use this tutorial for commercial purposes, please email me. Thanks!
