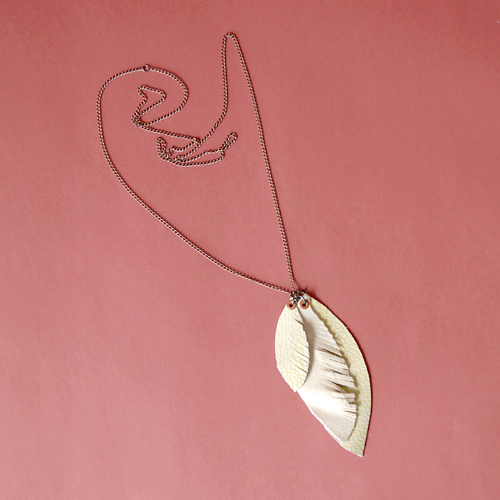

I’ve had this tutorial in the works for about 2 weeks & finally put the finishing touches to it. Seriously, took me long enough. I love long neclaces & just recently I decided I’d better make one! Leather & fringe is so my thing these days.
Without any further ado, here’s how you can make a necklace just like mine & Jill’s.
• F R I N G E D • L E A T H E R • N E C K L A C E •
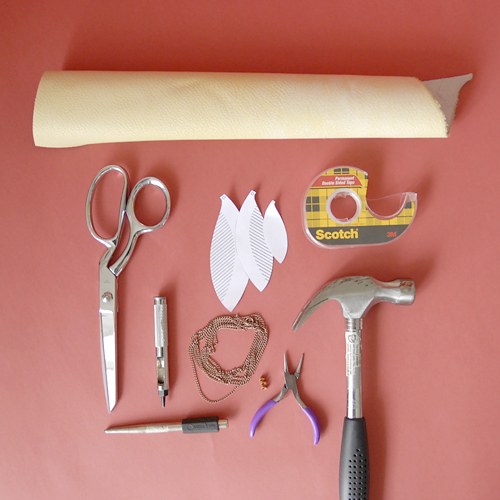
• S U P P L I E S •
- hammer
- scissors
- hole punch
- 30” chain
- 3 rivets
- rivet setter
- 1-2 oz leather/felt
- 4 jump rings
- pliers
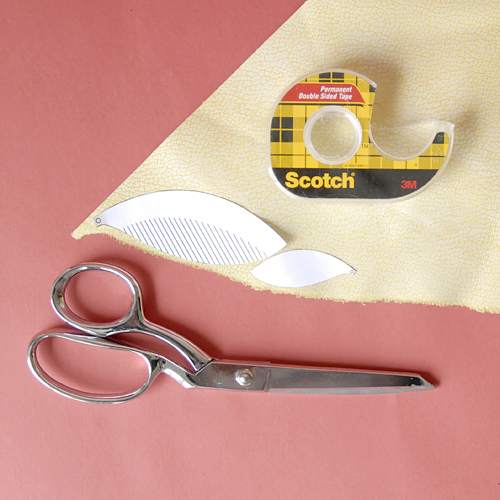
Cut out pattern pieces & tape onto leather. Carefully cut each feather from the leather.
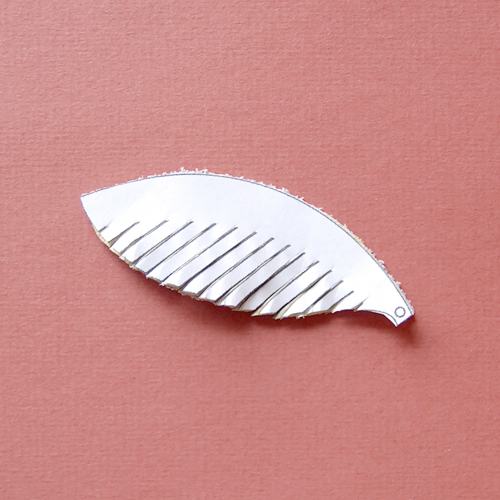
While pattern piece is still attached to leather, cut the fringe & punch your holes.
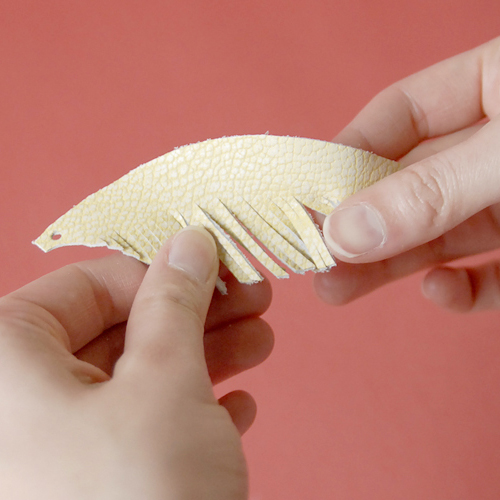
Roll the fringe between your fingers to give the fringe more dimension & texture.
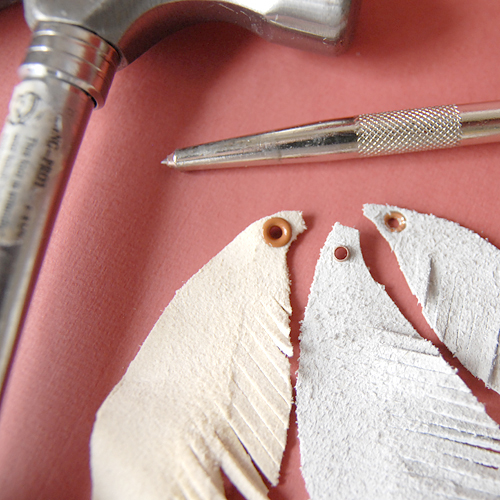
Attach coordinating rivets by inserting each through the top hole & punching the back flat with your rivet setter & hammer.
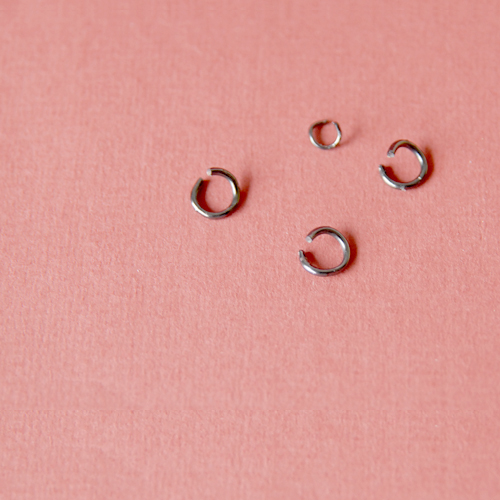
Open jump rings. Attach jump rings to each feather & close the jump ring. Attach feathers to the fourth jump ring in order largest to smallest.
Connect the two ends of the necklace chain on to the fourth jump ring as well. Close & wear!
• O P T I O N A L •
- Hot glue leather pattern pieces to a headband or a hair clip for a rockin’ hair accessory!
- Mix leather feathers with real feathers on your necklace.
- Add a little flair to a leather winter jacket by attaching coordinating fringed feathers to the lapel.
- If you want a shorter necklace, attach a clasp to the end of the chain to attach to the fourth jump ring.
Click the button below to download the printer-friendly version of this tutorial & for the pattern pieces. I’d love to see how you make this tutorial yours! Email me pics or link to your pics in the comments.
This tutorial is free for personal use and should not be distributed/republished without my consent. Altering the file NOT ALLOWED. If you would like to use this tutorial for commercial purposes, please email me. Thanks!
What a fab necklace! I have a few pieces of scrap leather laying around and have been wondering how I can use them! I am off to the craft store to get some tiny little rivets!
You two look like you’re having so much fun crafting together. Wish I had an ‘office intern friend’ too. Keep up the great tutorials.
Those are really cute. I’ll have to bust one out soonish!!
The leather looks so soft. I may just get into the habit of rubbing it across my cheek.
Cute.
-Camberley
you two are just too cute! and thanks for the tutorial, i saw some super cute leather feather earrings the other day that i just didn’t have the funds for… craft store here i come!
I love this. Can’t wait to make one!
[…] my headband? We didn’t talk about it in the segment, but I used the pattern pieces from the fringed necklace & glued them onto a headband. Also – there’s a little tutorial at the end showing […]
[…] PHOTO + LINK: ISLY Fringed Leather Necklace […]
I cant find the pattern to print out
:(.
Love this!
I recently got given a whole bunch of leather scraps so this is another thing I can make with them :)
omg I just did a ridiculously similar key fob …I SWEAR I didn’t see this first, lol. Adorable!
http://www.lovemaegan.com/2011/07/diy-leather-feather-key-fob-maeg-it.html
Really neat project! Might make one for my mom. :D
Great tutorial, i like it very much. thanks for sharing
[…] Le tutoriel est issu du blog Melissa Esplin […]
Hi
I was looking for the exact name of the rivets! Anywhere I look, I can’t find anything like these flat rivets!
Thanks
They’re scrapbooking rivets. You can find them at any scrapbooking supplier, ask for rivets and they’ll know what you’re talking about. Hope that helps!
[…] Gifts I love making leather crafts and accessories, as you may know (1/2/3/4/5/6/7/8/9/10/11/12/13/14/15/16/17/18/19). It’s a great material for long-lasting goods that look better with wear. […]
[…] Click here to view the full tutorial […]